

Hymac 580BT 1969
-
topkit
- Posts: 806
- Joined: Mon Sep 22, 2008 11:55 pm
- Real name: David
- Location: KENT
- Has thanked: 79 times
- Been thanked: 179 times
- Flag:

Re: Hymac 580BT 1969
Jeremy i use these (ebay item 152127587087) fitted to my angle grinder they really get rust off and down to shiney metal quickly, then i zinc prime, for paint i use the readily available enamels on ebay that i dilute by about a third with thinners the coverage is really good and two coats will be all you need, i spray my paint i don't brush it. My machines sit outside and i have never experienced any deteriation over time. Good luck with it, I hear via Clive you have something else as well so you now have caught the bug well and truly! 
-
essexpete
- Posts: 4089
- Joined: Fri Jul 13, 2007 12:43 am
- Real name: essexpete
- Has thanked: 854 times
- Been thanked: 697 times
Re: Hymac 580BT 1969
topkit wrote:Jeremy i use these (ebay item 152127587087) fitted to my angle grinder they really get rust off and down to shiney metal quickly, then i zinc prime, for paint i use the readily available enamels on ebay that i dilute by about a third with thinners the coverage is really good and two coats will be all you need, i spray my paint i don't brush it. My machines sit outside and i have never experienced any deteriation over time. Good luck with it, I hear via Clive you have something else as well so you now have caught the bug well and truly!
Come on Jeremy you must tell!
-
Jeremy Rowland
Topic author - Moderator
- Posts: 8699
- Joined: Sun Aug 05, 2007 8:36 pm
- Real name: Jeremy Rowland
- Has thanked: 1887 times
- Been thanked: 1700 times
Re: Hymac 580BT 1969
Andy80 wrote:Great progress. Step by step you patch it up! How is the weather over there? Here in Sweden it is about 10 degrees below and about 70 cm of snow (about 2,5 feet) Not a perfect climate for a mechanic.
Andy we are more fortunate over here with the weather but it gets a lot wetter over here which means more mud; however I was back working on the machine today I will post some more photo's of the progress tomorrow all being well.
Norman I got the plate bolted in okay to be fair it is secure and I will not bother welding it in, I did however had to weld in the seat base today but I will cover that in tomorrows post.
Jeremy
-
 FOWLER MAN
- Posts: 2358
- Joined: Wed Dec 09, 2009 11:28 pm
- Real name: fred evans
- Has thanked: 1295 times
- Been thanked: 1111 times
- Flag:

Re: Hymac 580BT 1969
Hi Jeremy,
Great progress, Well done.
I was only thinking when I looked at your earlier posts, pity your machine is so far from me, as I would be happy to give you a hand.
Fred
Great progress,
I was only thinking when I looked at your earlier posts, pity your machine is so far from me, as I would be happy to give you a hand.
Fred
-
Jeremy Rowland
Topic author - Moderator
- Posts: 8699
- Joined: Sun Aug 05, 2007 8:36 pm
- Real name: Jeremy Rowland
- Has thanked: 1887 times
- Been thanked: 1700 times
Re: Hymac 580BT 1969
FOWLER MAN wrote:Hi Jeremy,
Great progress,
I was only thinking when I looked at your earlier posts, pity your machine is so far from me, as I would be happy to give you a hand.
Fred
Yes Fred shame it's not closer to you as your input would be greatly appreciated
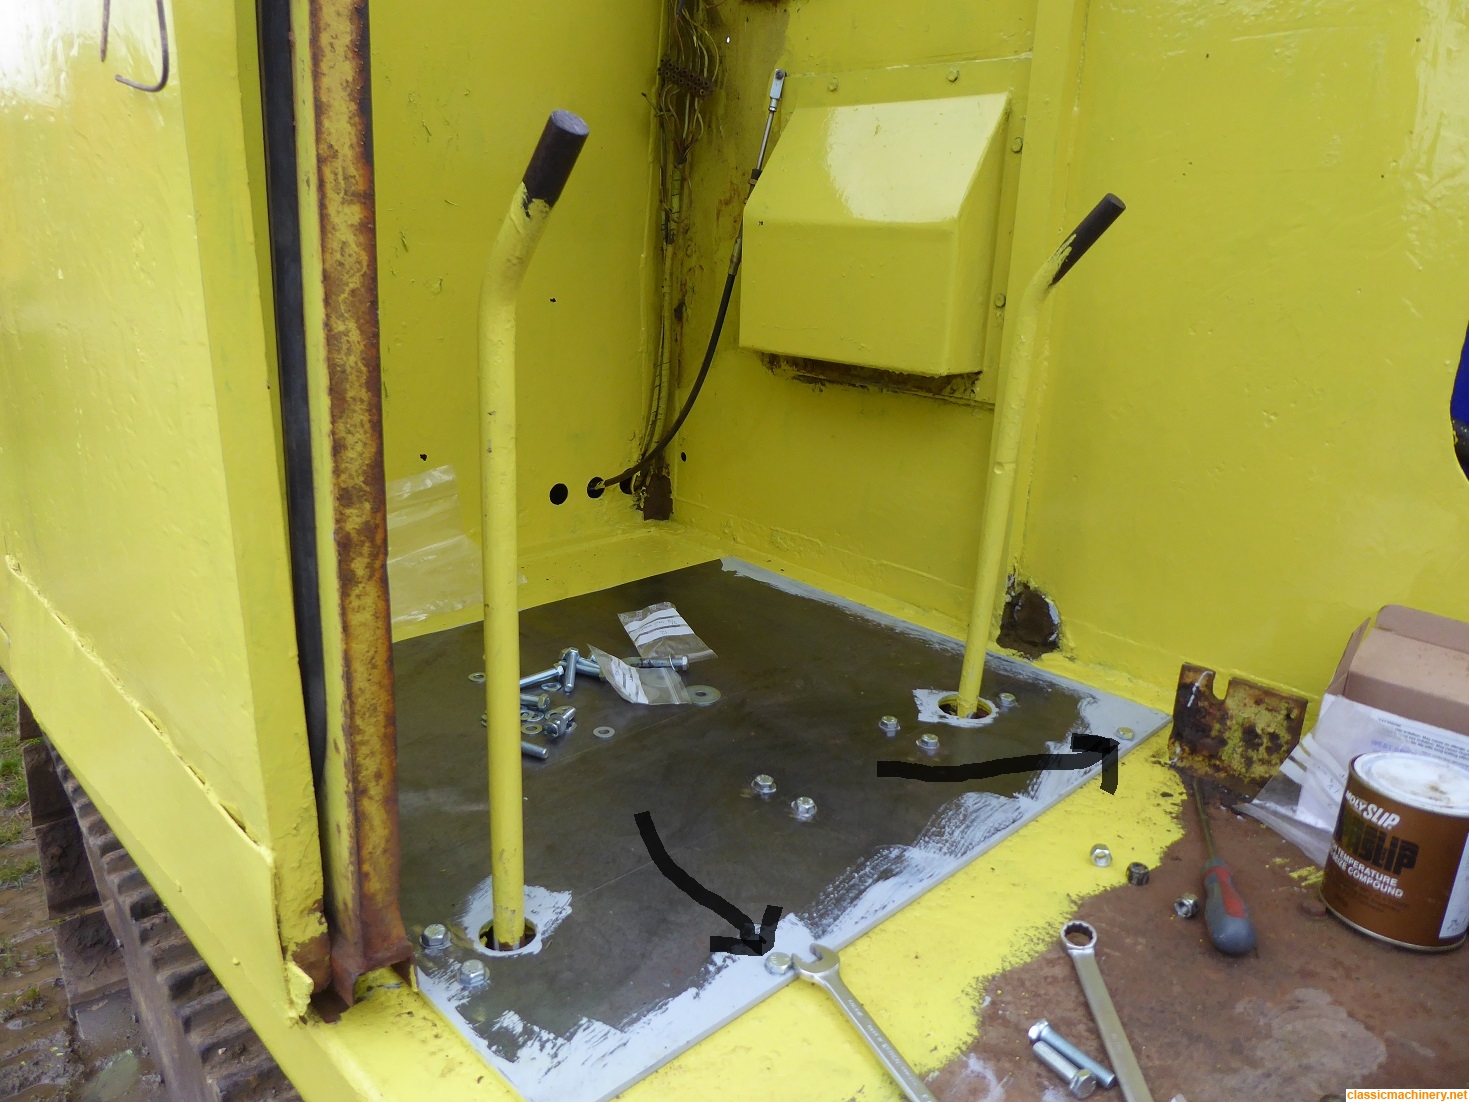
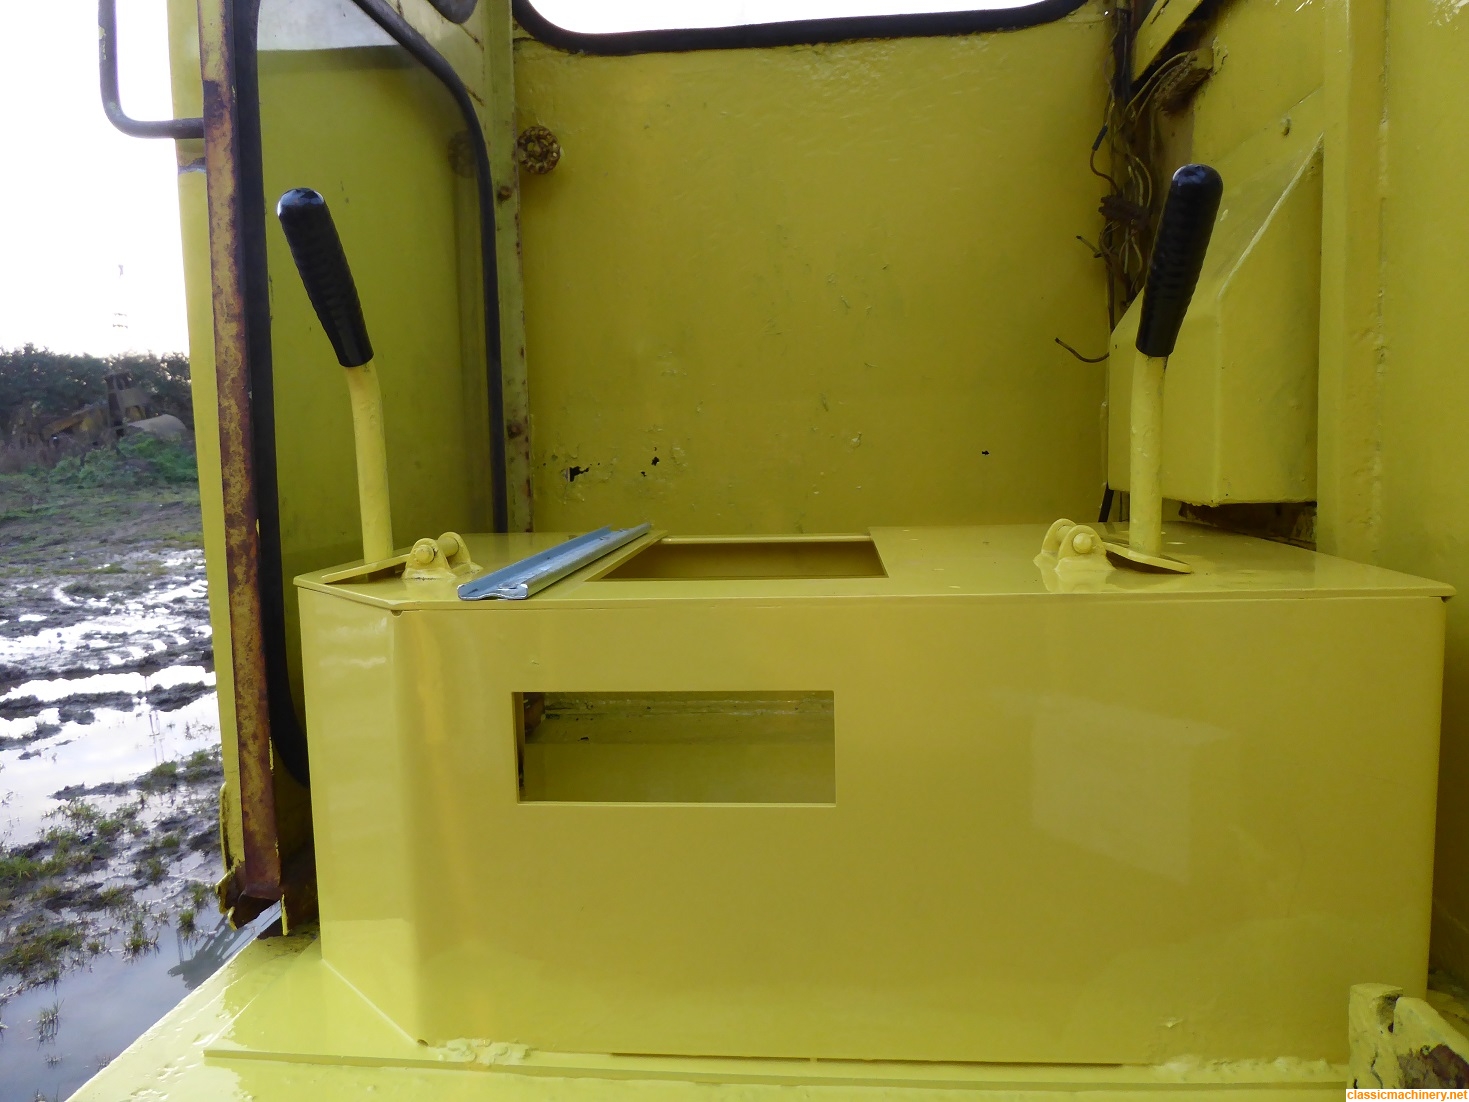
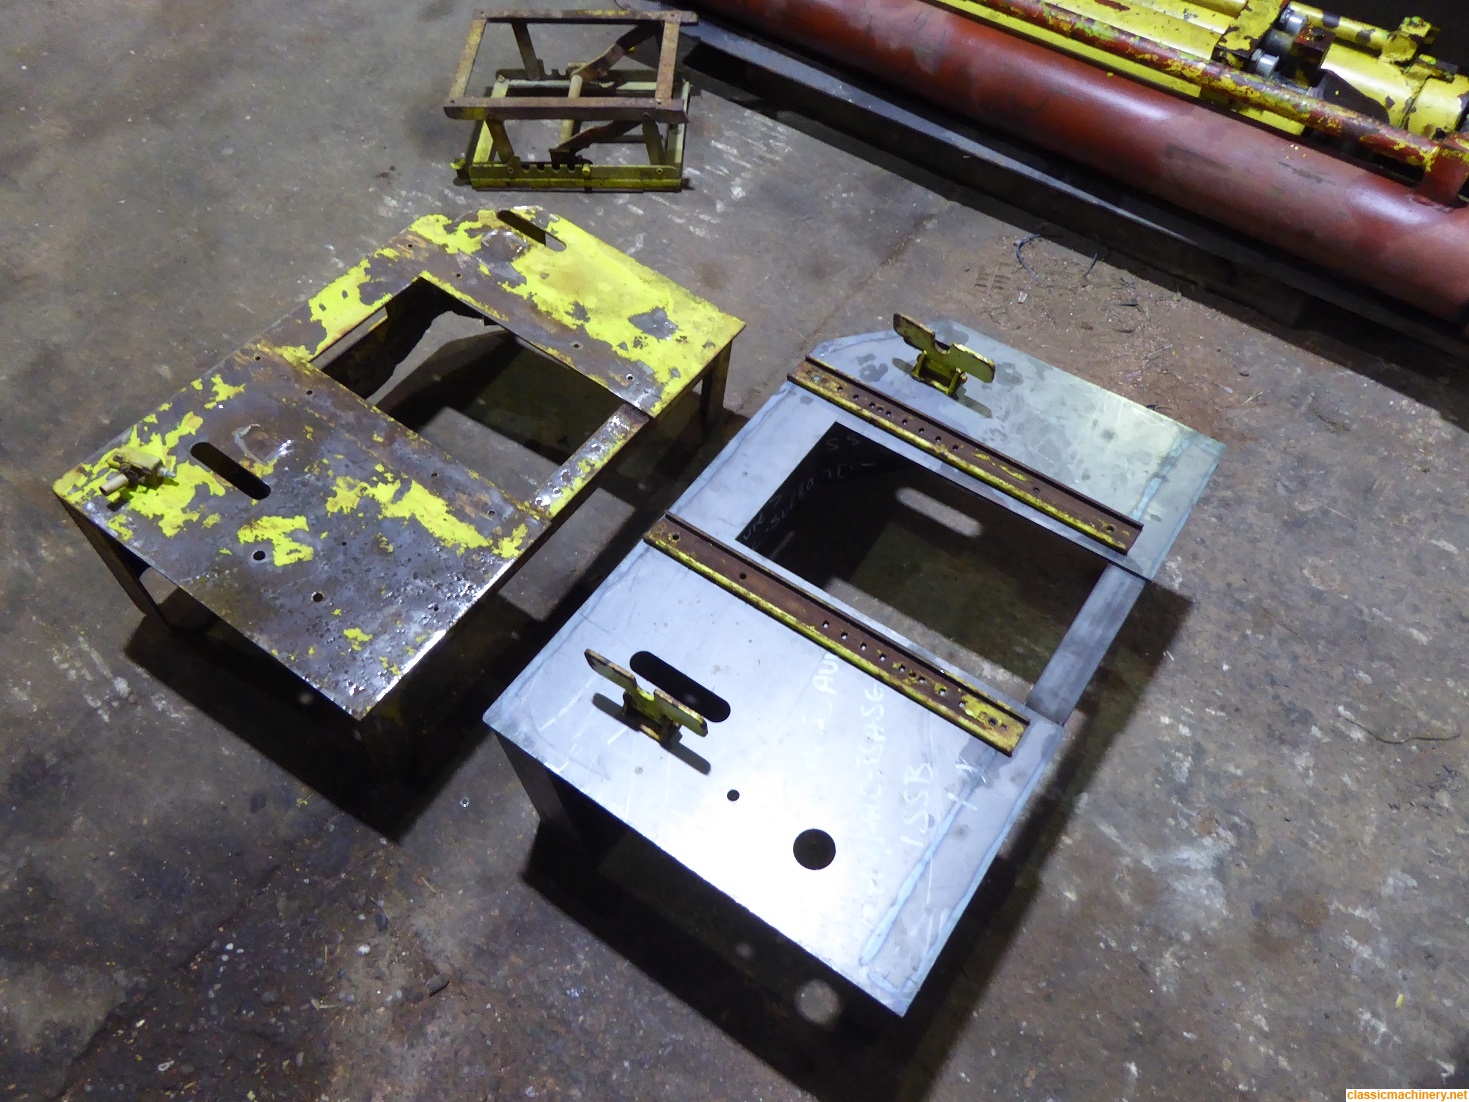
Well I got the plate top coated and assisted the drying process with a fan heater fire then I got down to work by putting then plate into position and bolting the track lever brackets up to it; I used 3/8" UNF hexagon sets finished in zinc plate. There are 8 bolts that hold the track levers in position plus two more additional bolts at the front which I have arrowed in the first photo, these are the front two bolt holes that secure the seat base.
The next step was to fit the seat base loosely into position, you have to do this with the track lever safety catches down and the two track levers in the neutral position, then I hit the first snag.
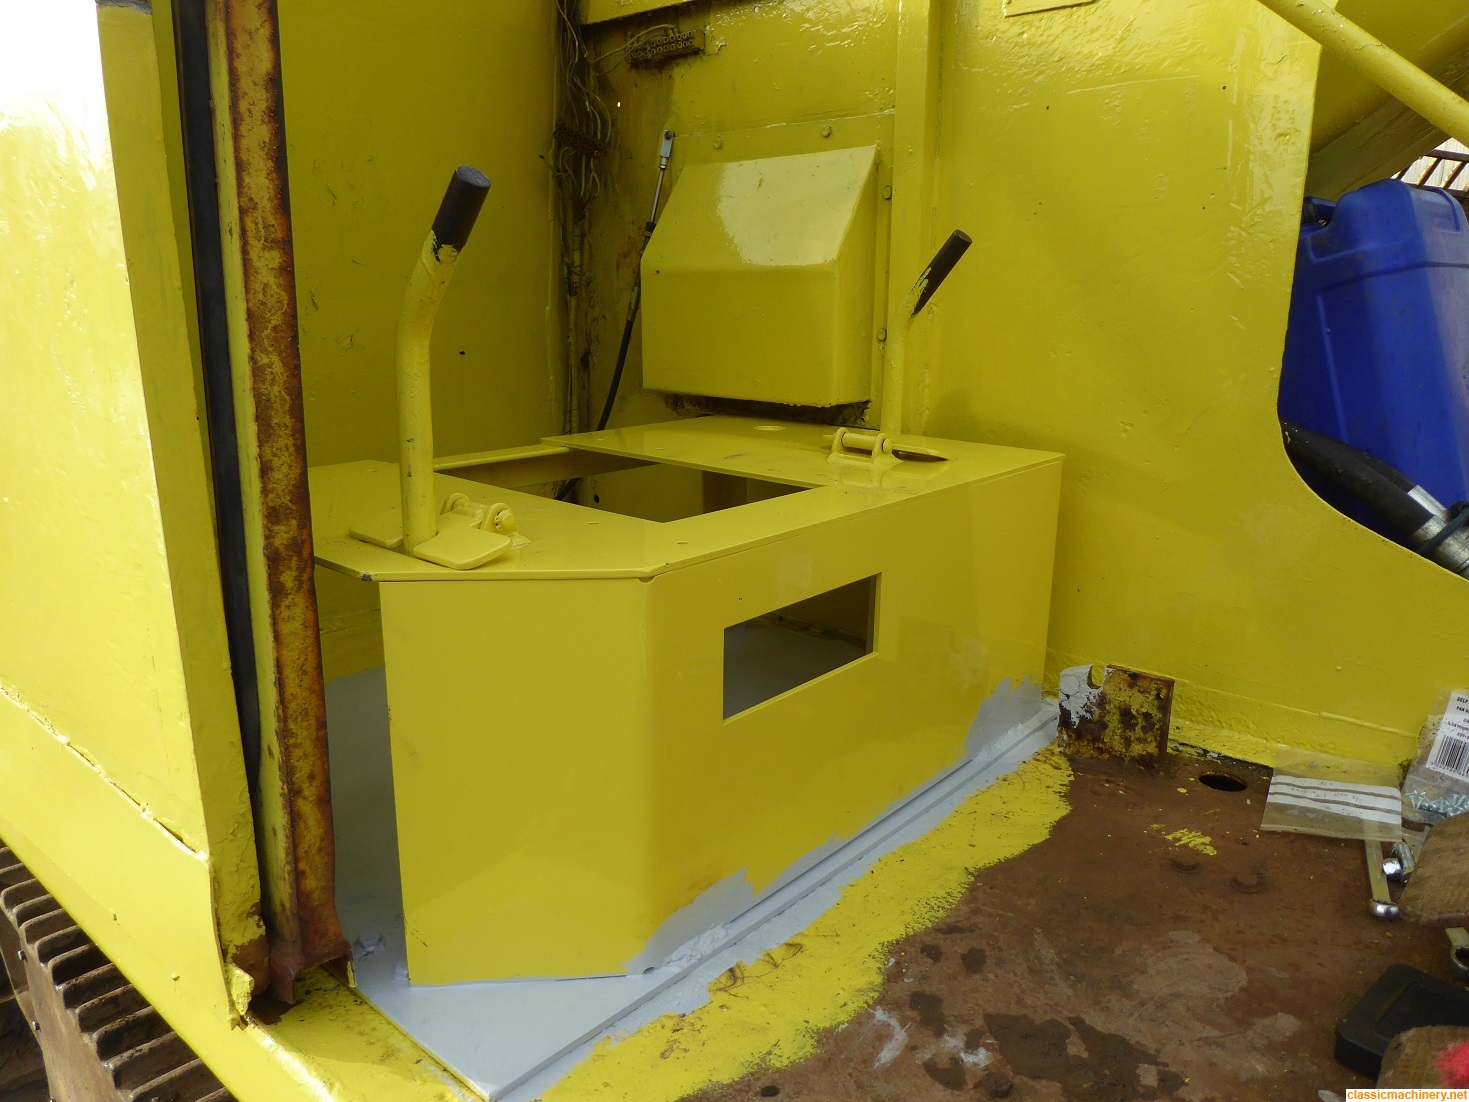
The base was partially covering the two bolt holes; now I had already got two brackets made at work which I had intended on welding to the seat base and then bolting it into position, this was now not possible. The other issue was that the seat base did not have the two rear mounting hole brackets on it so I 'bit the bullet' and decided to weld the seat base to the new floor plate, so using my inverter arc welder I made two small runs at the front of the seat base then tacked the two rear legs of the base, two coats of paint later I was happy with it. I also fitted the new serial number plate (spot the error) and the two track lever handle covers. Once again I had intended drill two more additional holes in the back of the floor plate but decided to do this next time as I have to drill the seat base to accept the throttle lever. It will never be a 'Tony Flint or Julian Carder restoration' but it will still be reasonably presentable.
Jeremy
-
Jeremy Rowland
Topic author - Moderator
- Posts: 8699
- Joined: Sun Aug 05, 2007 8:36 pm
- Real name: Jeremy Rowland
- Has thanked: 1887 times
- Been thanked: 1700 times
Re: Hymac 580BT 1969
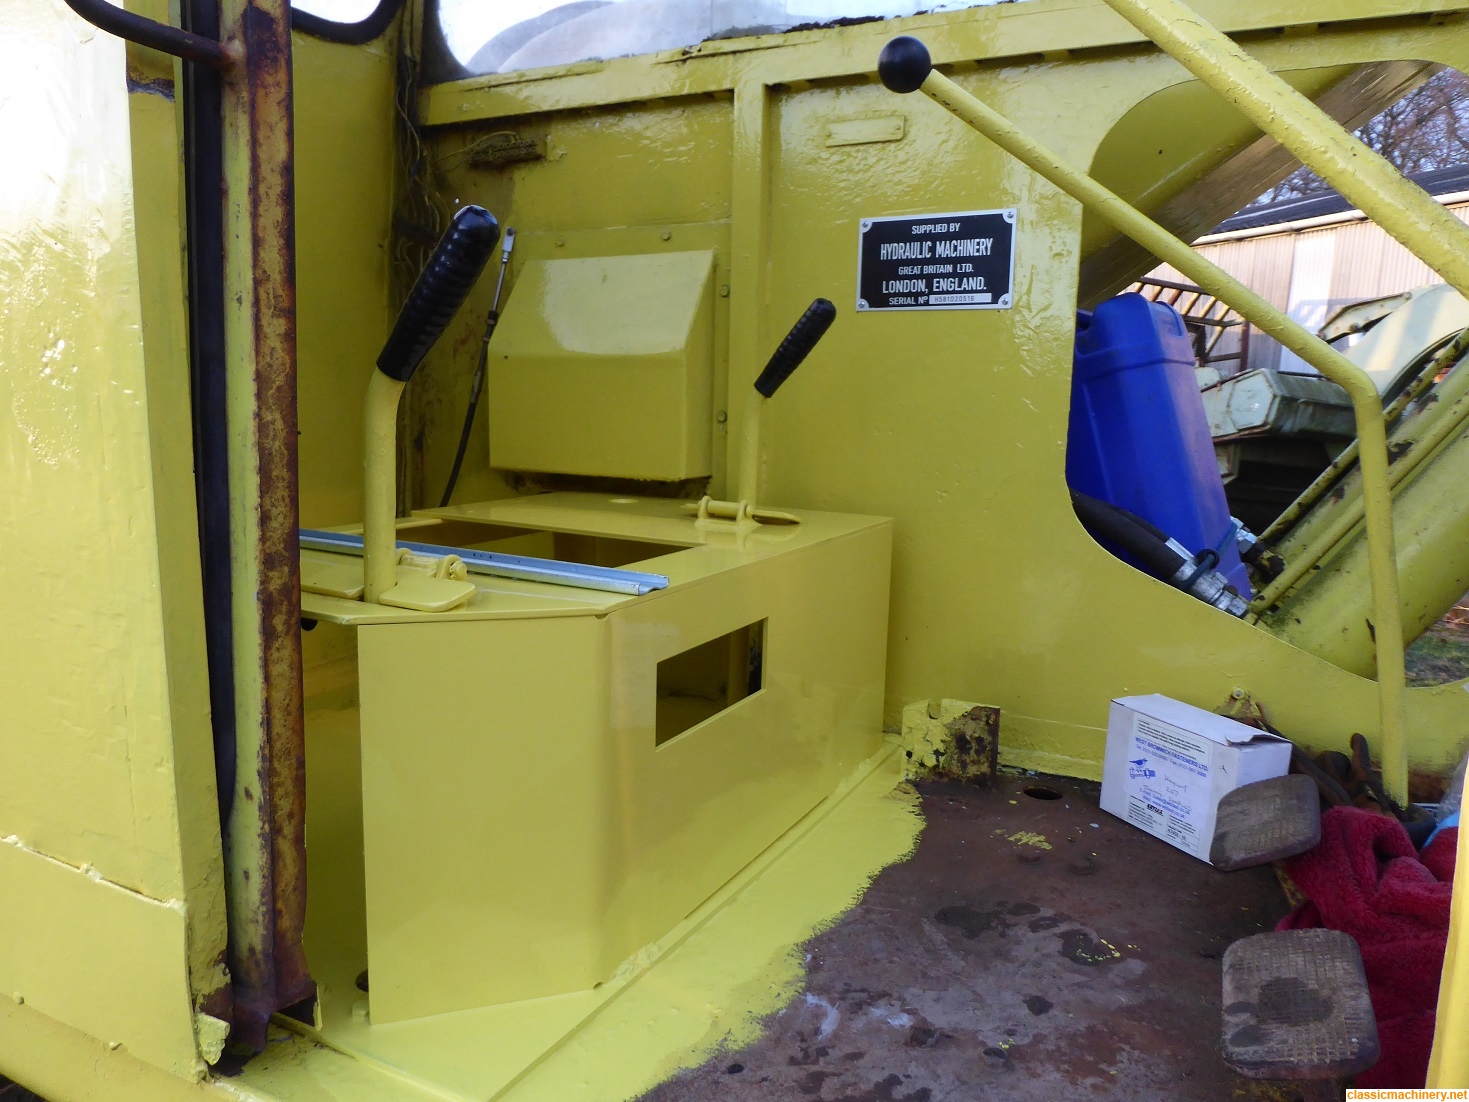
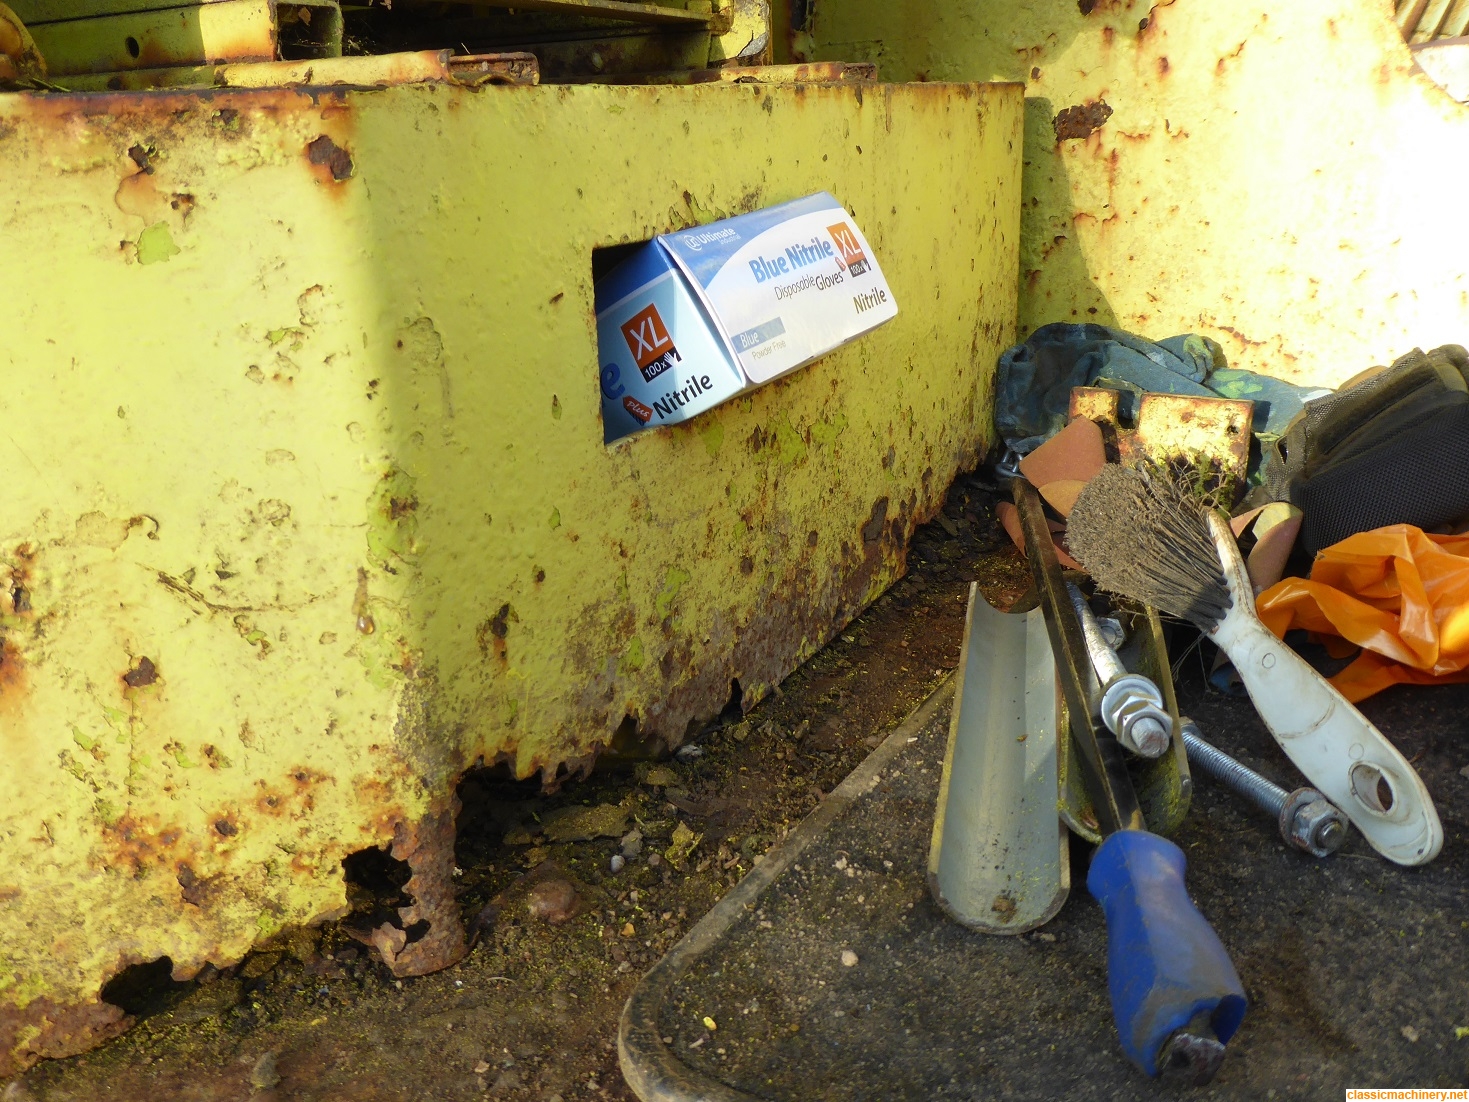
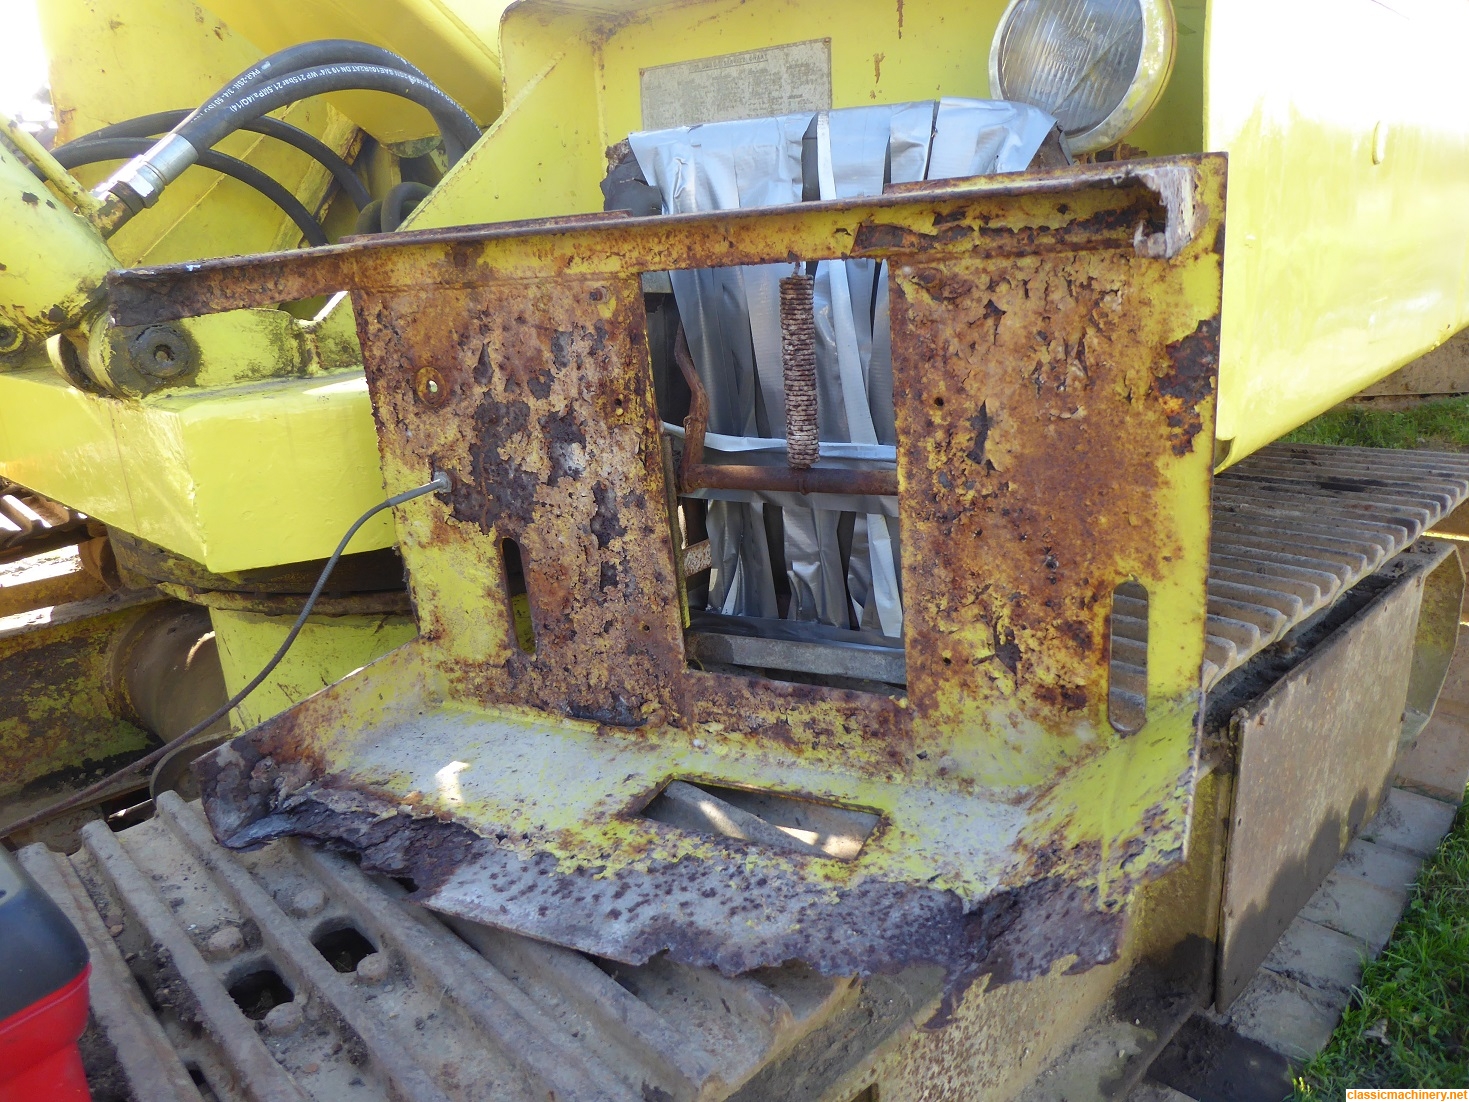
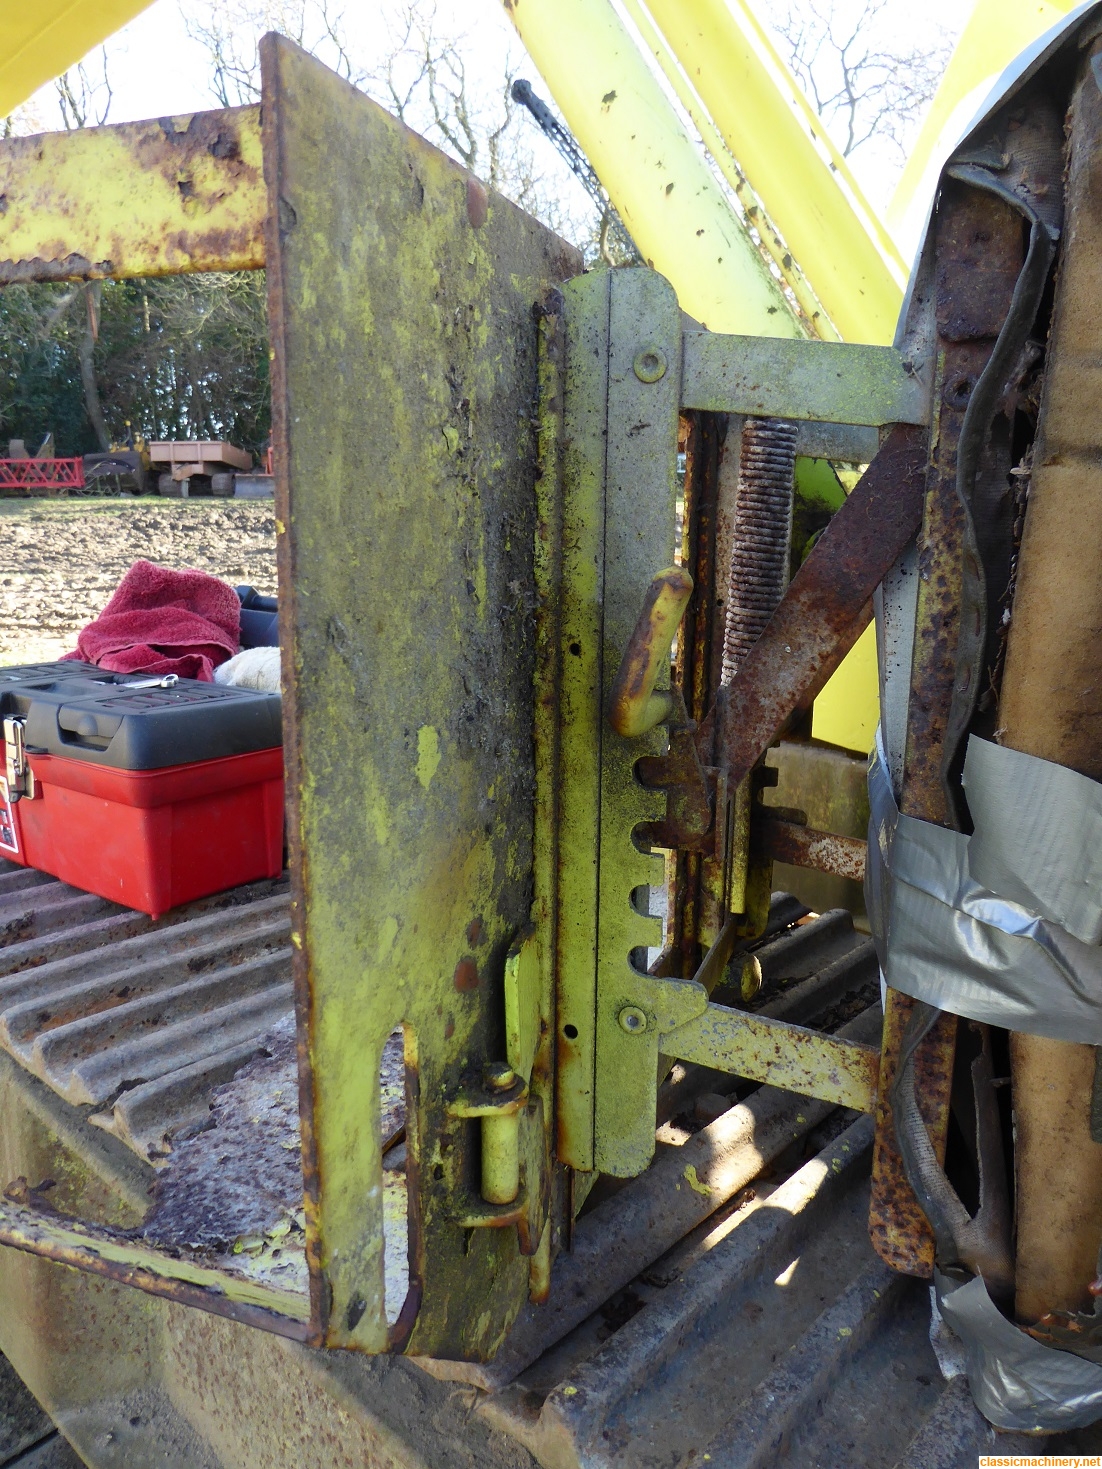
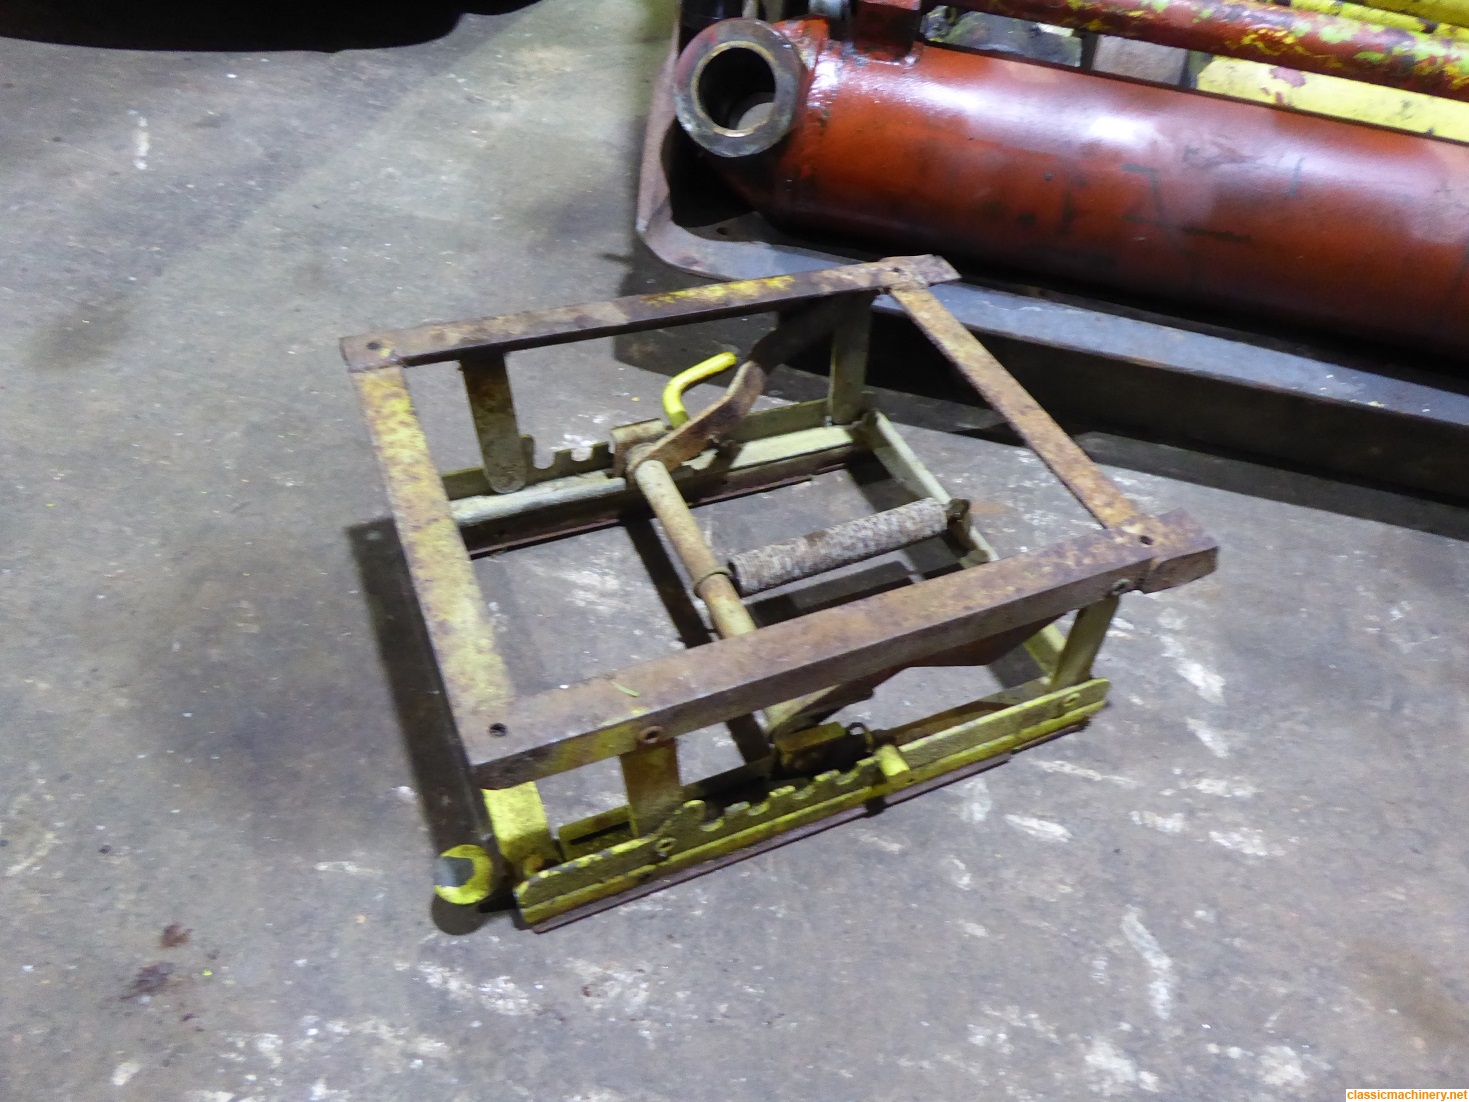
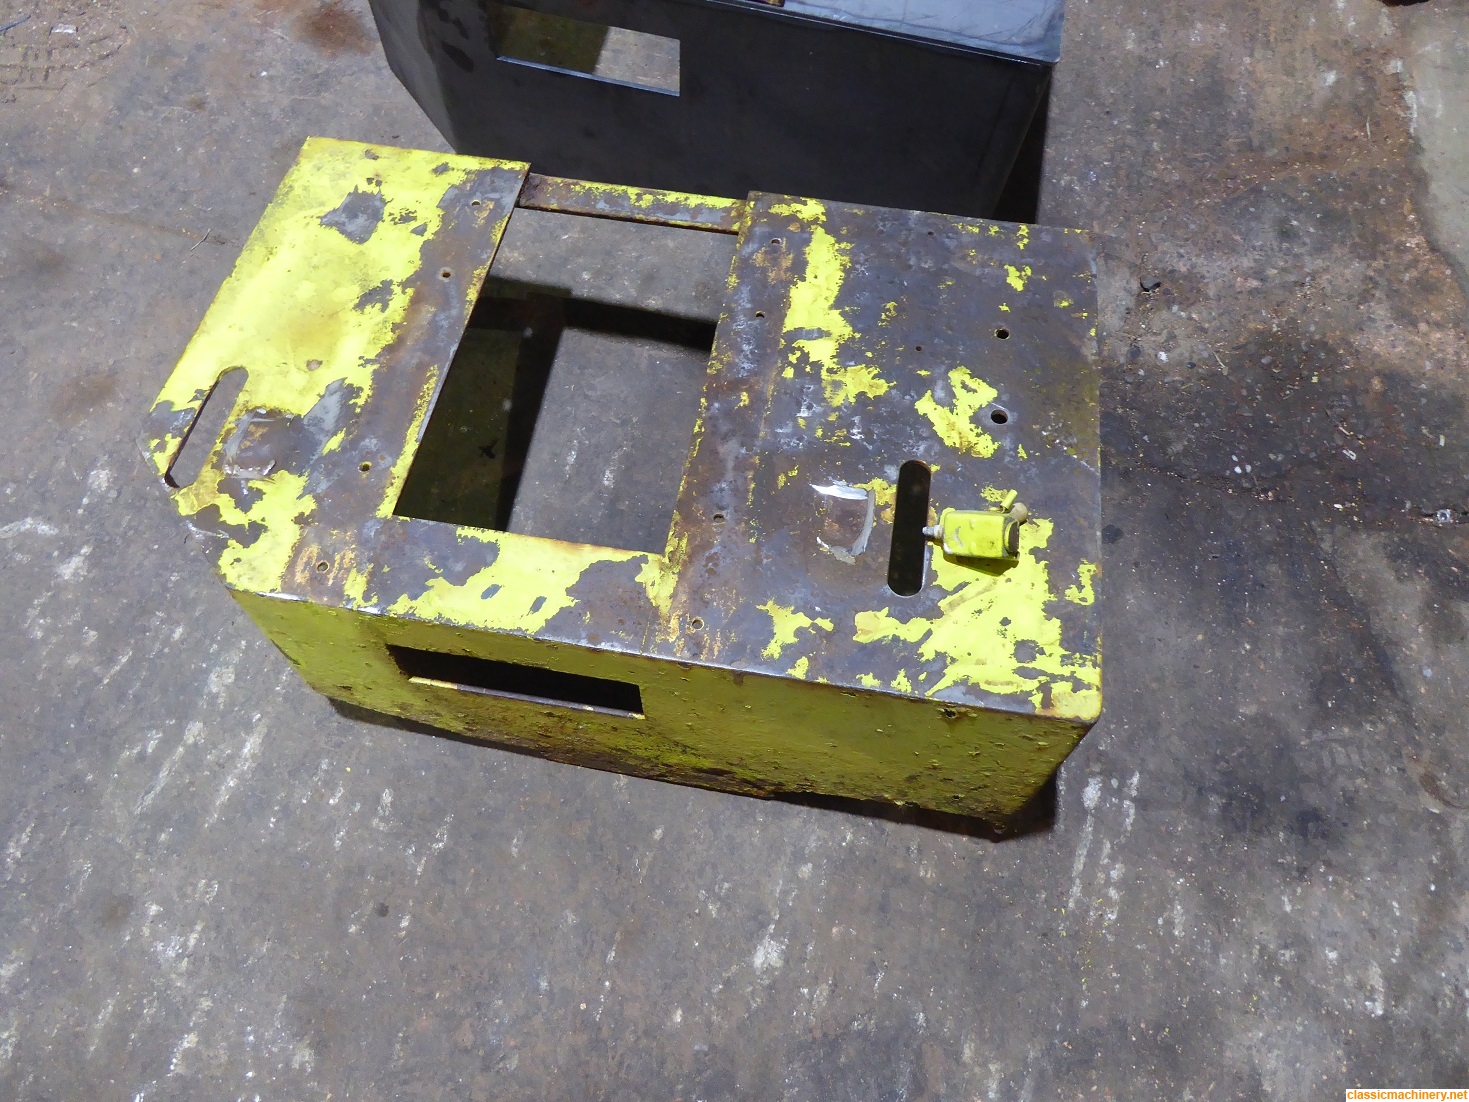
Guess I should have posted these photos first; this was what the old seat base looked like when I took it out of the cab, it was only secured on the one corner the rest having rotted away so I simply put the angle grinder through it. In the later photos it stands next to its replacement in Julian Carders unit, you may wonder why I took the rust off the top of it?
Well I didn't fancy having that rusty heap of metal in my car so I ground off the rough edges and gave it a quick sanding off the seized seat mechanism minus the back which was missing when I bought the machine can also be seen this has since been freed up shot blasted and zinc coated, the fabricator at work has since welded a new back on the seat for me, I will post more pics when it is finished.
Jeremy
Well I didn't fancy having that rusty heap of metal in my car so I ground off the rough edges and gave it a quick sanding off
Jeremy

-
Jeremy Rowland
Topic author - Moderator
- Posts: 8699
- Joined: Sun Aug 05, 2007 8:36 pm
- Real name: Jeremy Rowland
- Has thanked: 1887 times
- Been thanked: 1700 times
Re: Hymac 580BT 1969
Andy80 wrote:It really was time for a facelift on that
I suppose in real terms the poor old girl was ready for the gas axe which has made it a real challenge for me to save her, then again when you consider that she will be fifty years old next year and like most items of construction plant that it has been stood out in all weathers for most if not all of it's life then I it is hardly surprising that there is a high level of rust and bits that need repair/replacing
Jeremy
-
Jeremy Rowland
Topic author - Moderator
- Posts: 8699
- Joined: Sun Aug 05, 2007 8:36 pm
- Real name: Jeremy Rowland
- Has thanked: 1887 times
- Been thanked: 1700 times
Re: Hymac 580BT 1969
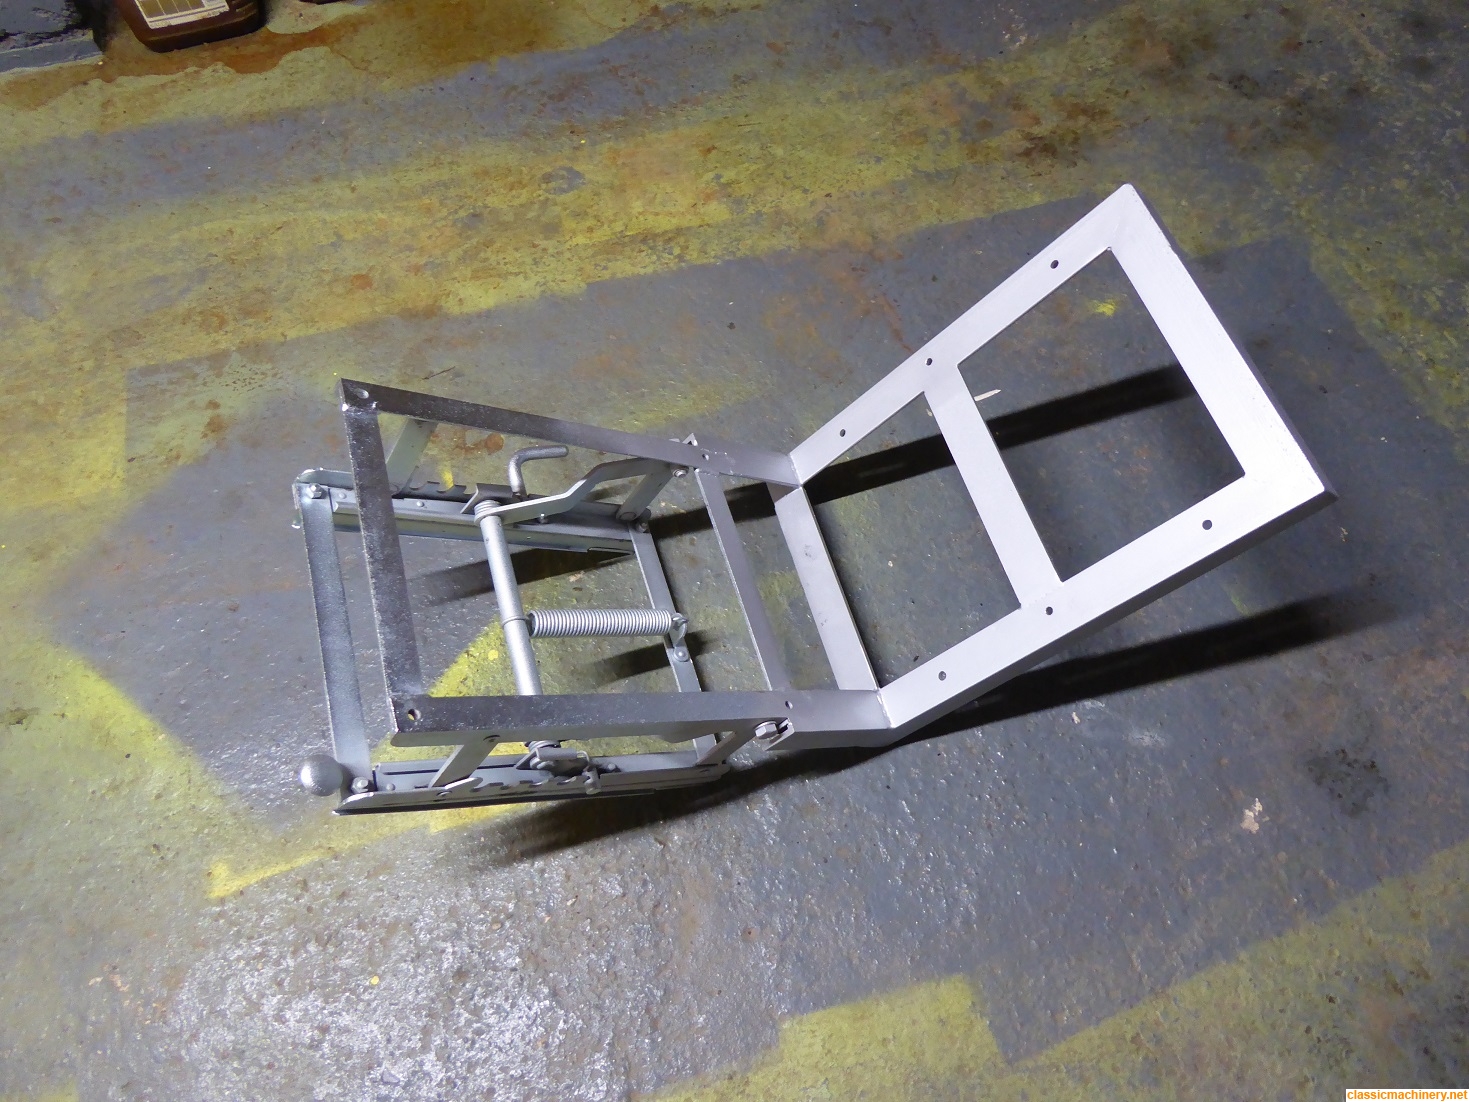
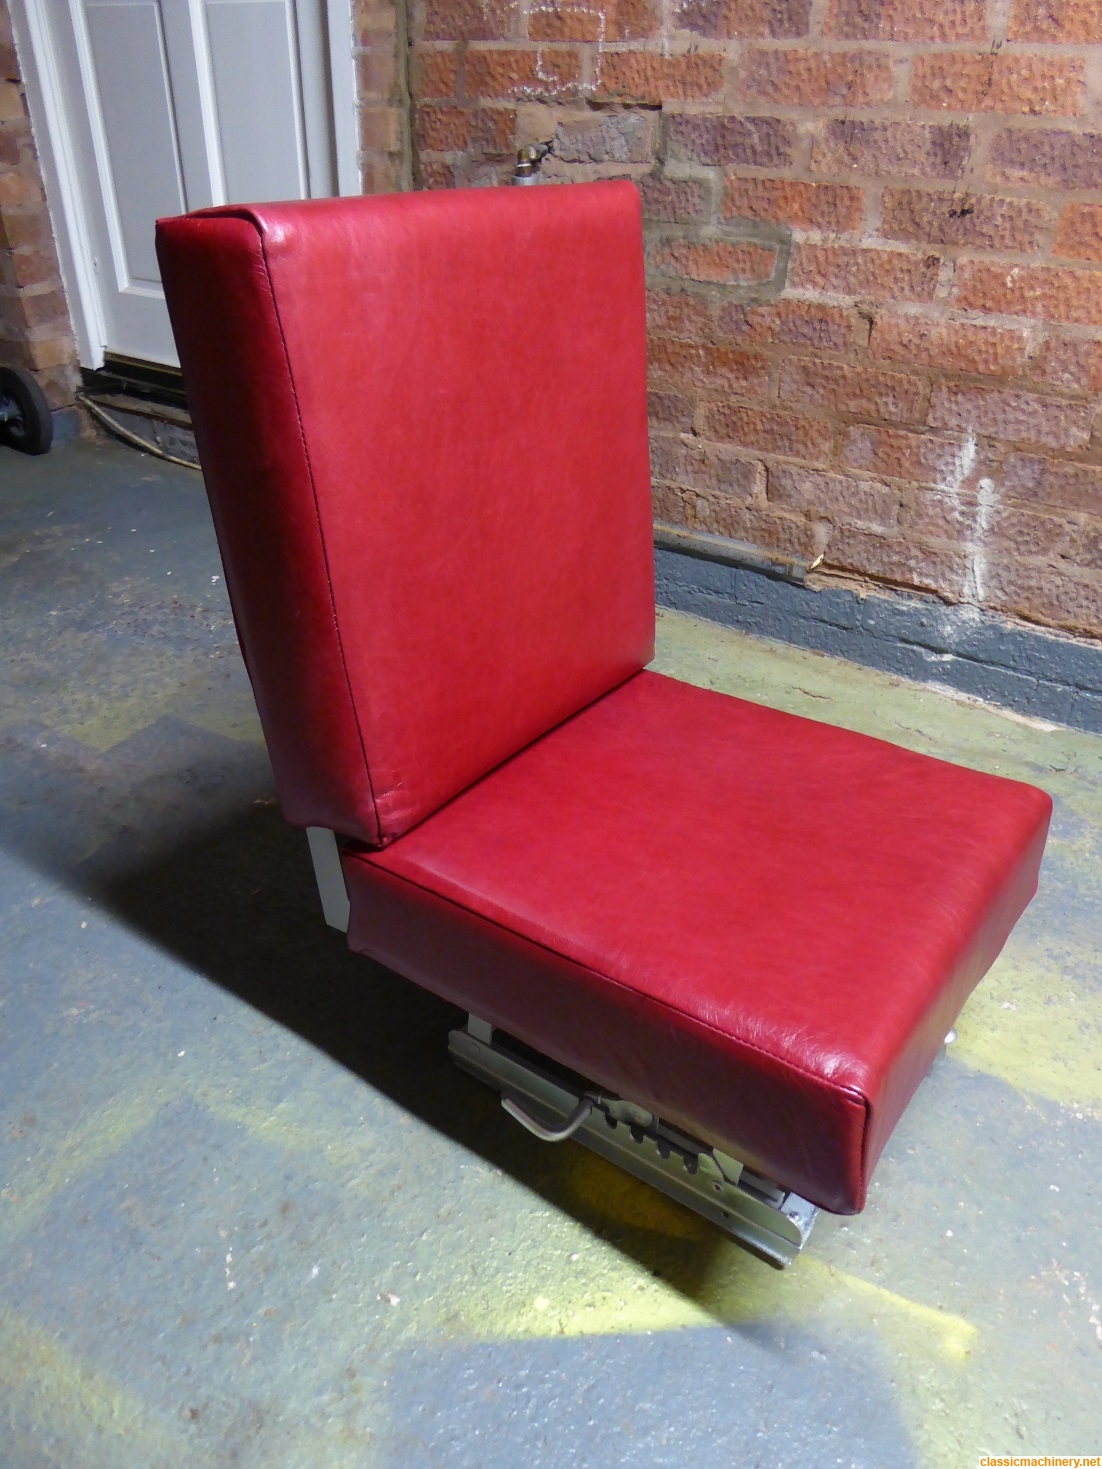
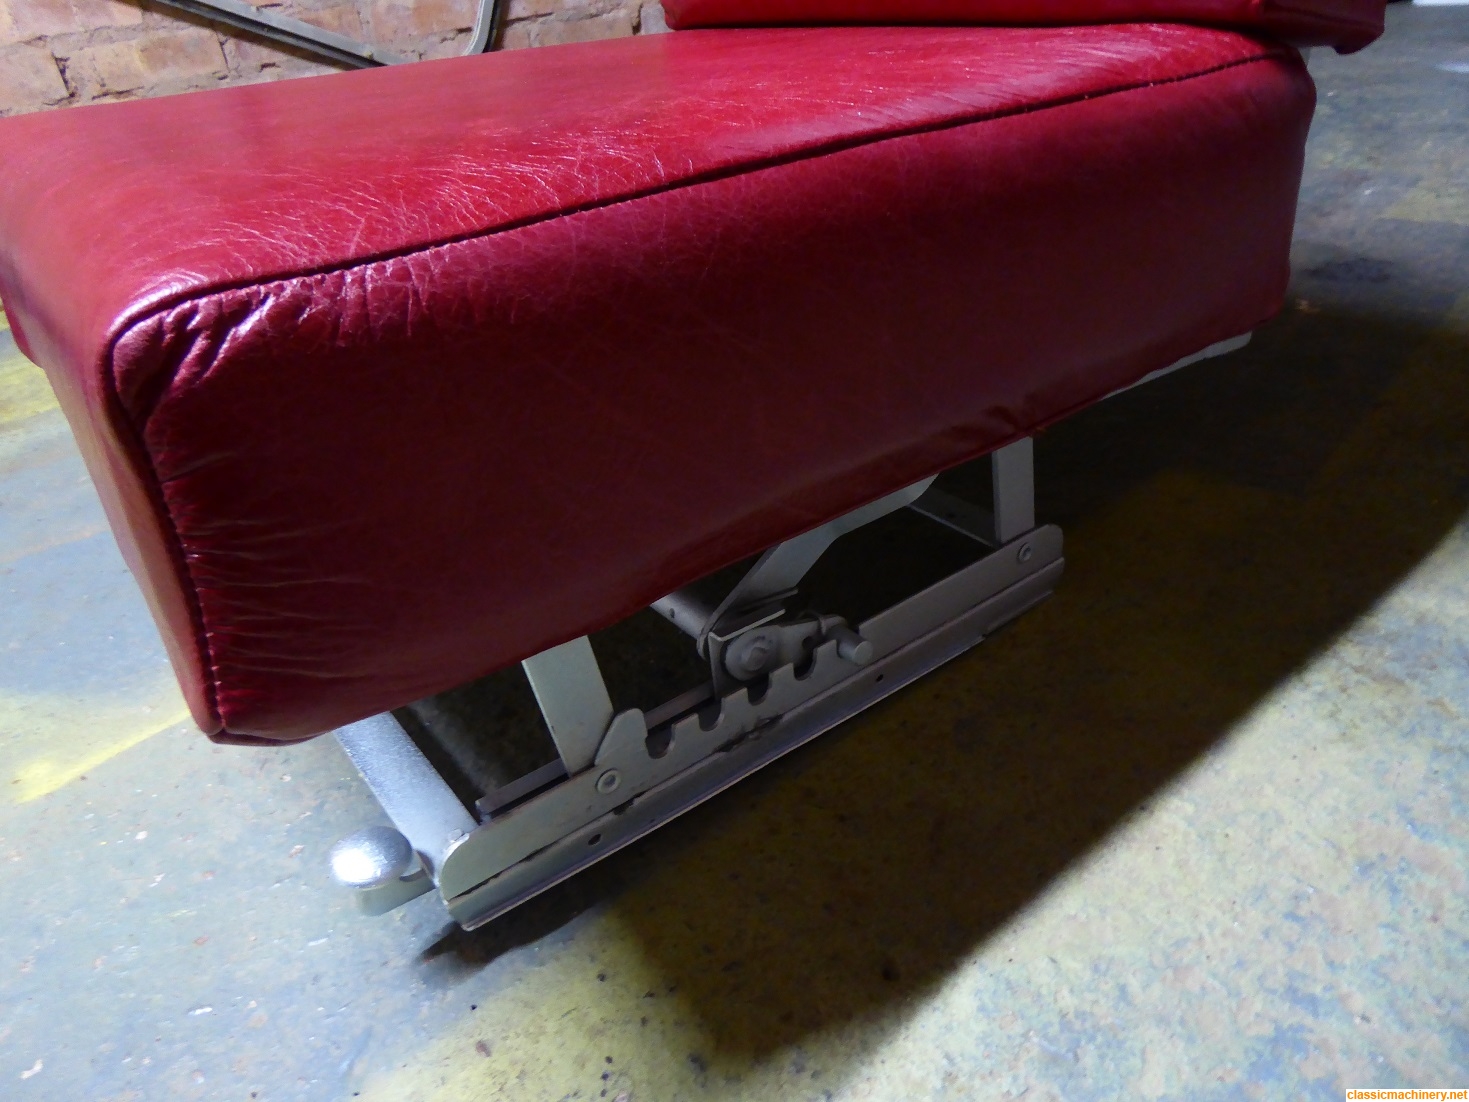
This is what the repaired seat base looks like the cushions are only resting in position at this moment but the will be attached using coach screws.
Jeremy

Jeremy
Who is online
Users browsing this forum: No registered users and 15 guests