Hi,
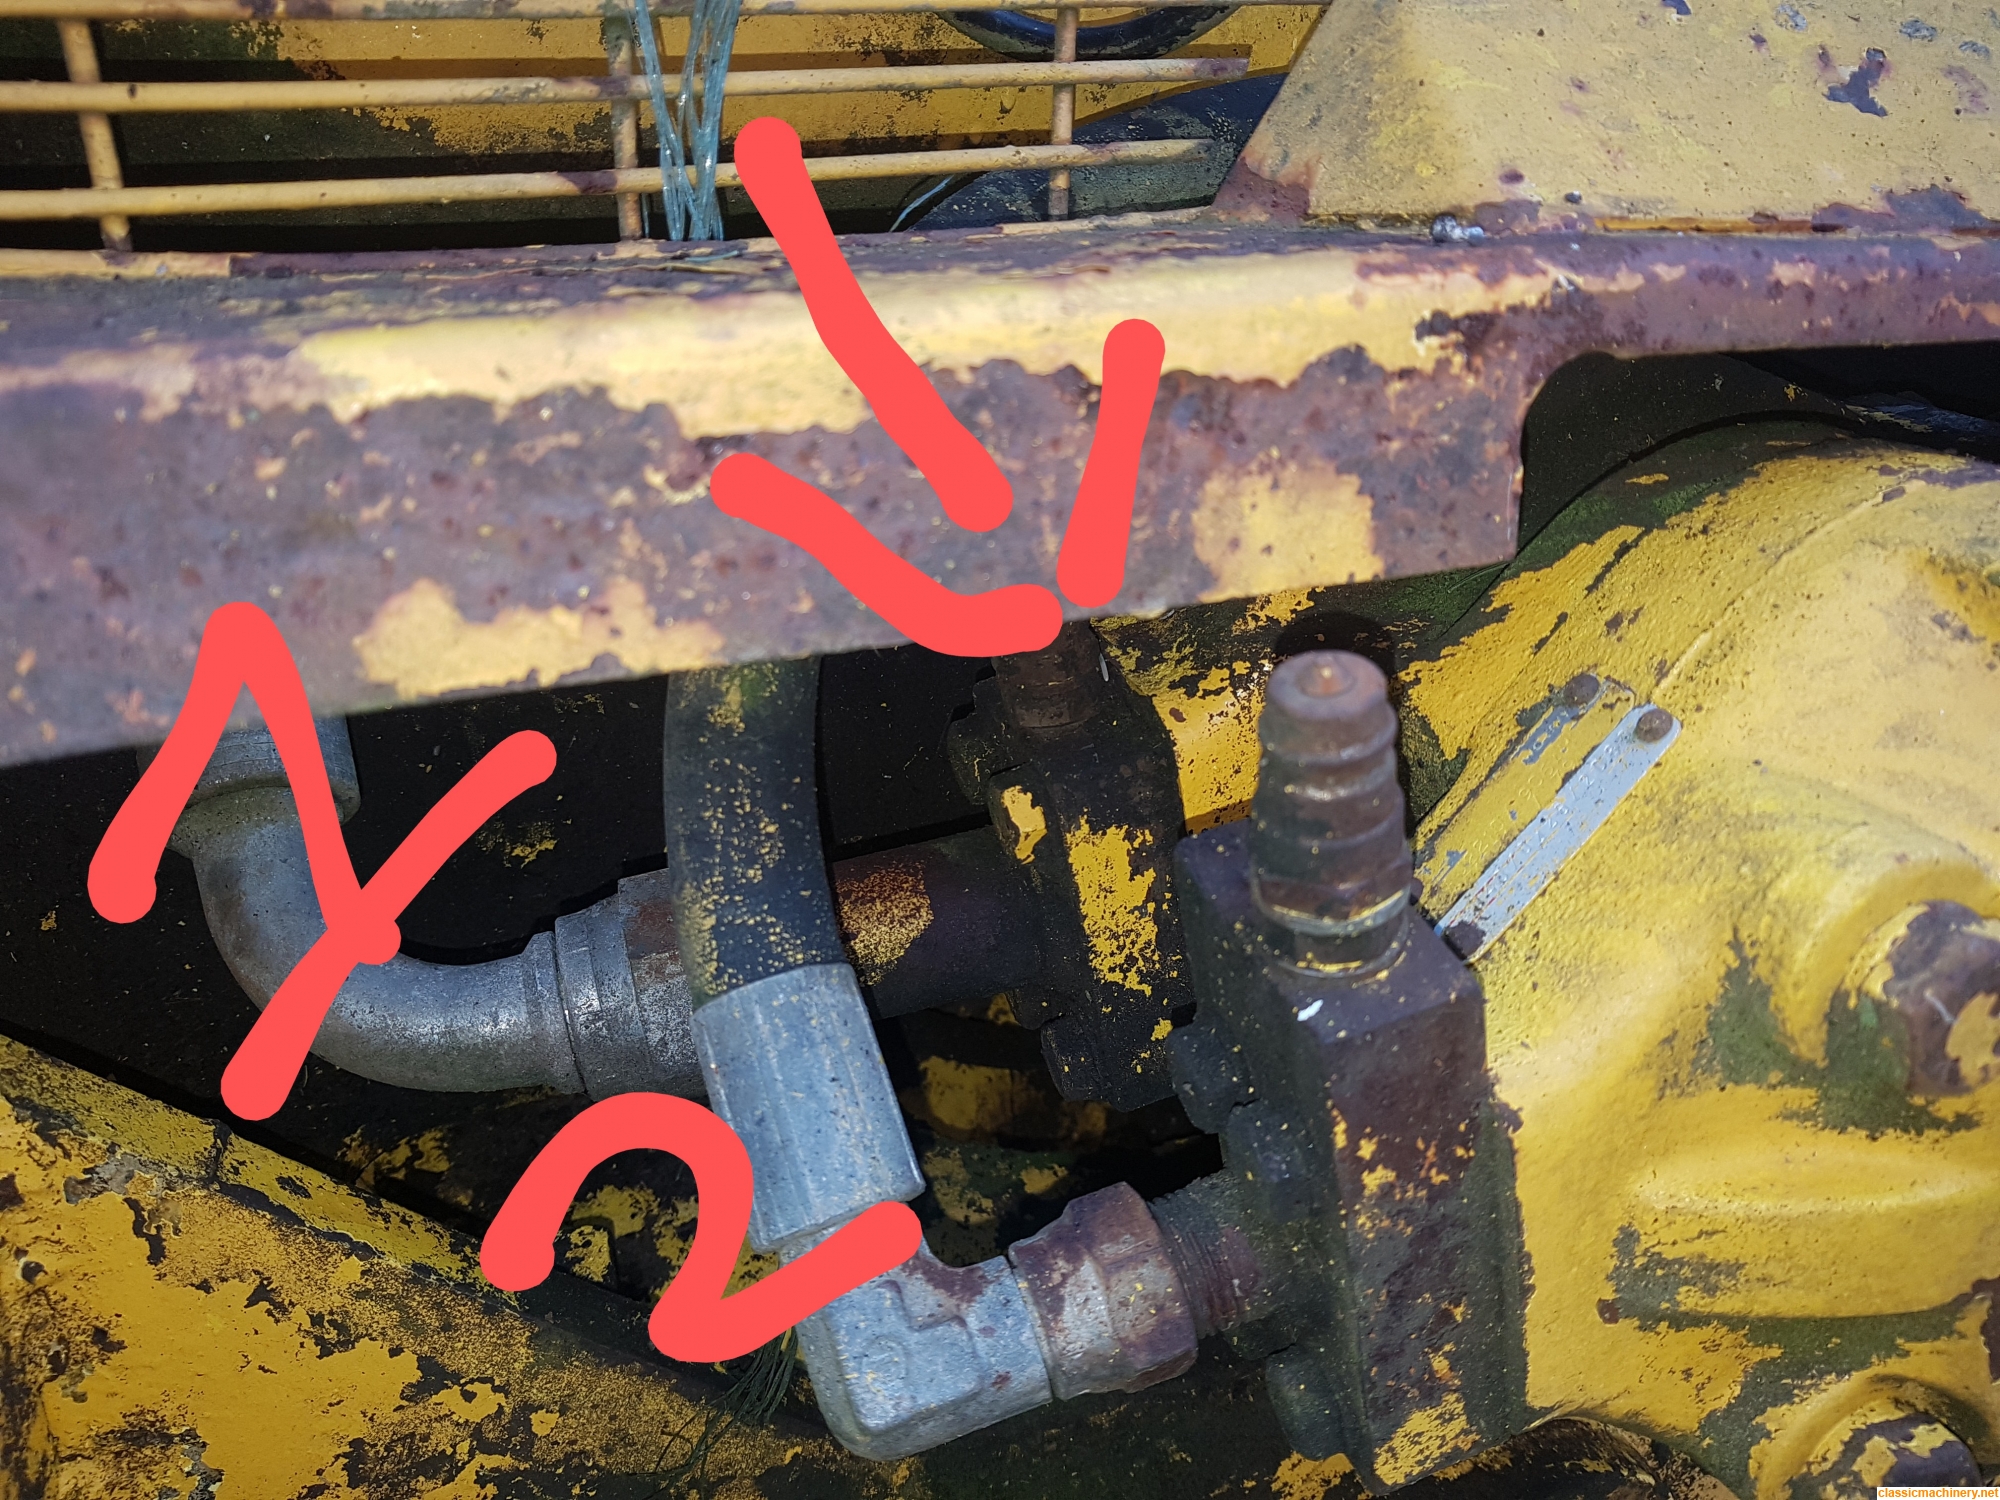
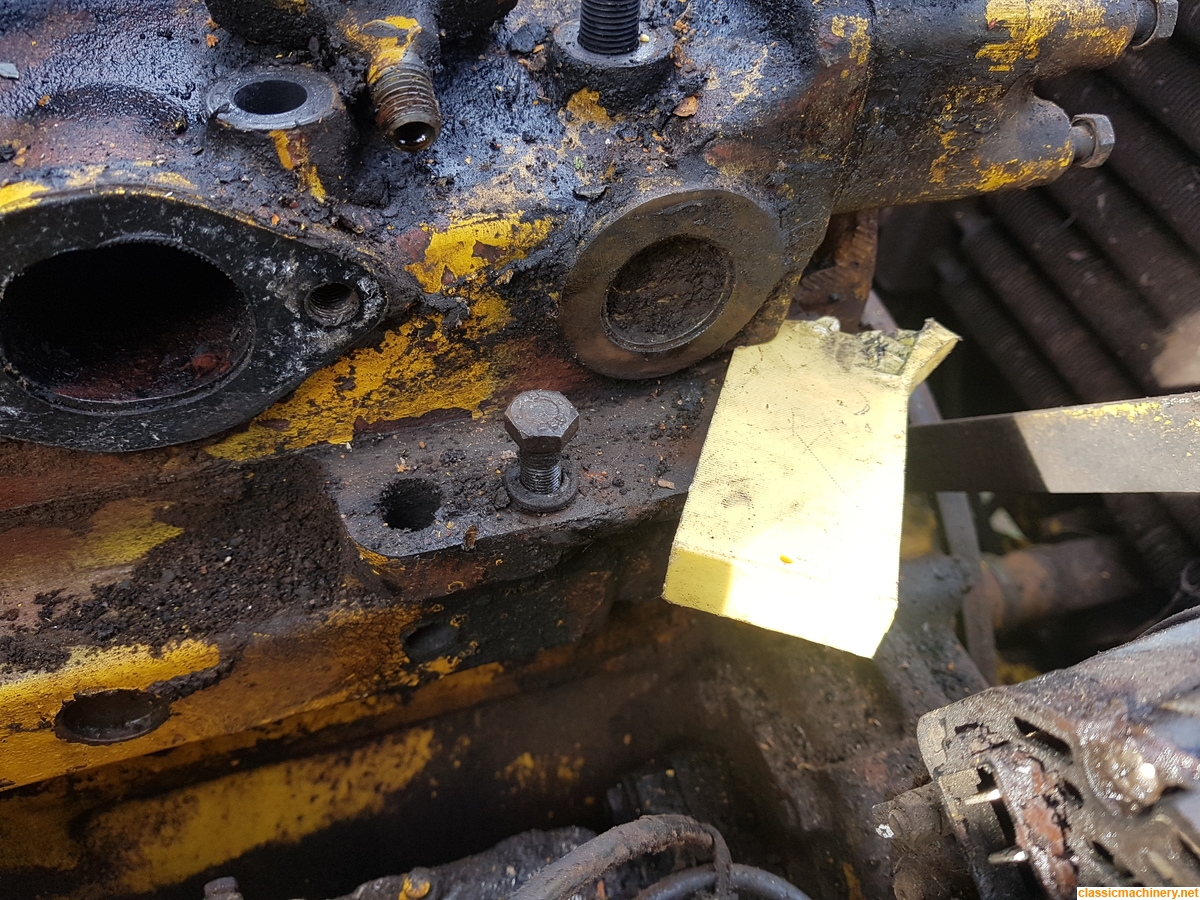
The arrowed knob as you call it on the hydraulic pumps connection is a self sealing coupler for connecting a test gauge. Wherever you connect your attachment it is important to connect the return to an existing return, (exhaust), line so that it is returned through a return line filter to the tank.
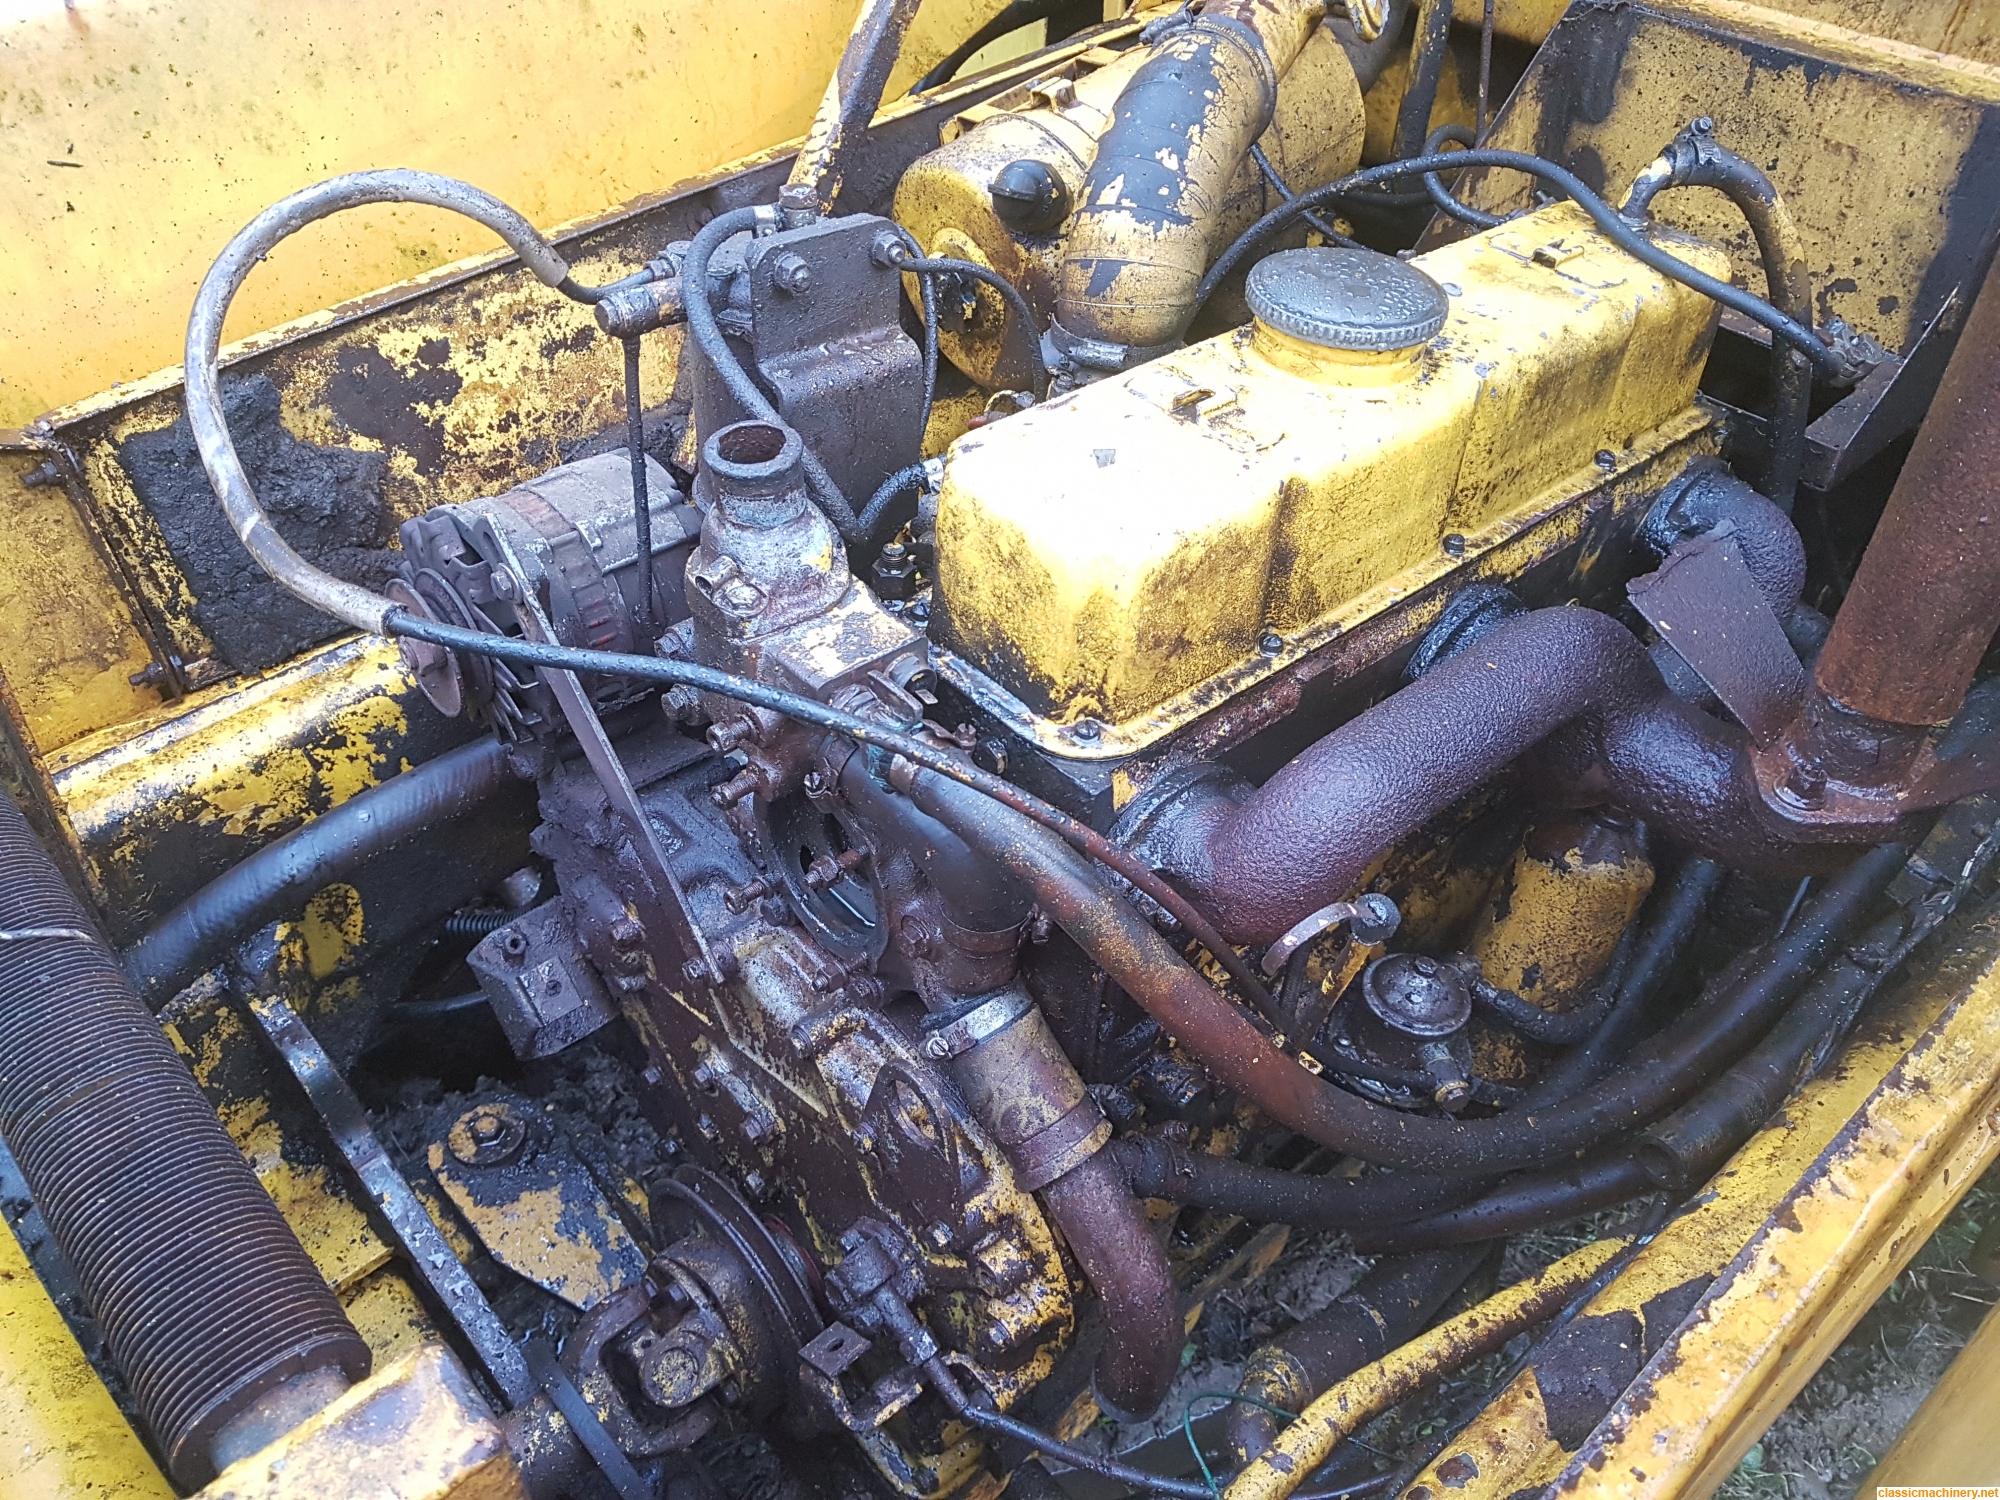
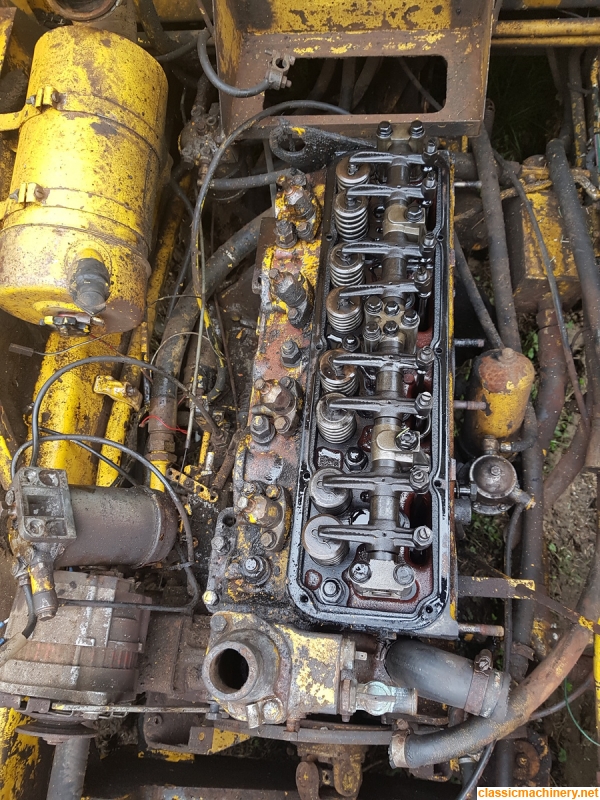
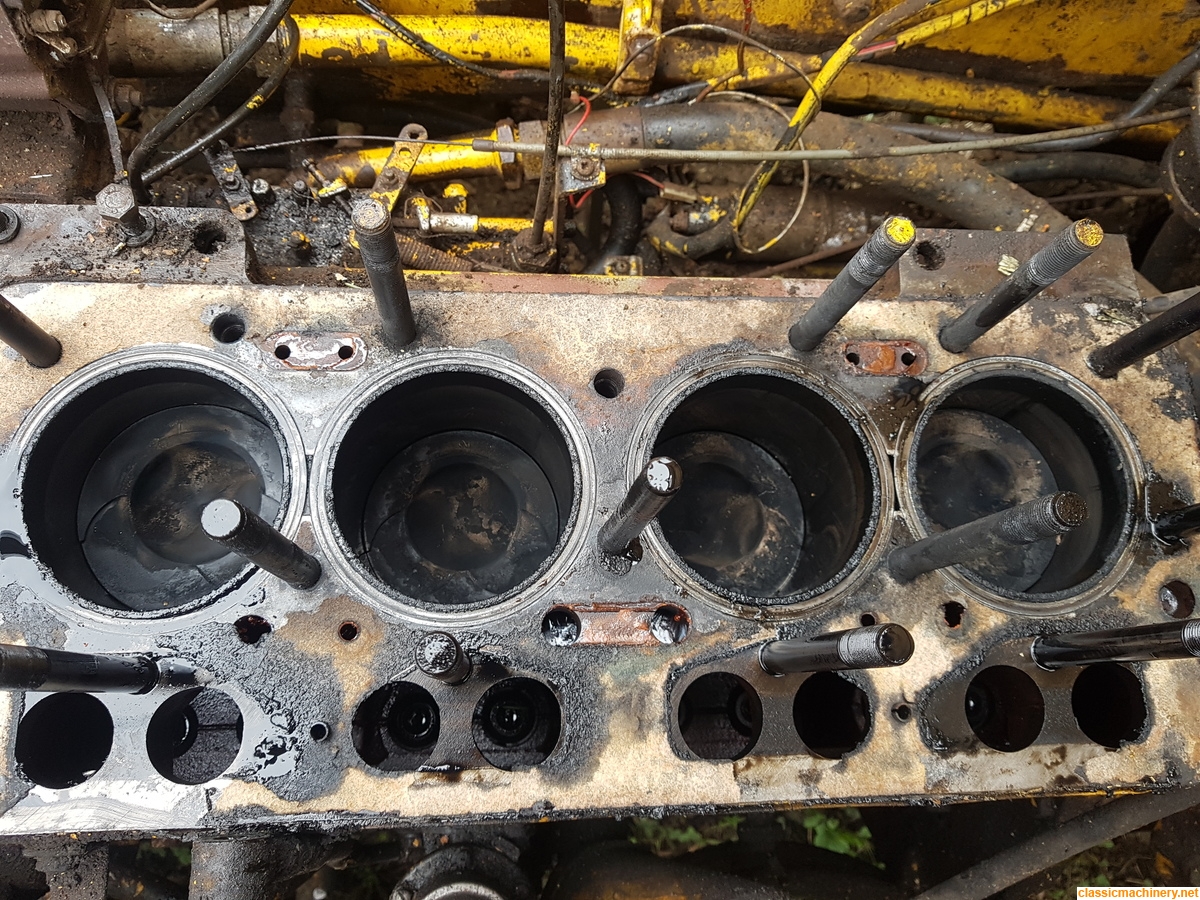
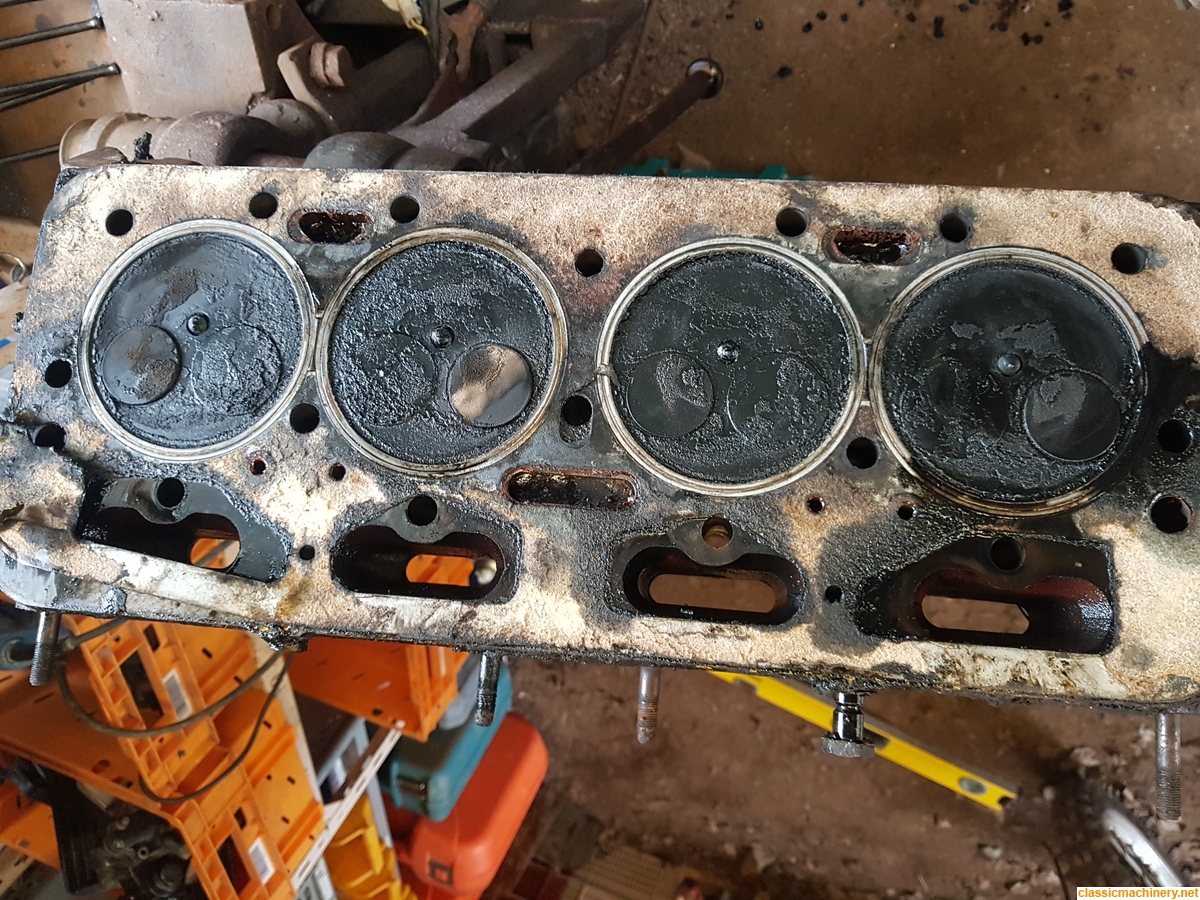
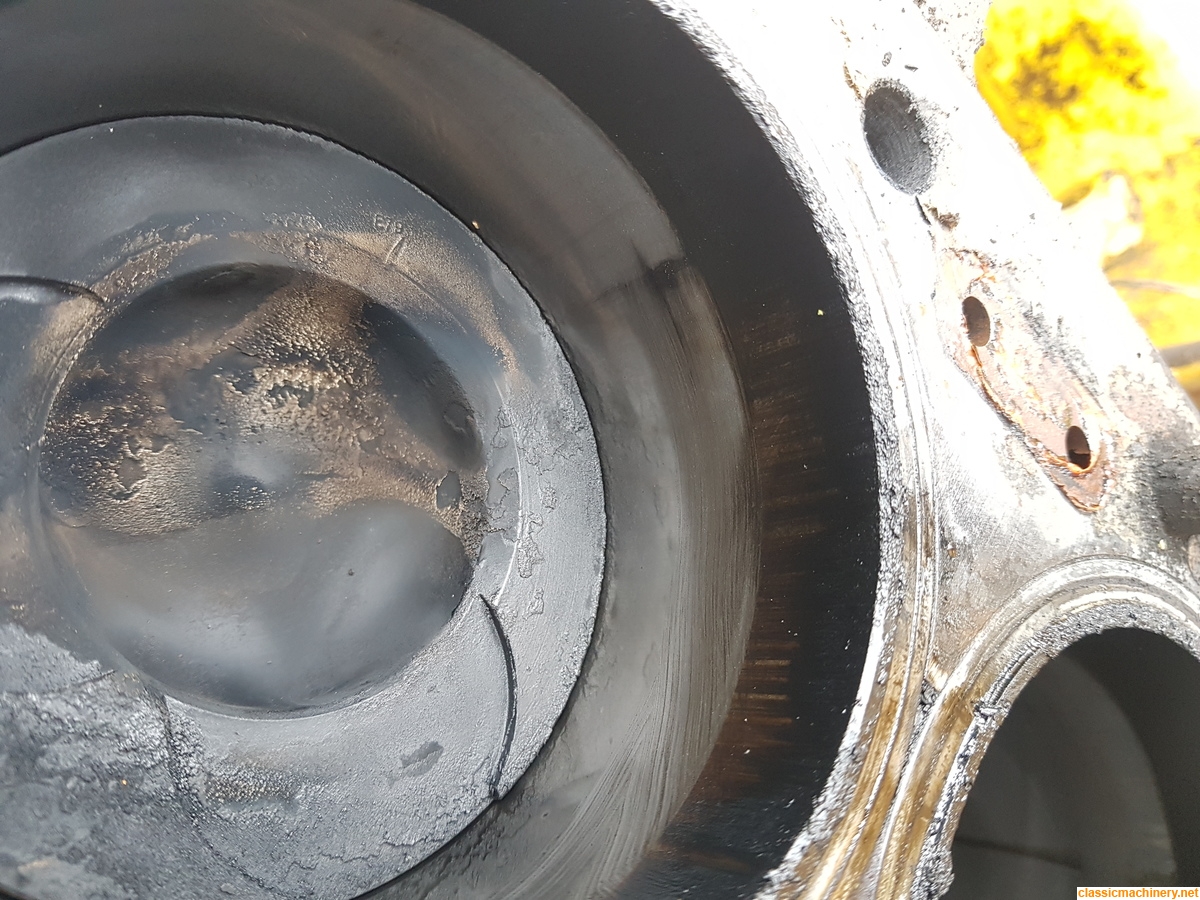
I worked on these engines years back and I'm afraid that not only were they prone to seals leaking at the base of the cylinder liners but in long service engines the liners sometimes crept down into the block.
When fitted the standing height of the liner must be between .003 and .006 inch above the face of the block. shims are available 3, 4, and 5 thou. thick to sit in the block under the top flange of the liner to achieve the required height. Most importantly the standing heights of all liners should be not less than .003 and as near as possible the same on all cylinders.
When you get it all cleaned up get some feeler gauges and an engineers rule, ( I have used the back of a hacksaw blade

), and check them carefully.
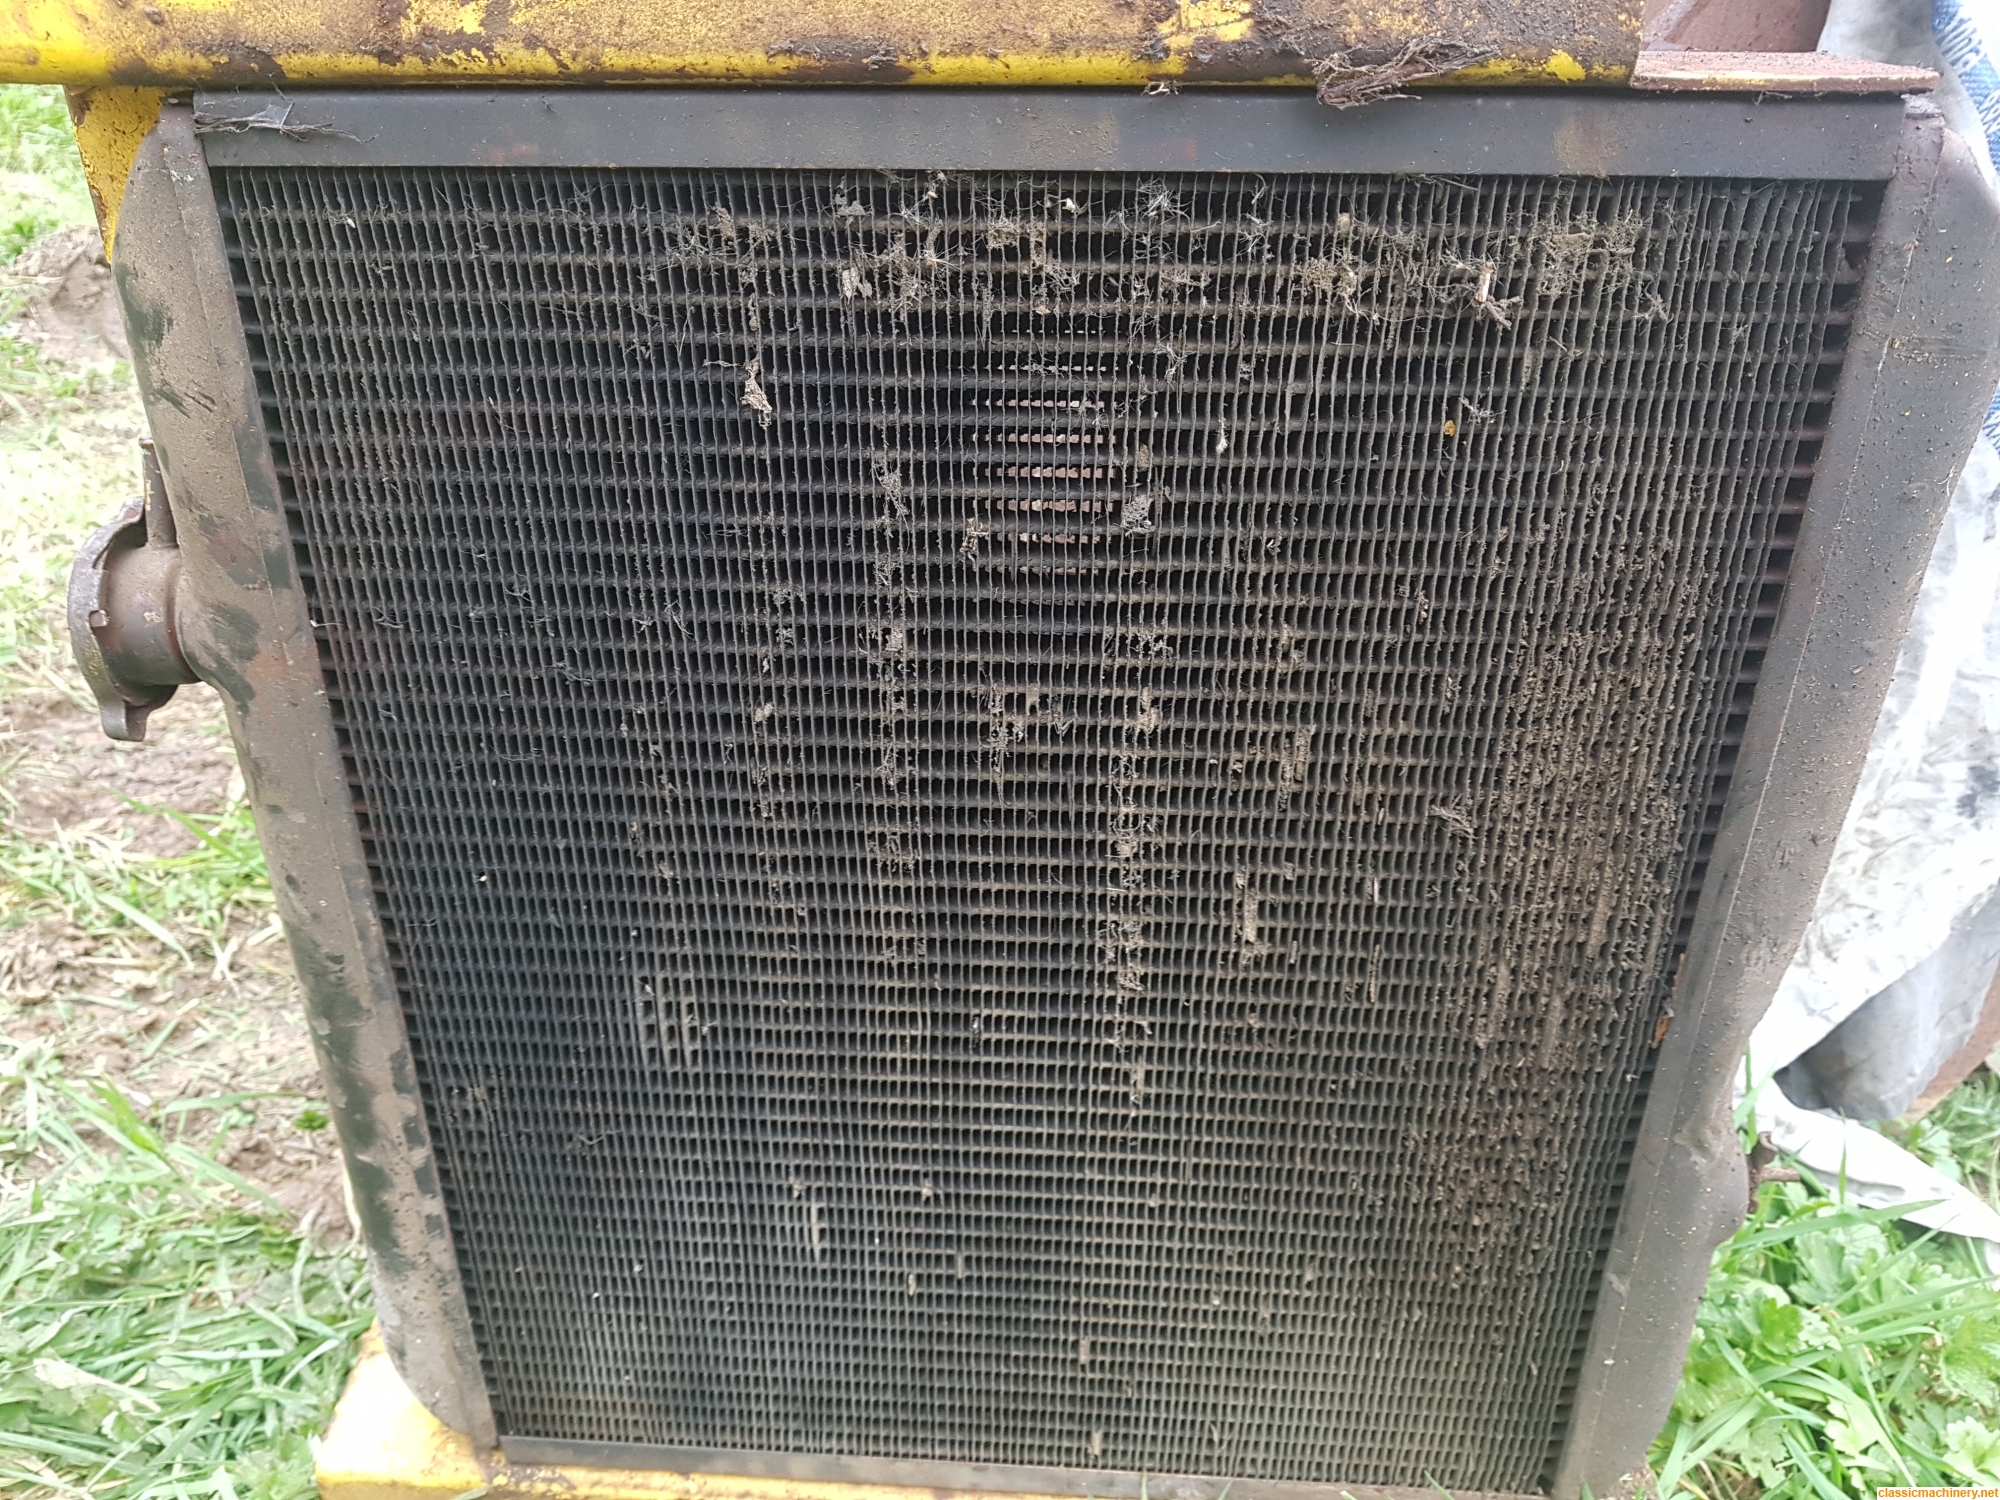
This is definitely worth checking as the brown sludge in your radiator is a fair sign that combustion gases have been blowing into the water jacket.
Let us know what you find.
Fred