Re: Poclain 75 CKB
Posted: Thu Sep 09, 2021 9:52 pm
Well today was not quite as constructive as I'd hoped for, on arrival the heavens opened and prevented any work being done on any of my machines until after ten, so I helped Andrew and Tim with some of Andrew's work on one of his towed farming furrow rollers.
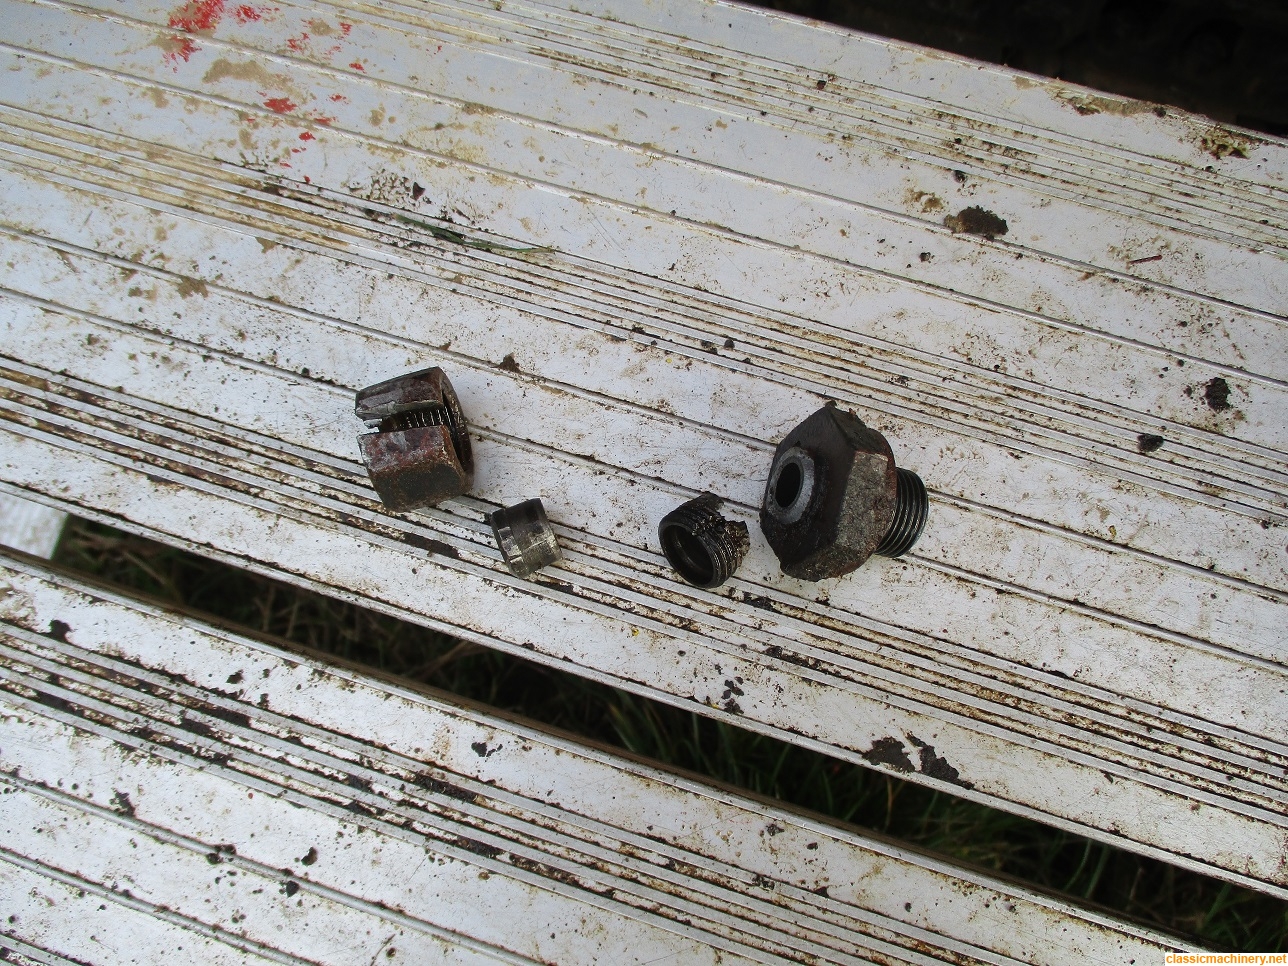
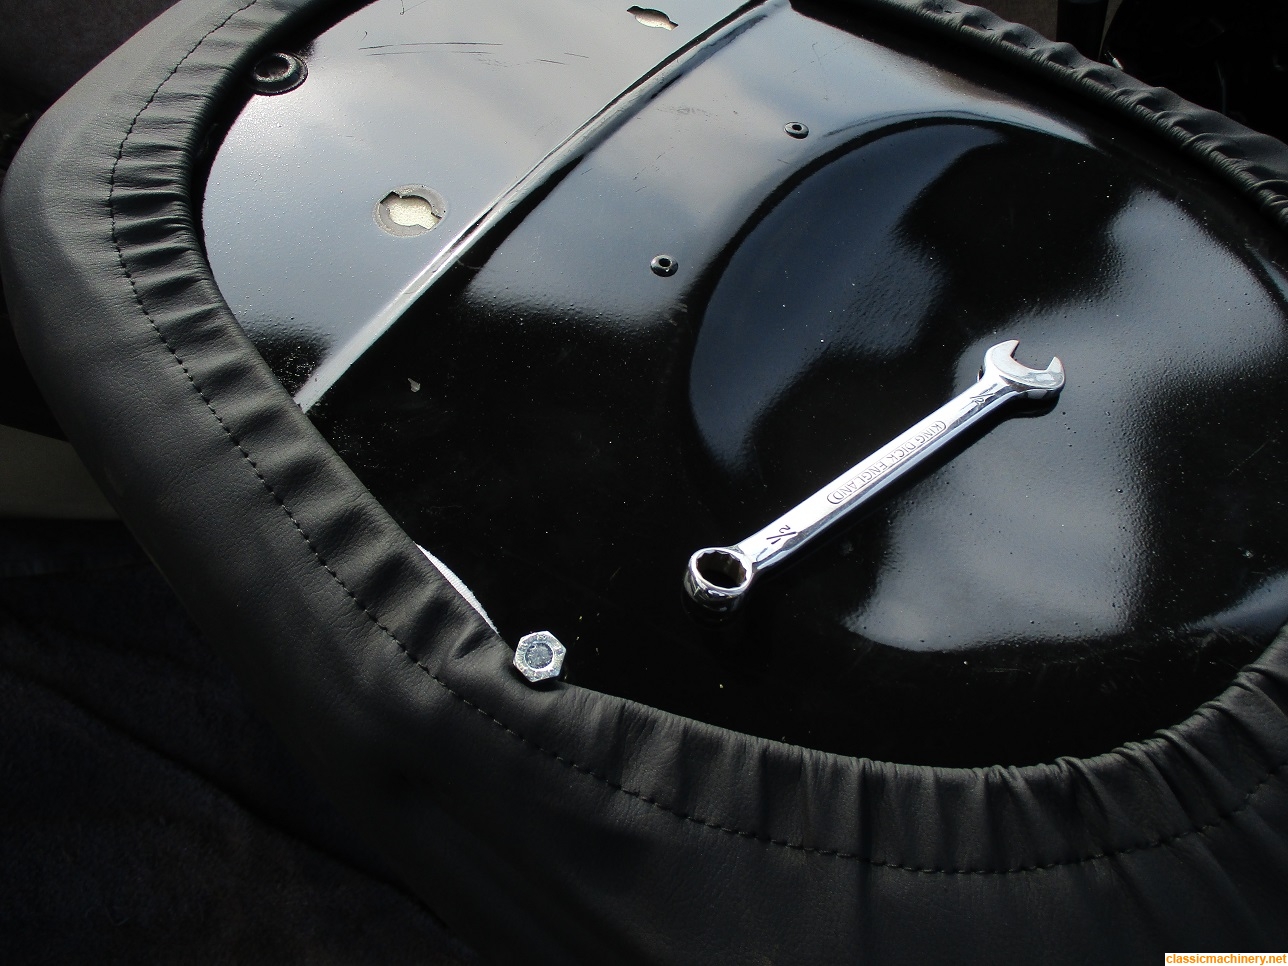
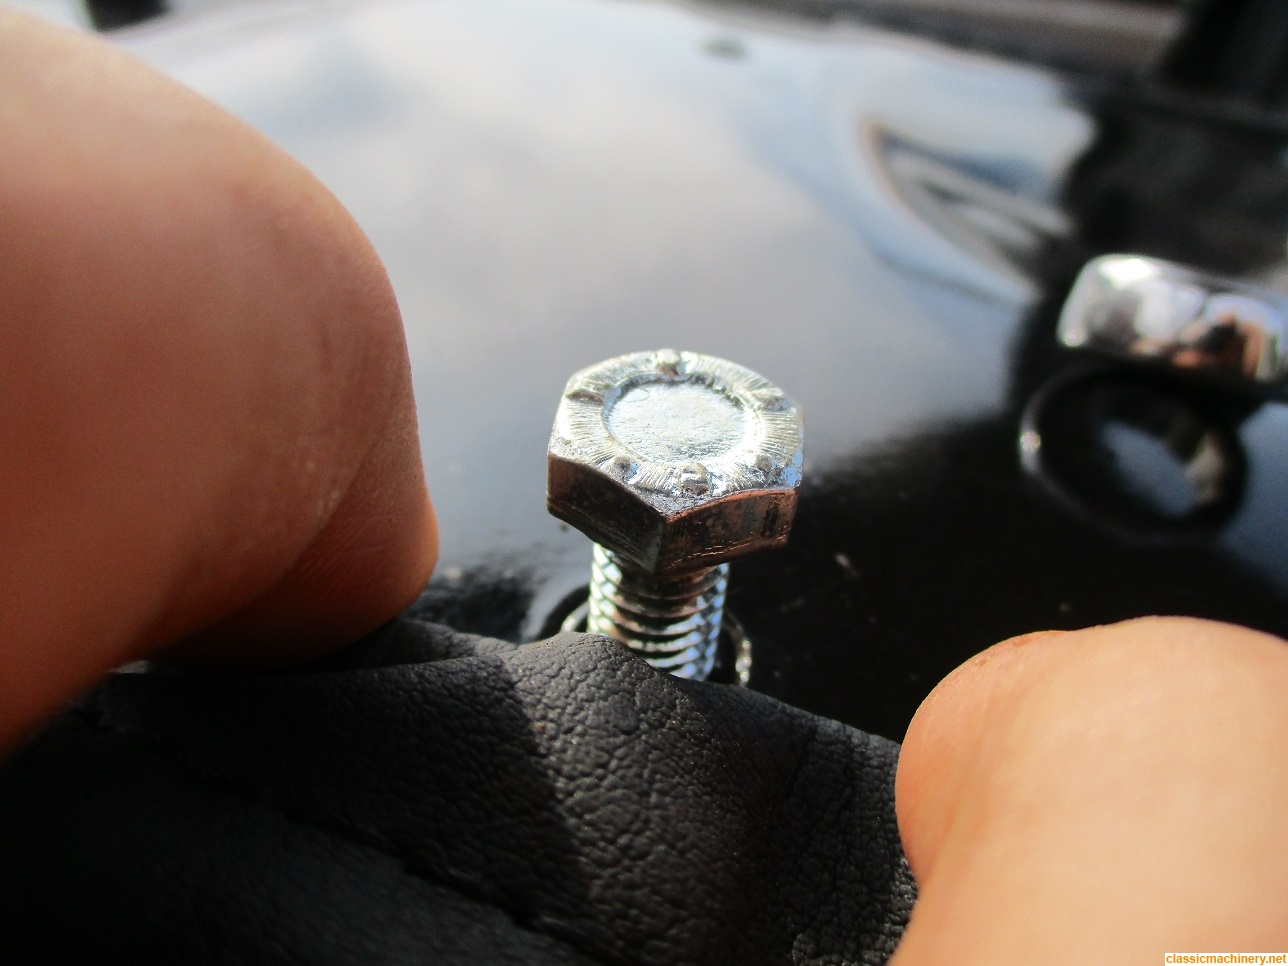
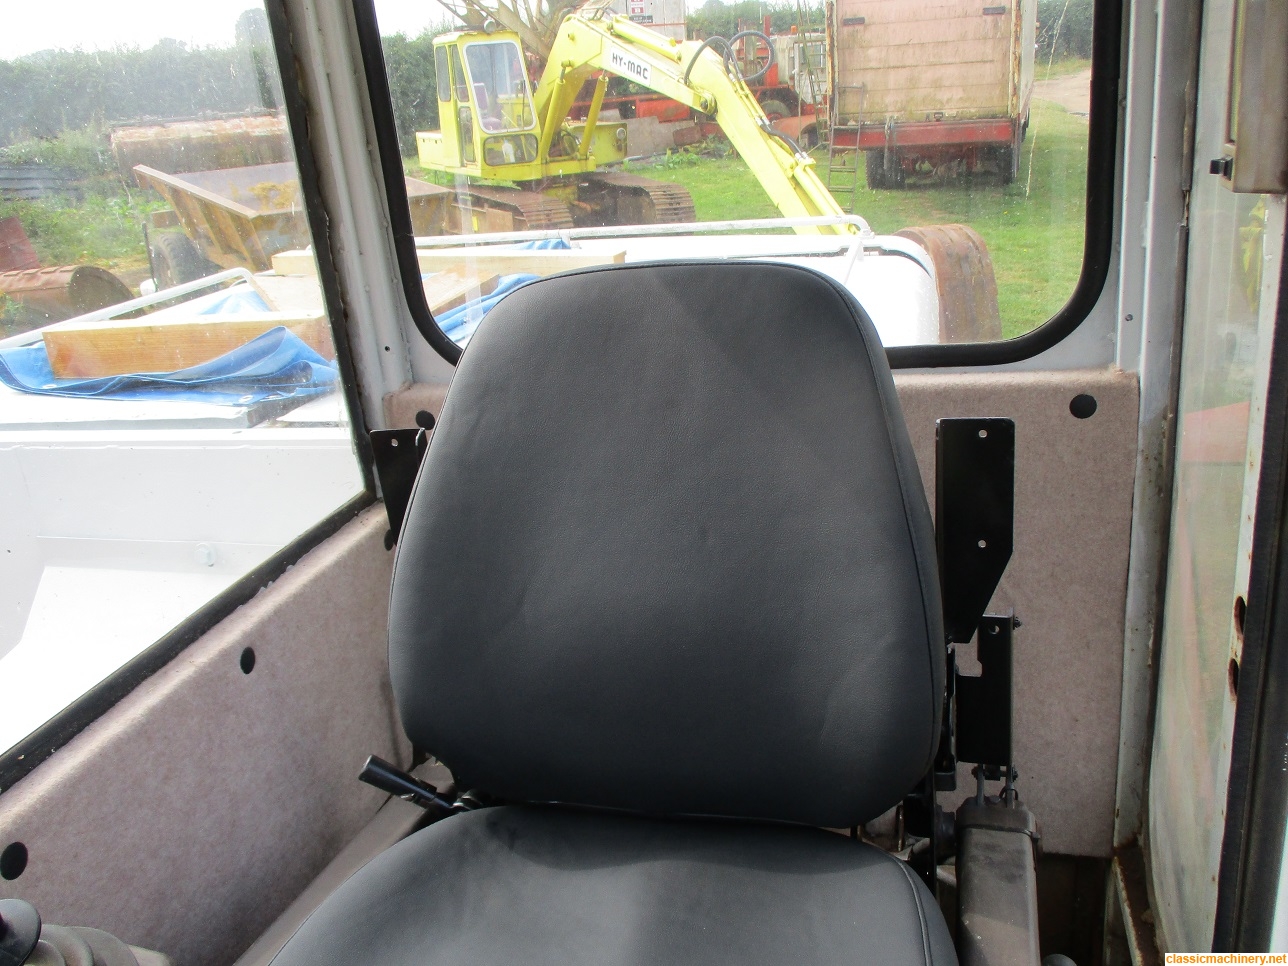
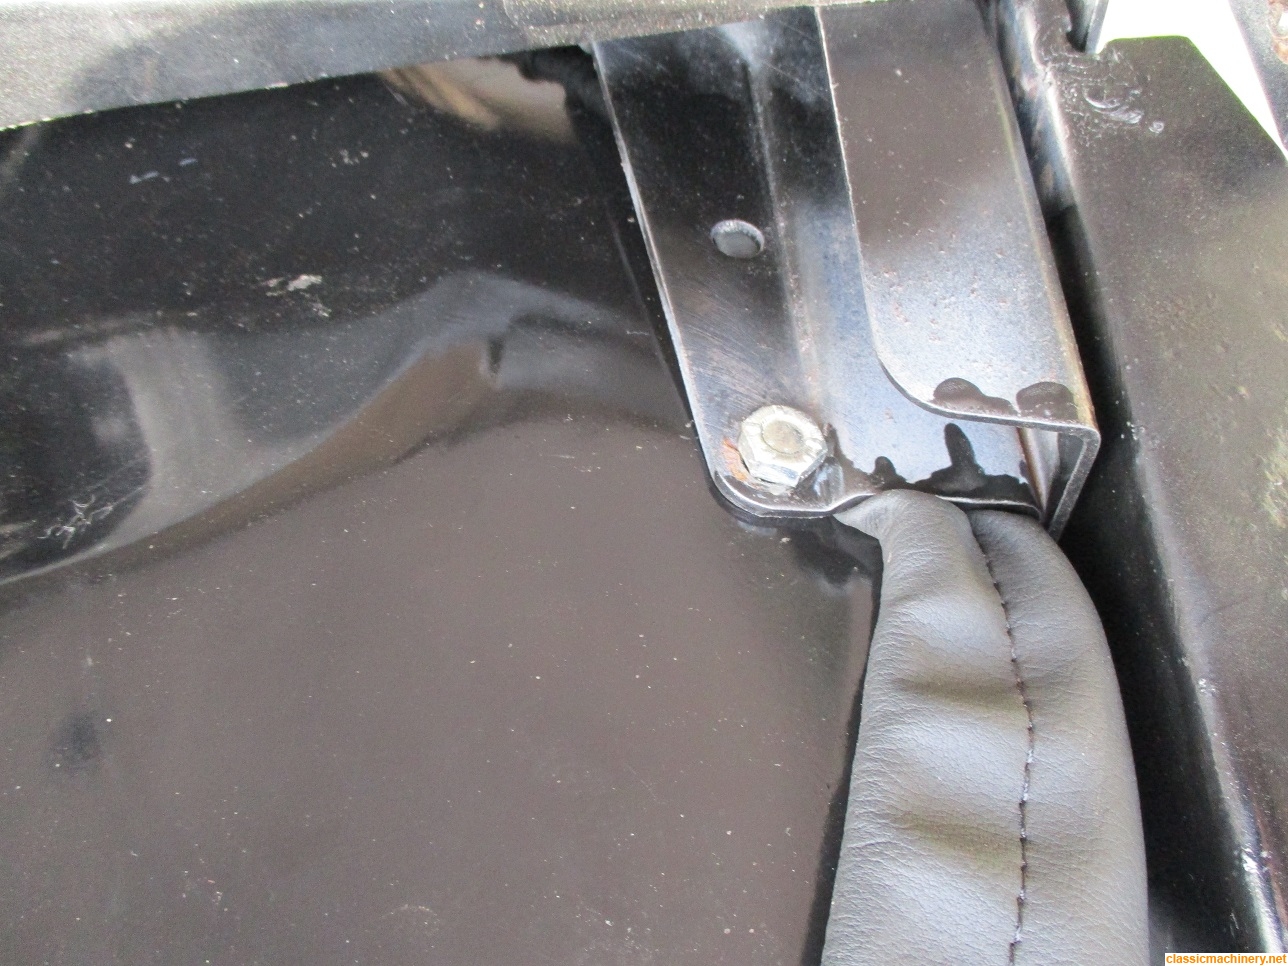
Once the weather stopped raining it was time to spring into action and the first job on the agenda was to secure the new rear seat cushion as I had bought the correct UNC pins for the job, easy job as I thought but no not such an easy job and it was with much cussing that I finally got the cushion secure.
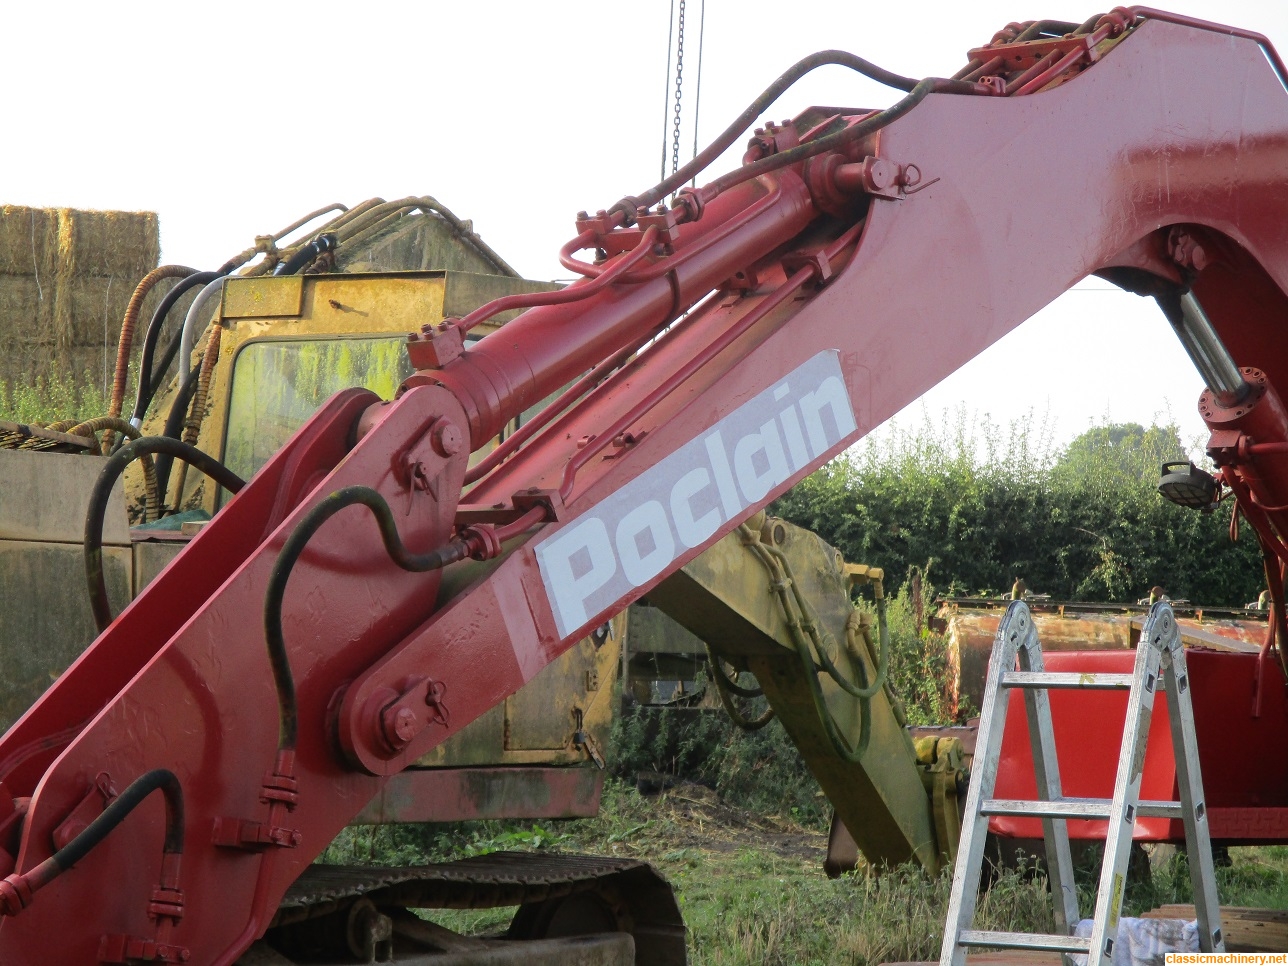
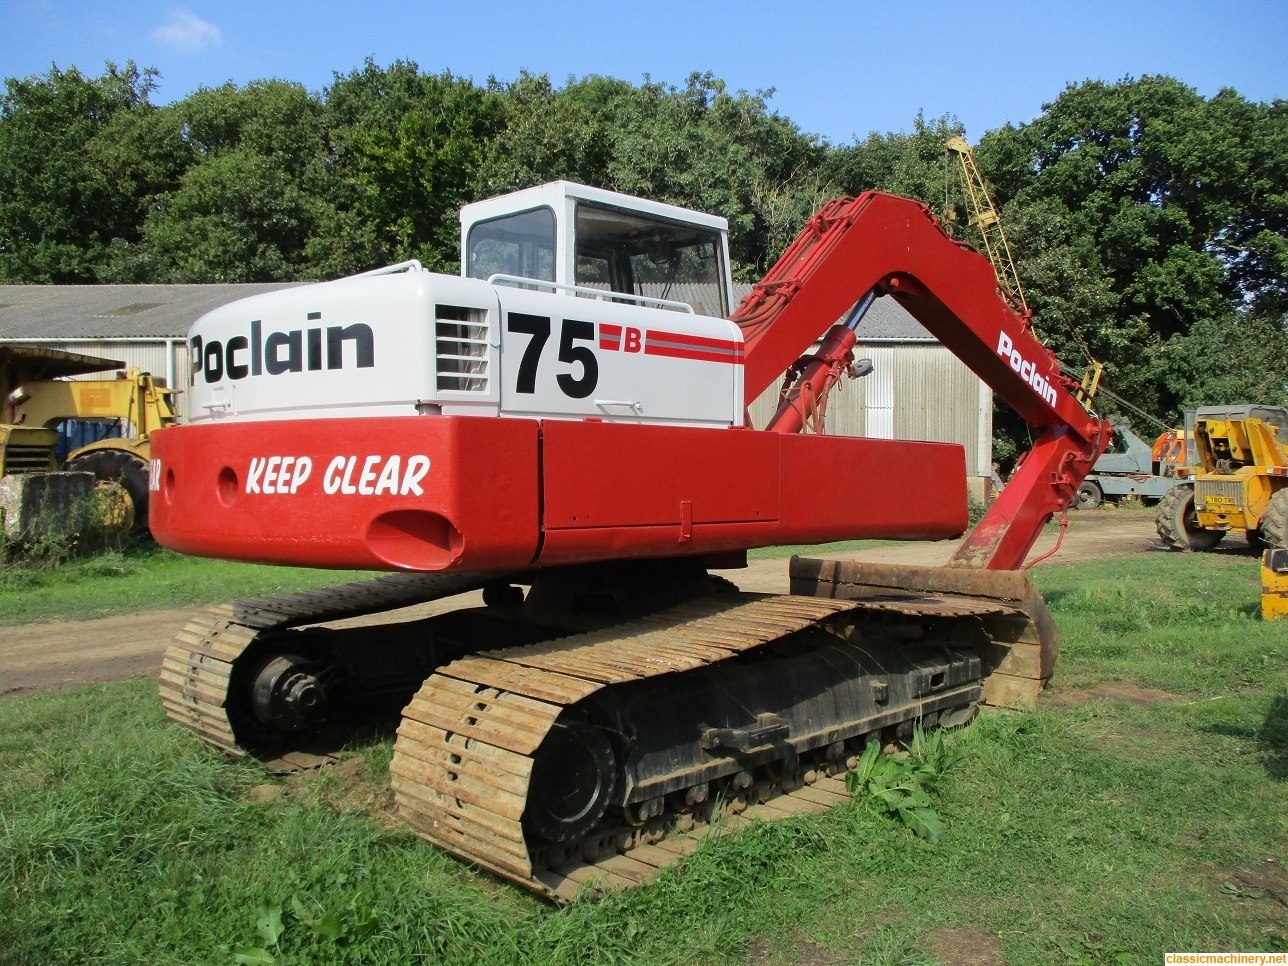
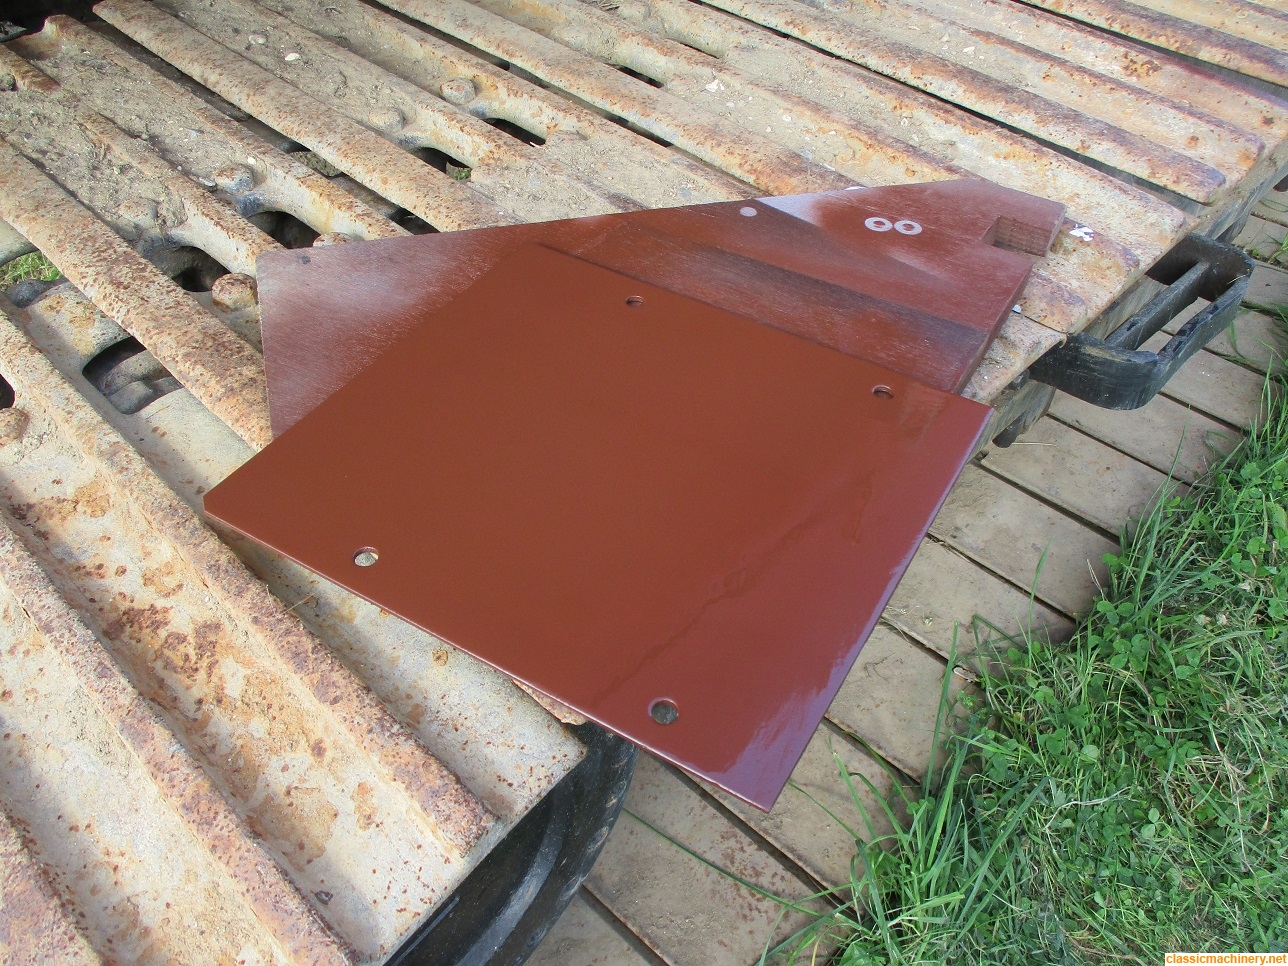
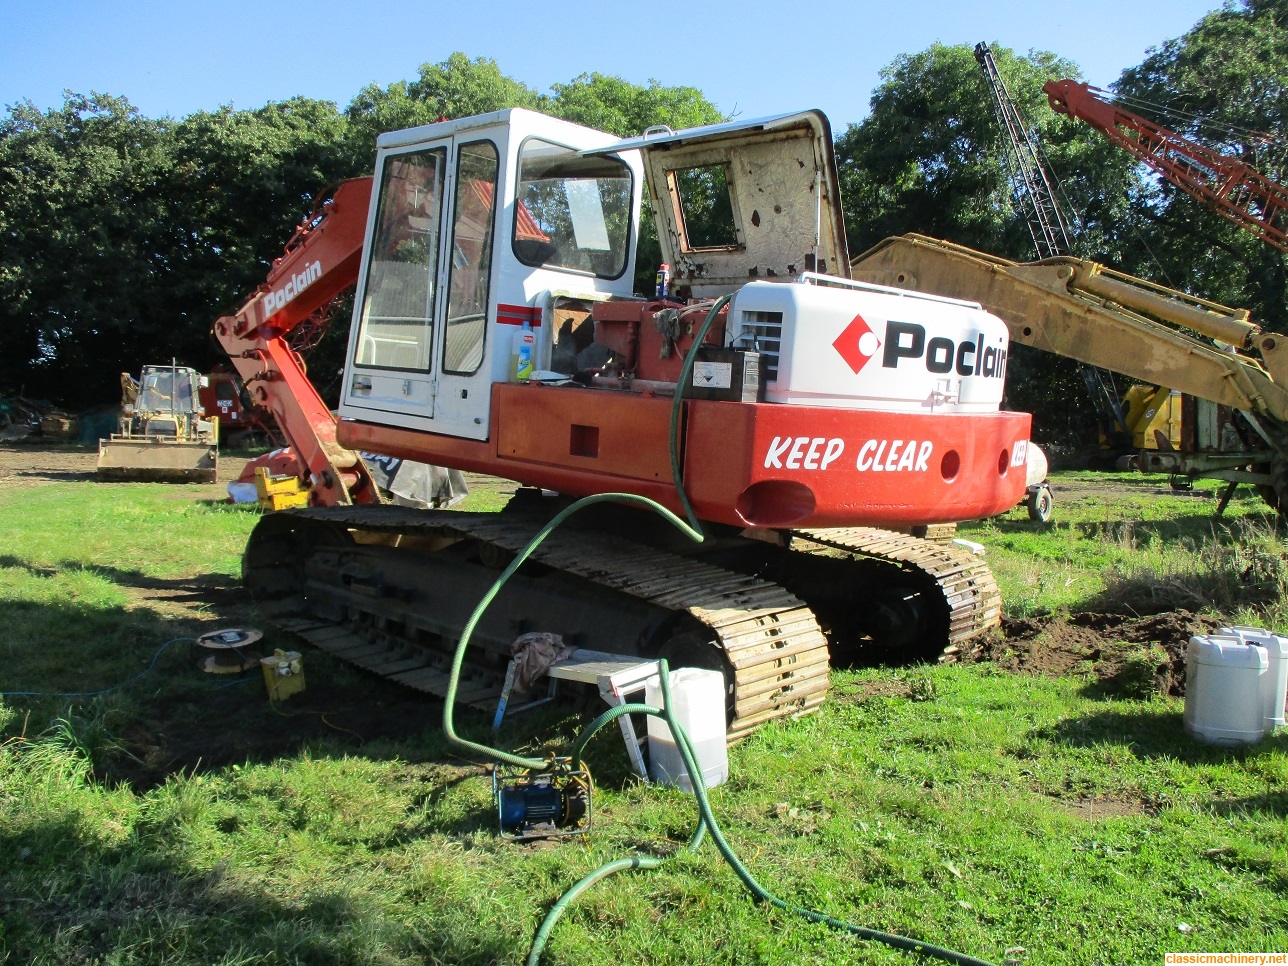
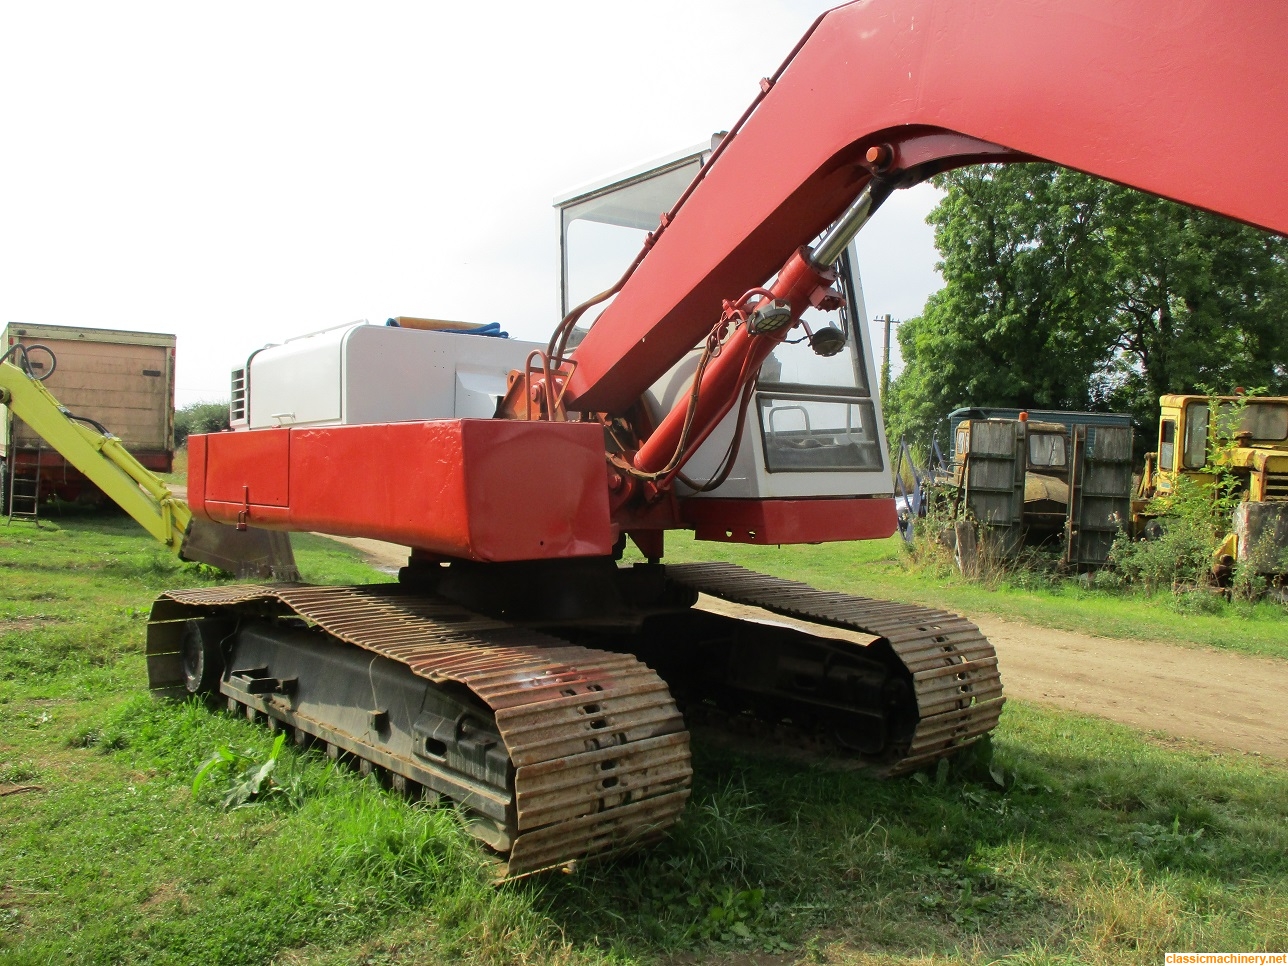
By then the weather had given way to glorious sunshine so a hasty paint job on the one side of the cab and touch up of the paint on the offside bonnet cover was quickly done result!
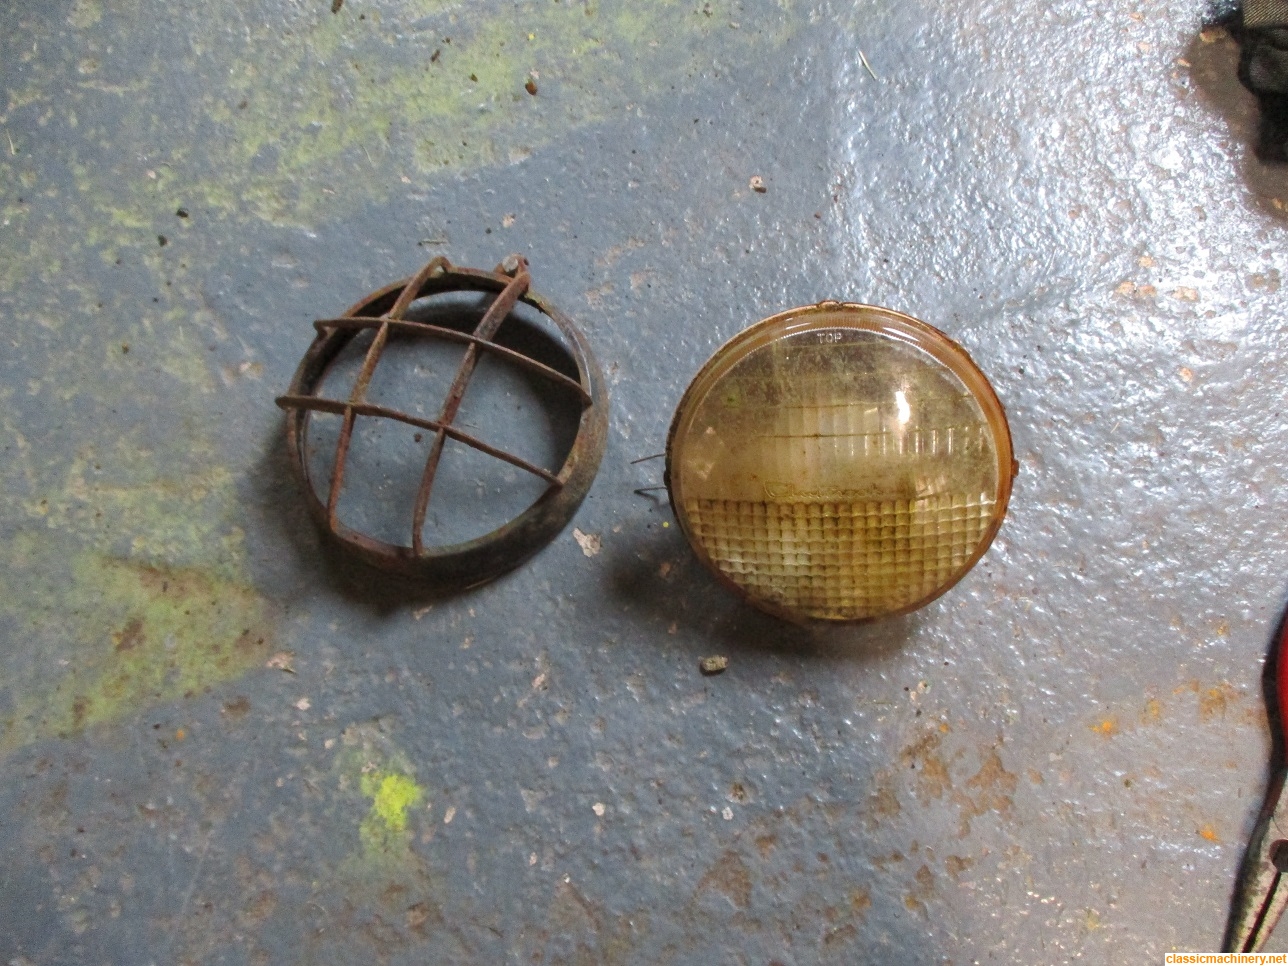
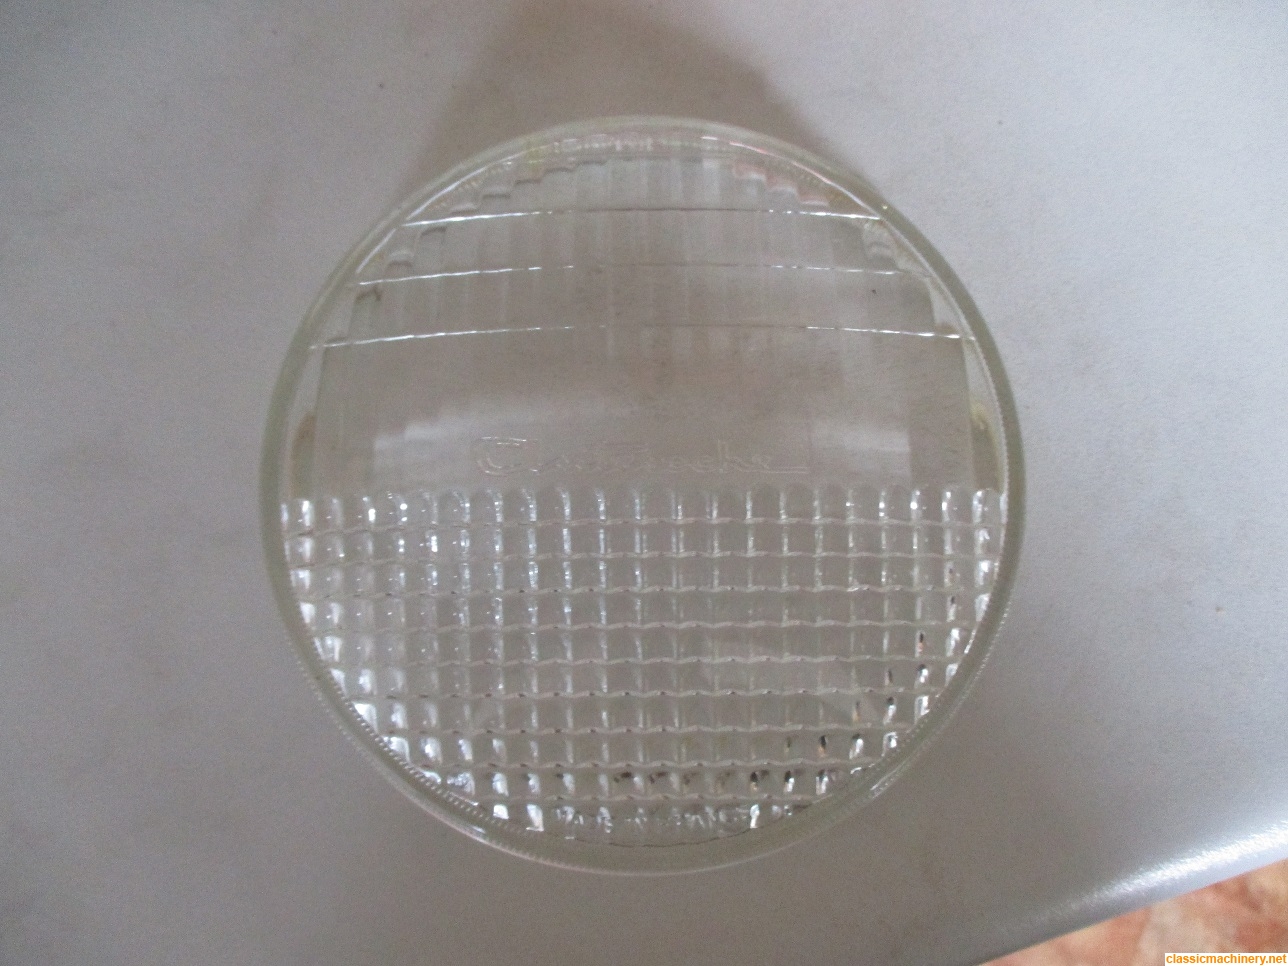
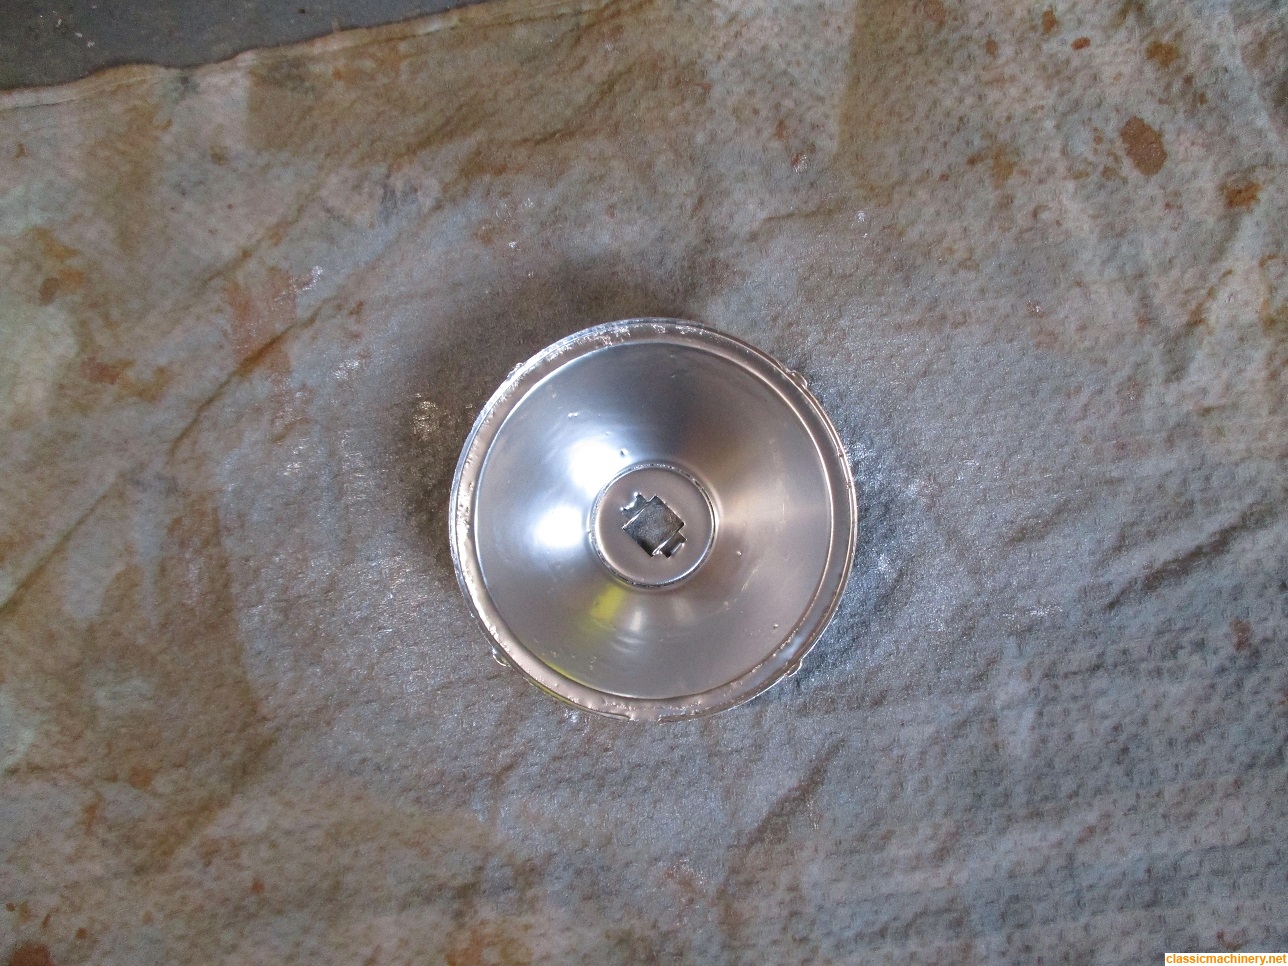
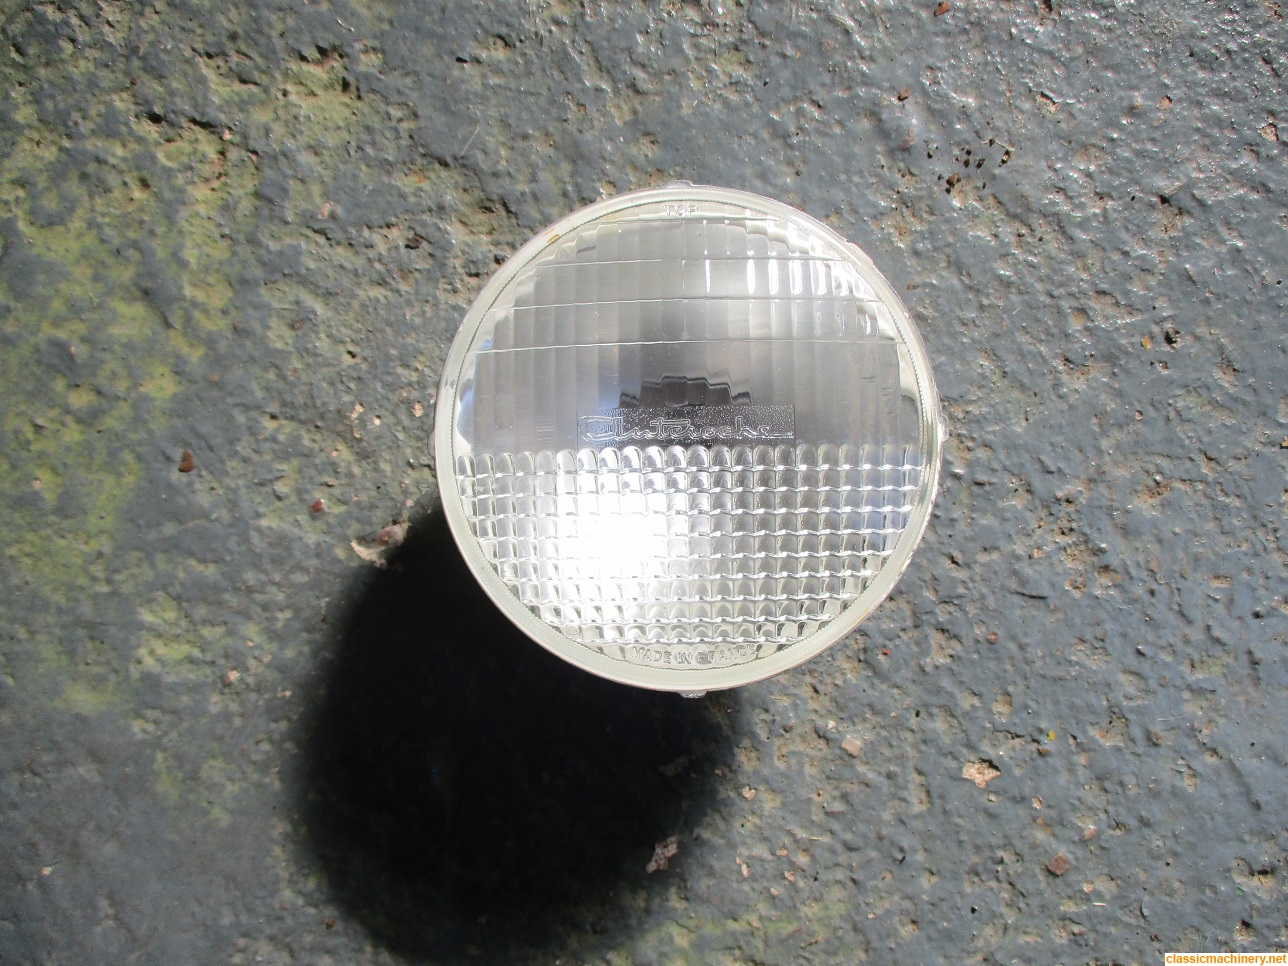
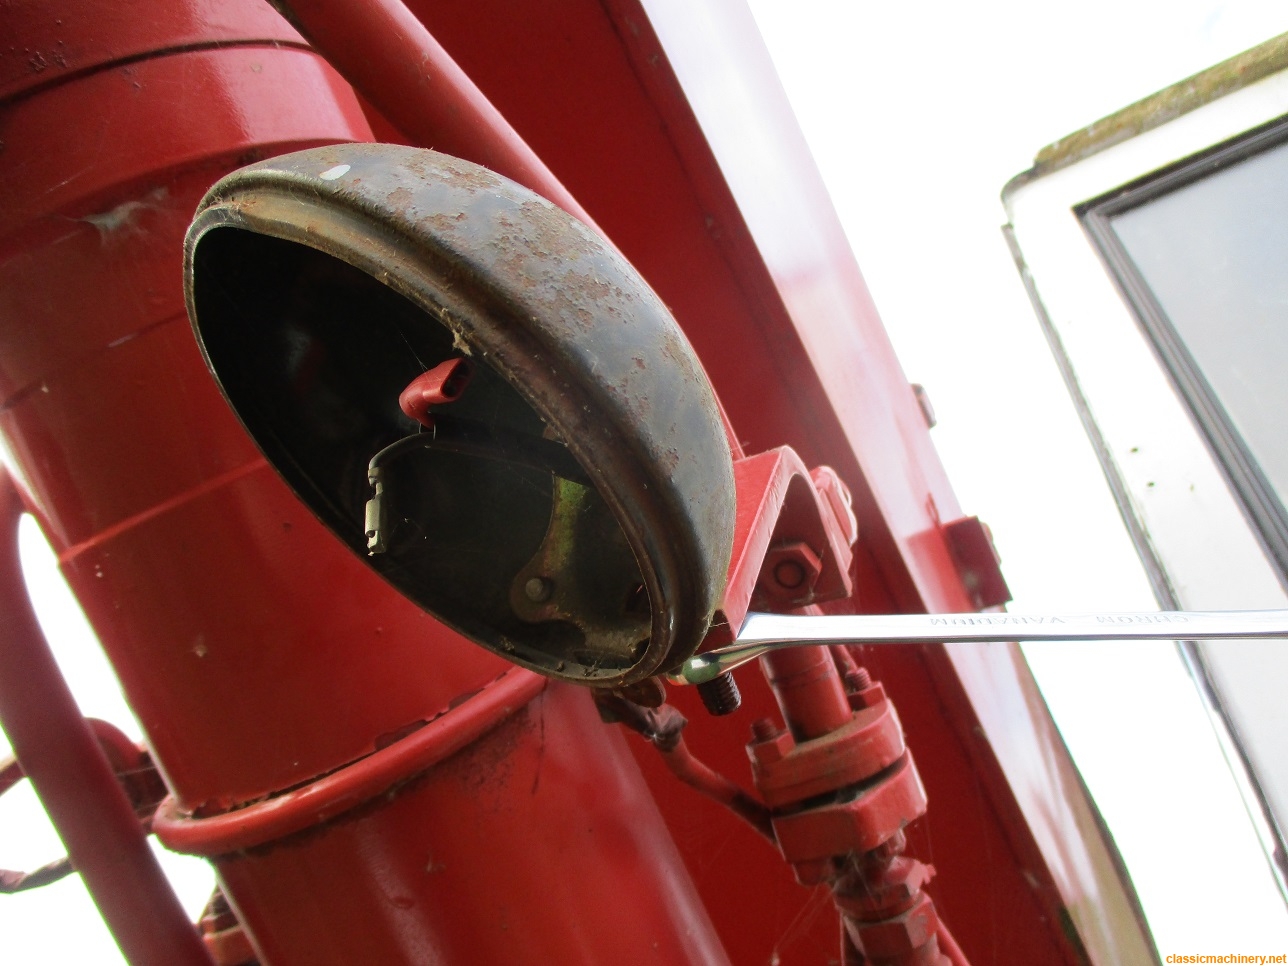
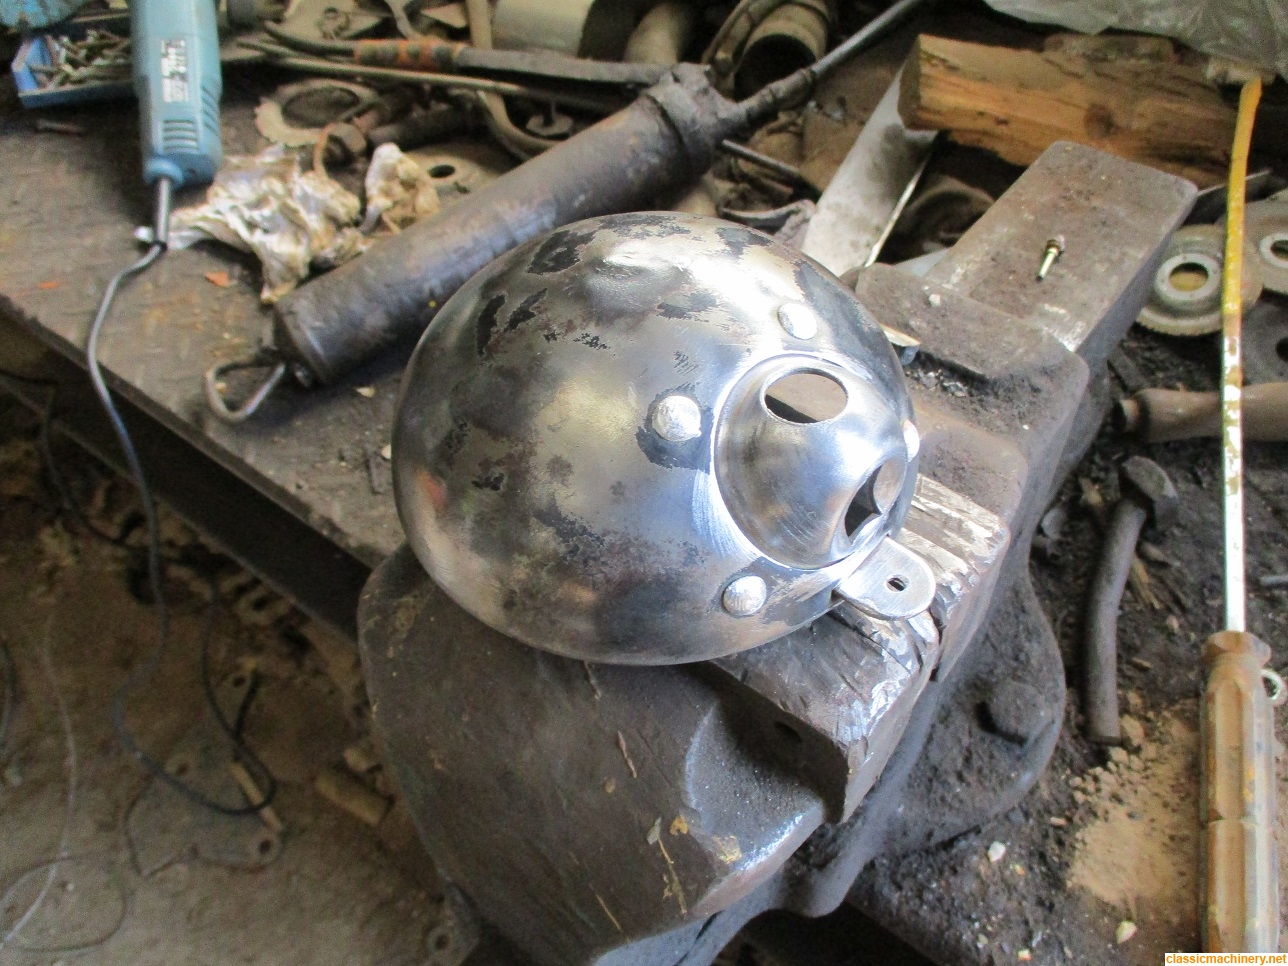
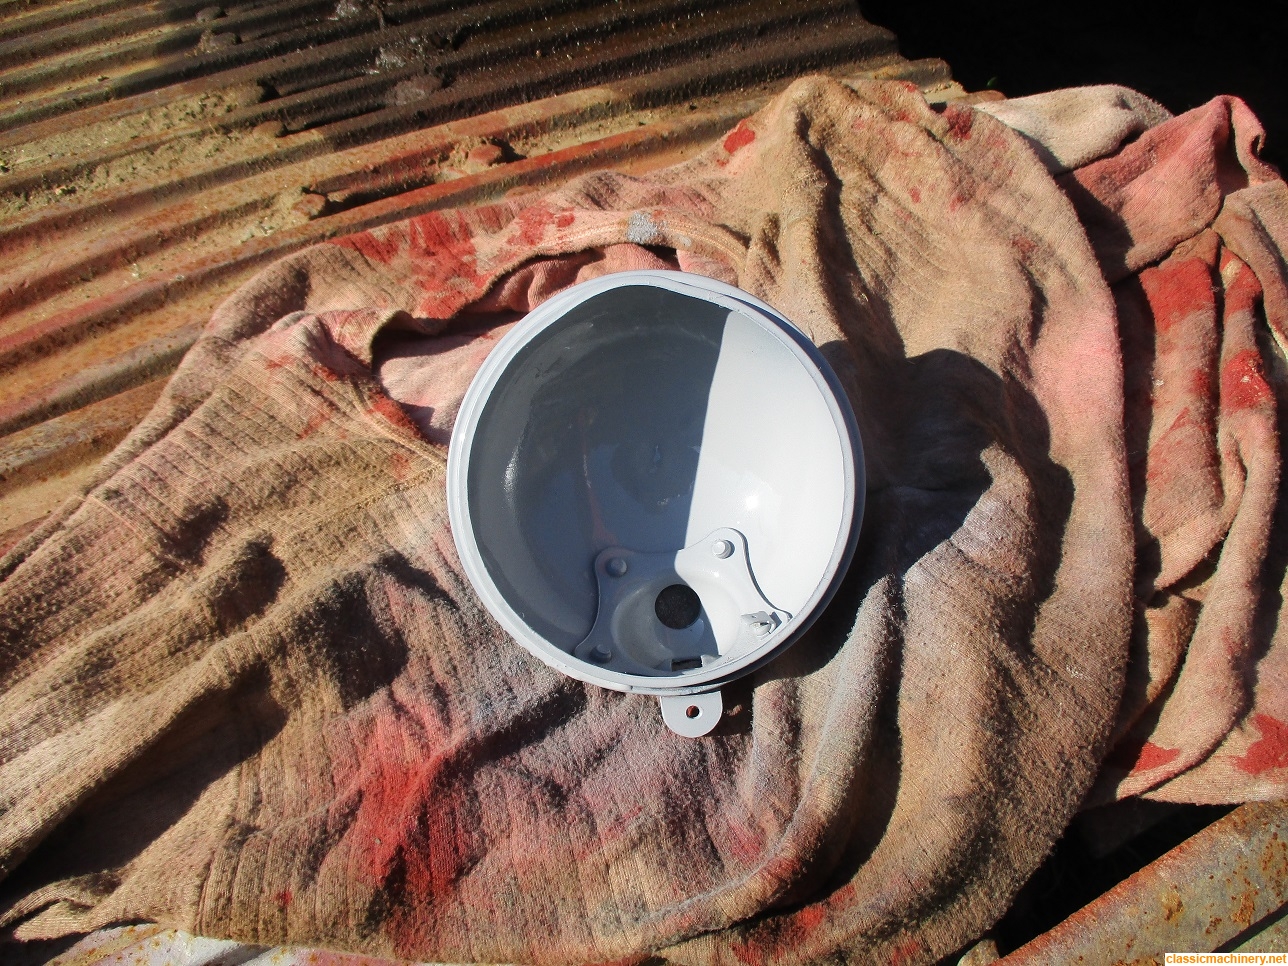
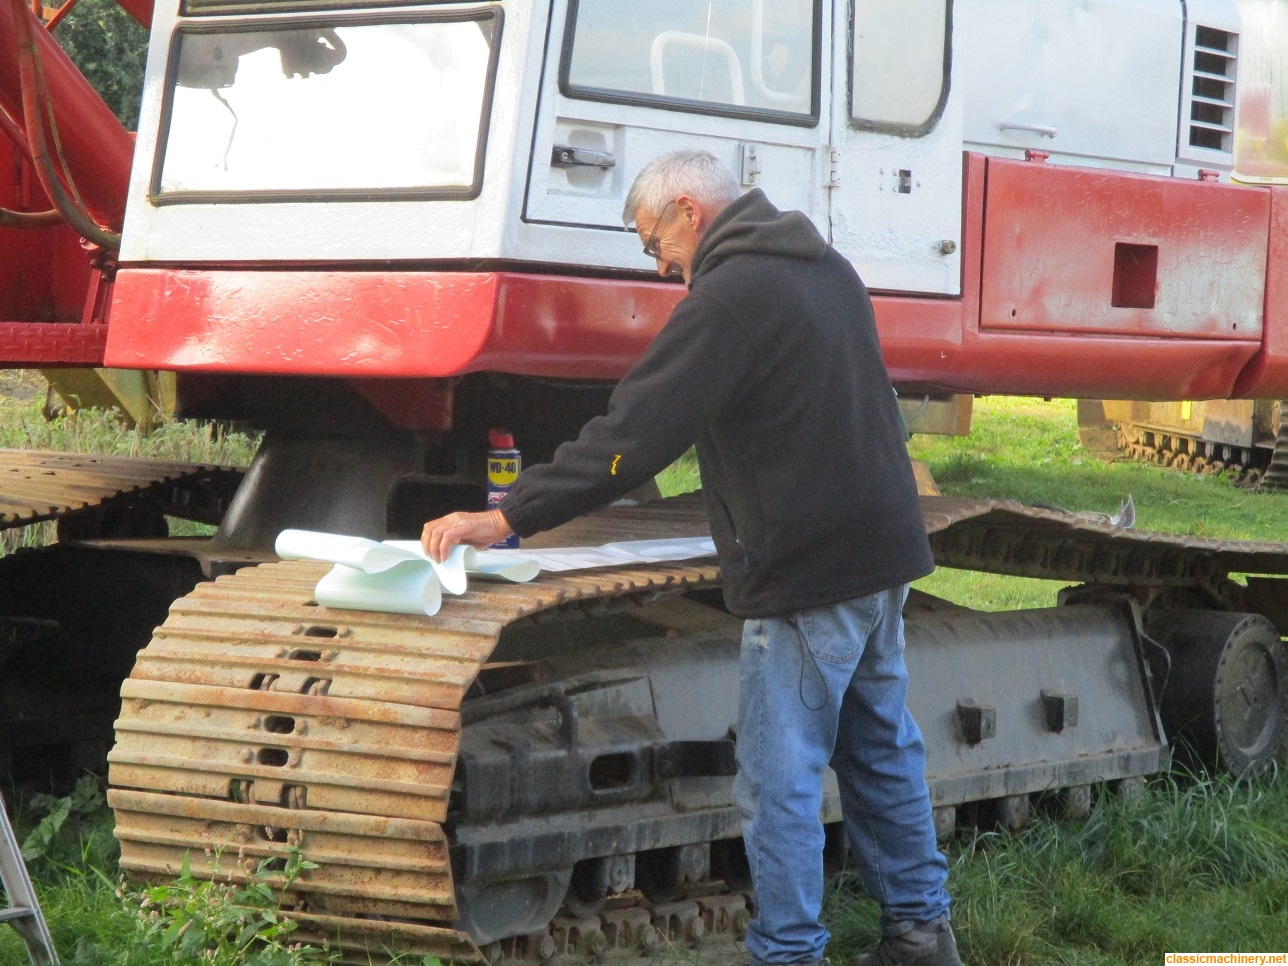
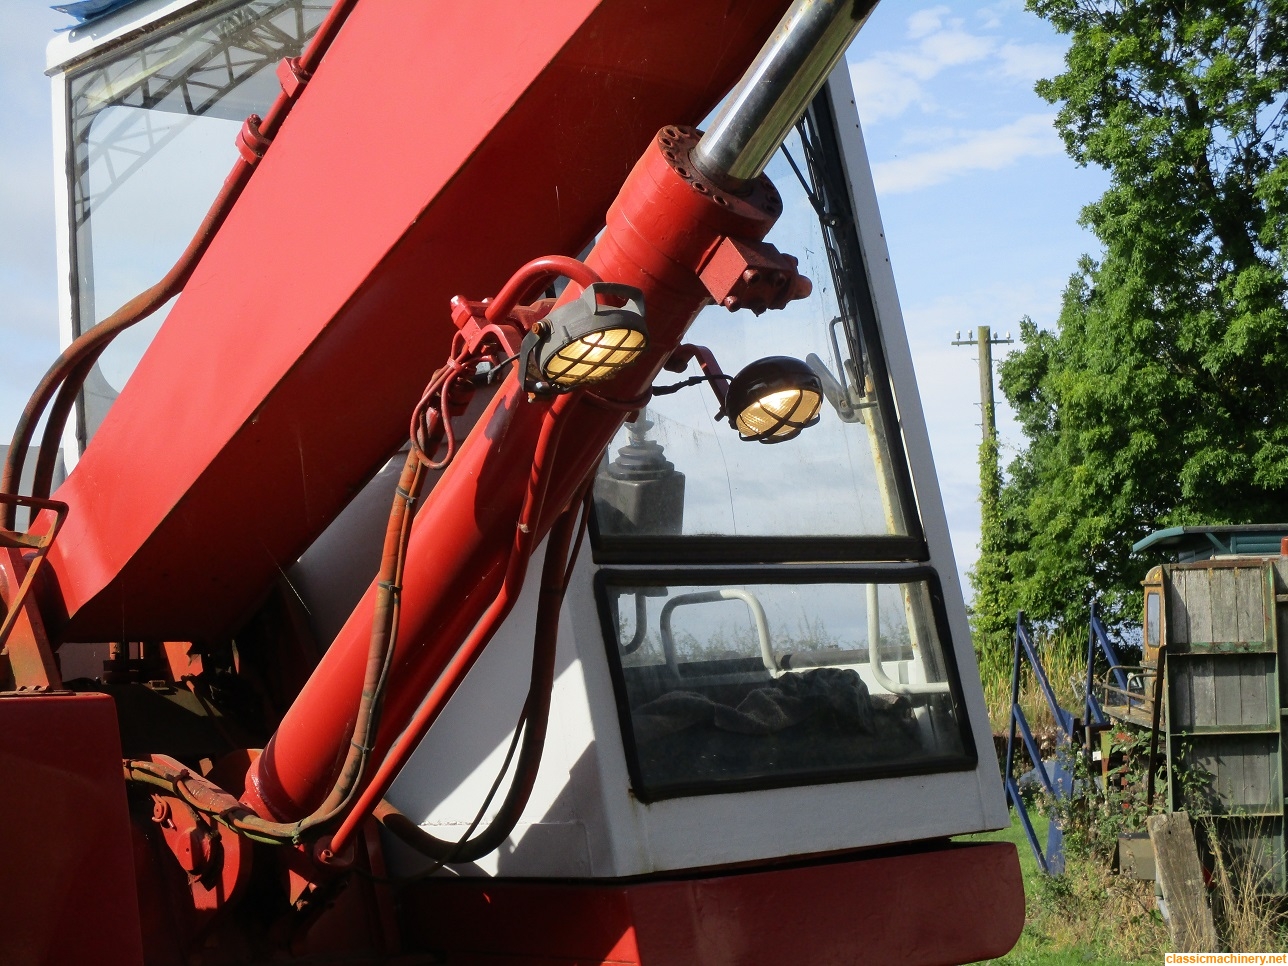
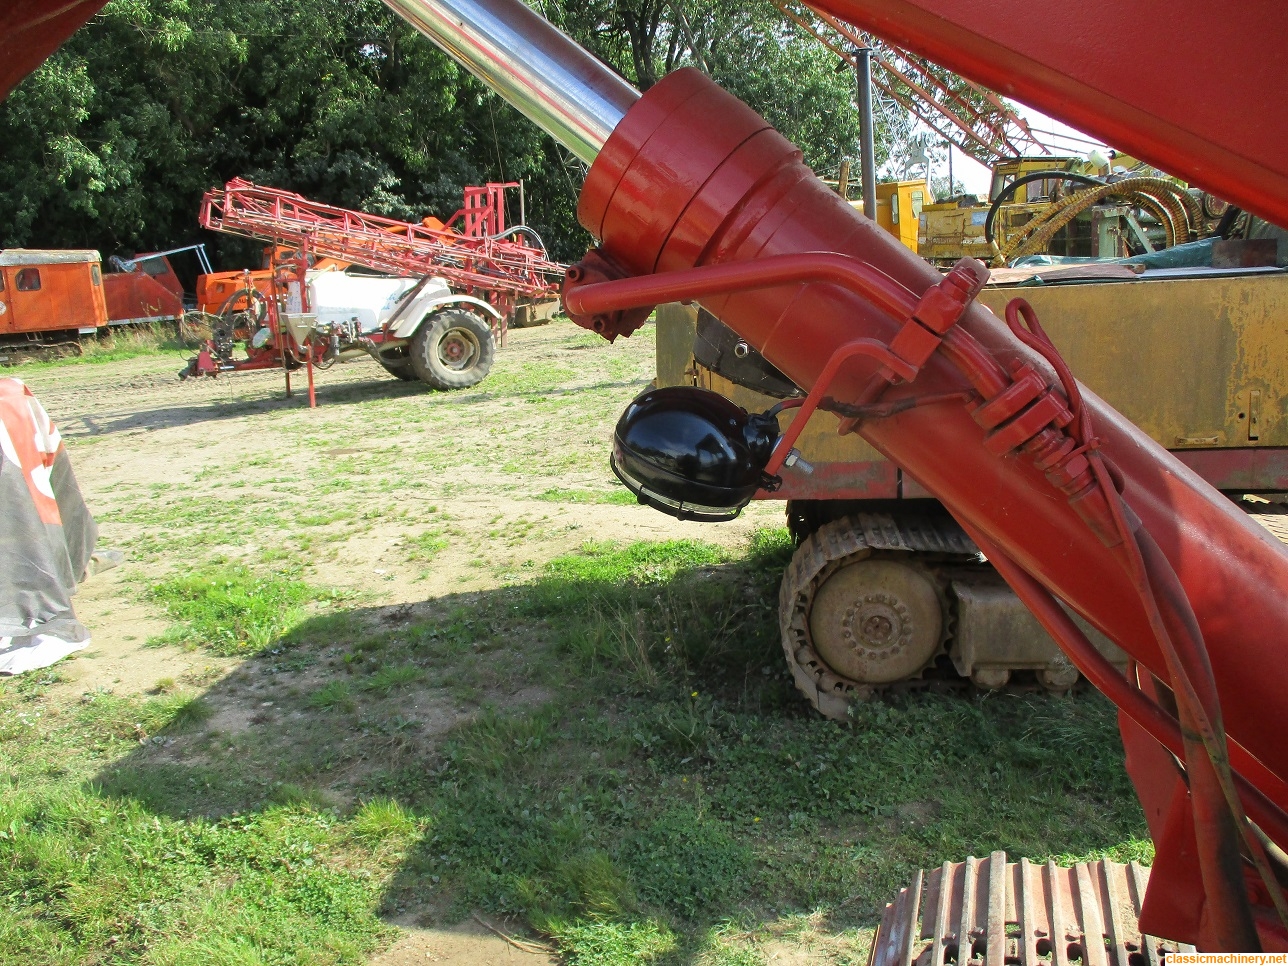
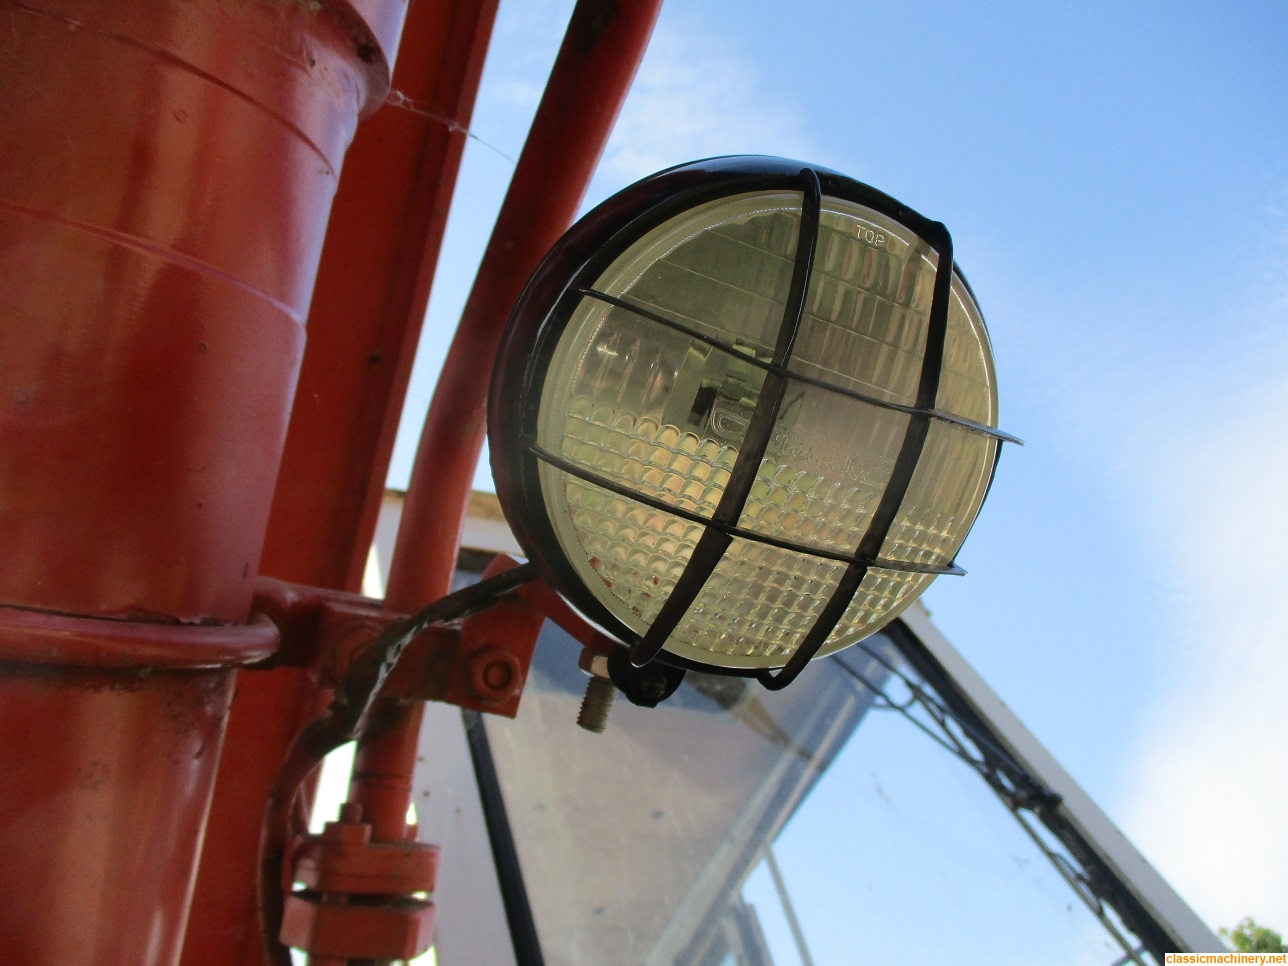
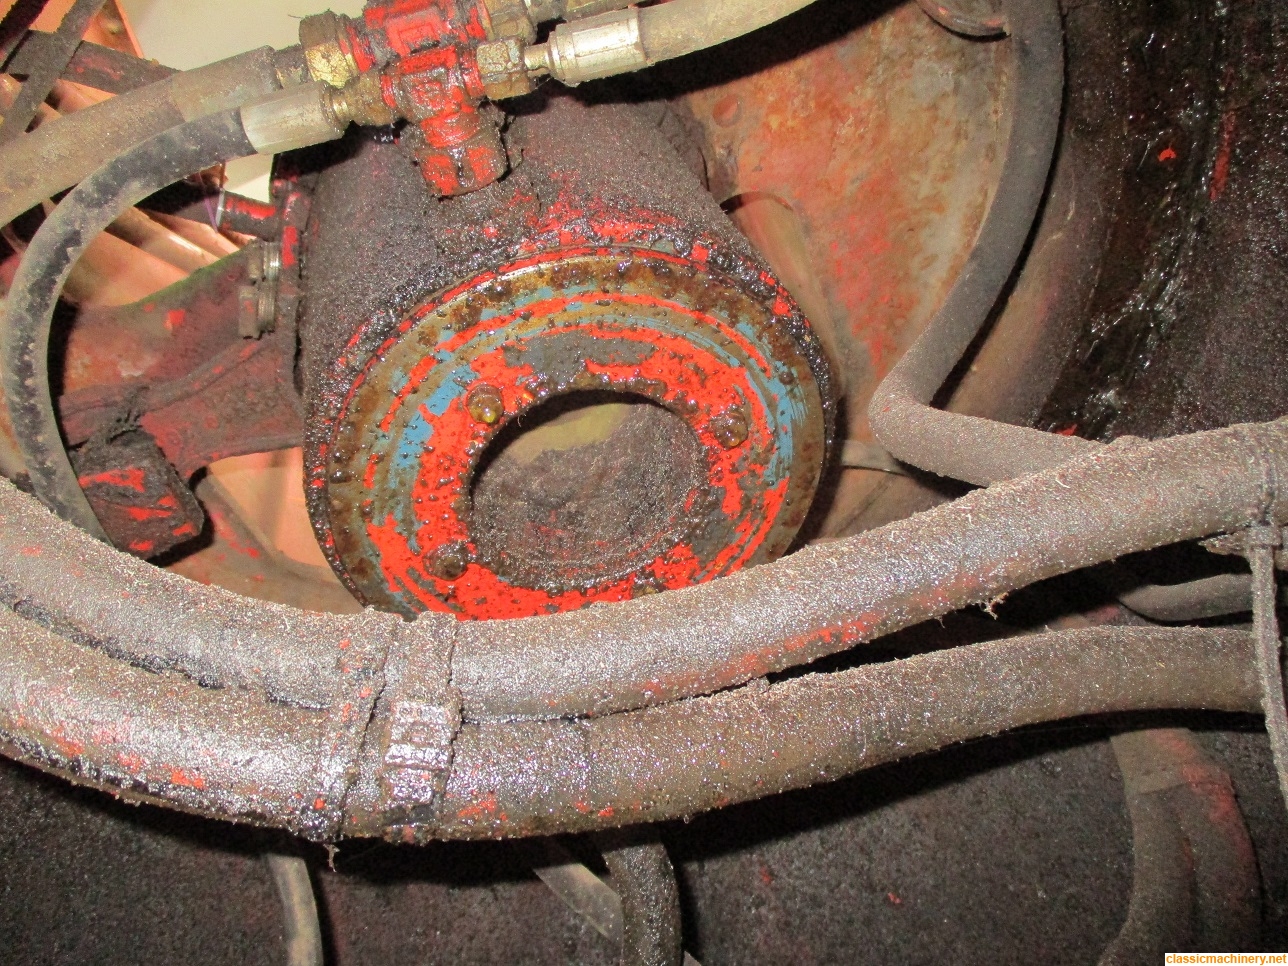
Another small but nagging job was then taken on, the one spot light bulb has blown but I am going to try and replace the whole thing as it looks crap; next job all being well will be the decals, then taking on the rotary coupling after which it will be odds 'n' sods.
Jeremy
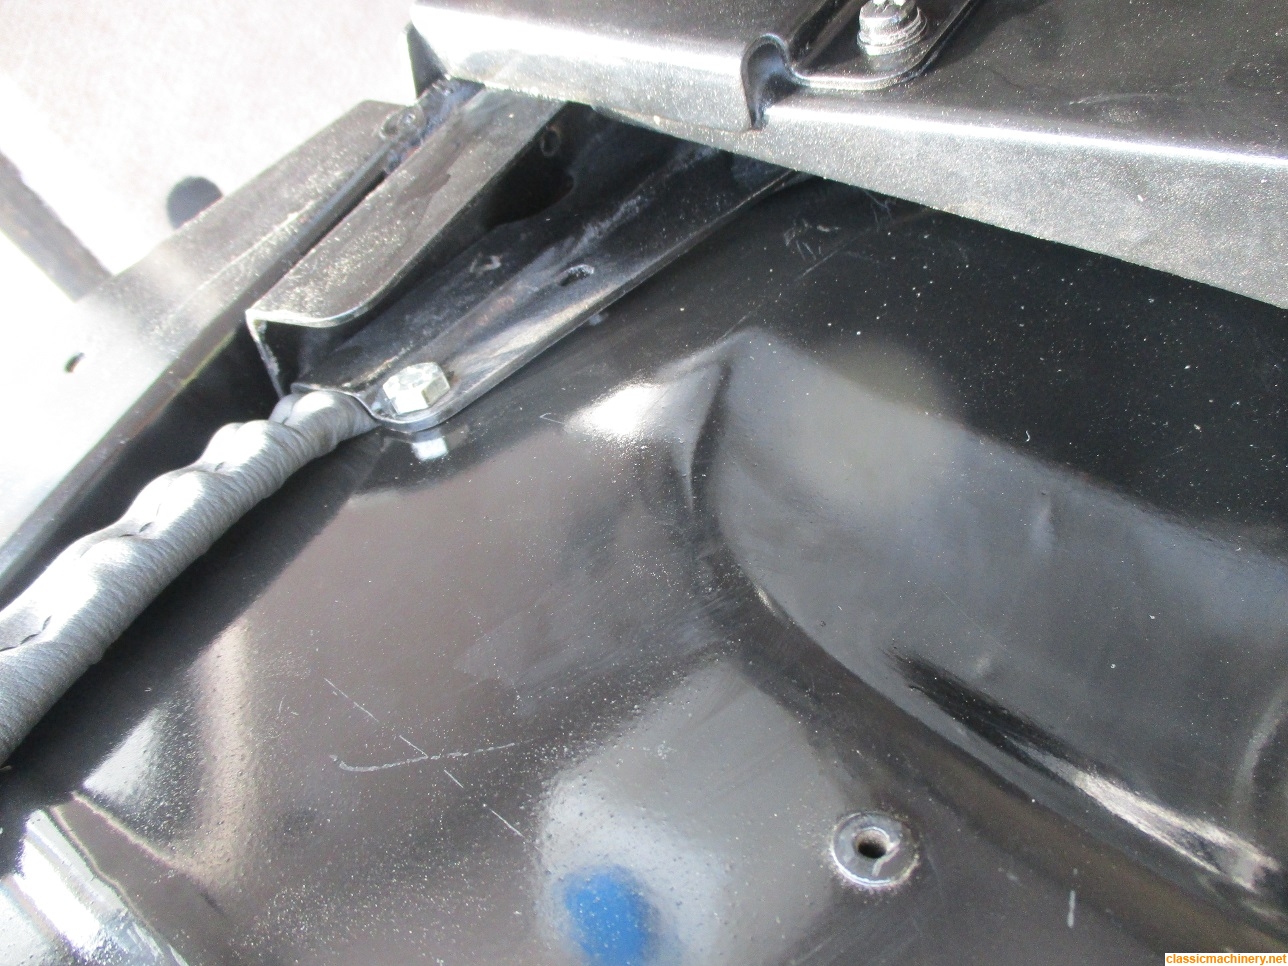
Once the weather stopped raining it was time to spring into action and the first job on the agenda was to secure the new rear seat cushion as I had bought the correct UNC pins for the job, easy job as I thought but no
By then the weather had given way to glorious sunshine so a hasty paint job on the one side of the cab and touch up of the paint on the offside bonnet cover was quickly done
Another small but nagging job was then taken on, the one spot light bulb has blown but I am going to try and replace the whole thing as it looks crap; next job all being well will be the decals, then taking on the rotary coupling after which it will be odds 'n' sods.
Jeremy