Page 18 of 20

Re: Hymac 580BT 1969

Posted: Thu Aug 10, 2023 10:22 pm
by Jeremy Rowland
Well it has been a while since I posted any progress with my machines; the main reason was my new job which has put a temporary halt to my chances to get up there, however they have been shutdown for the main summer holiday these last two weeks, so I got a chance to get up there on each of the Thursdays.
Last Thursday was a disaster where I worked hard and quickly accomplished nothing :cry: I went up there today with no plan as such but was determined not to come away without accomplishing at least one job on one of my machines.

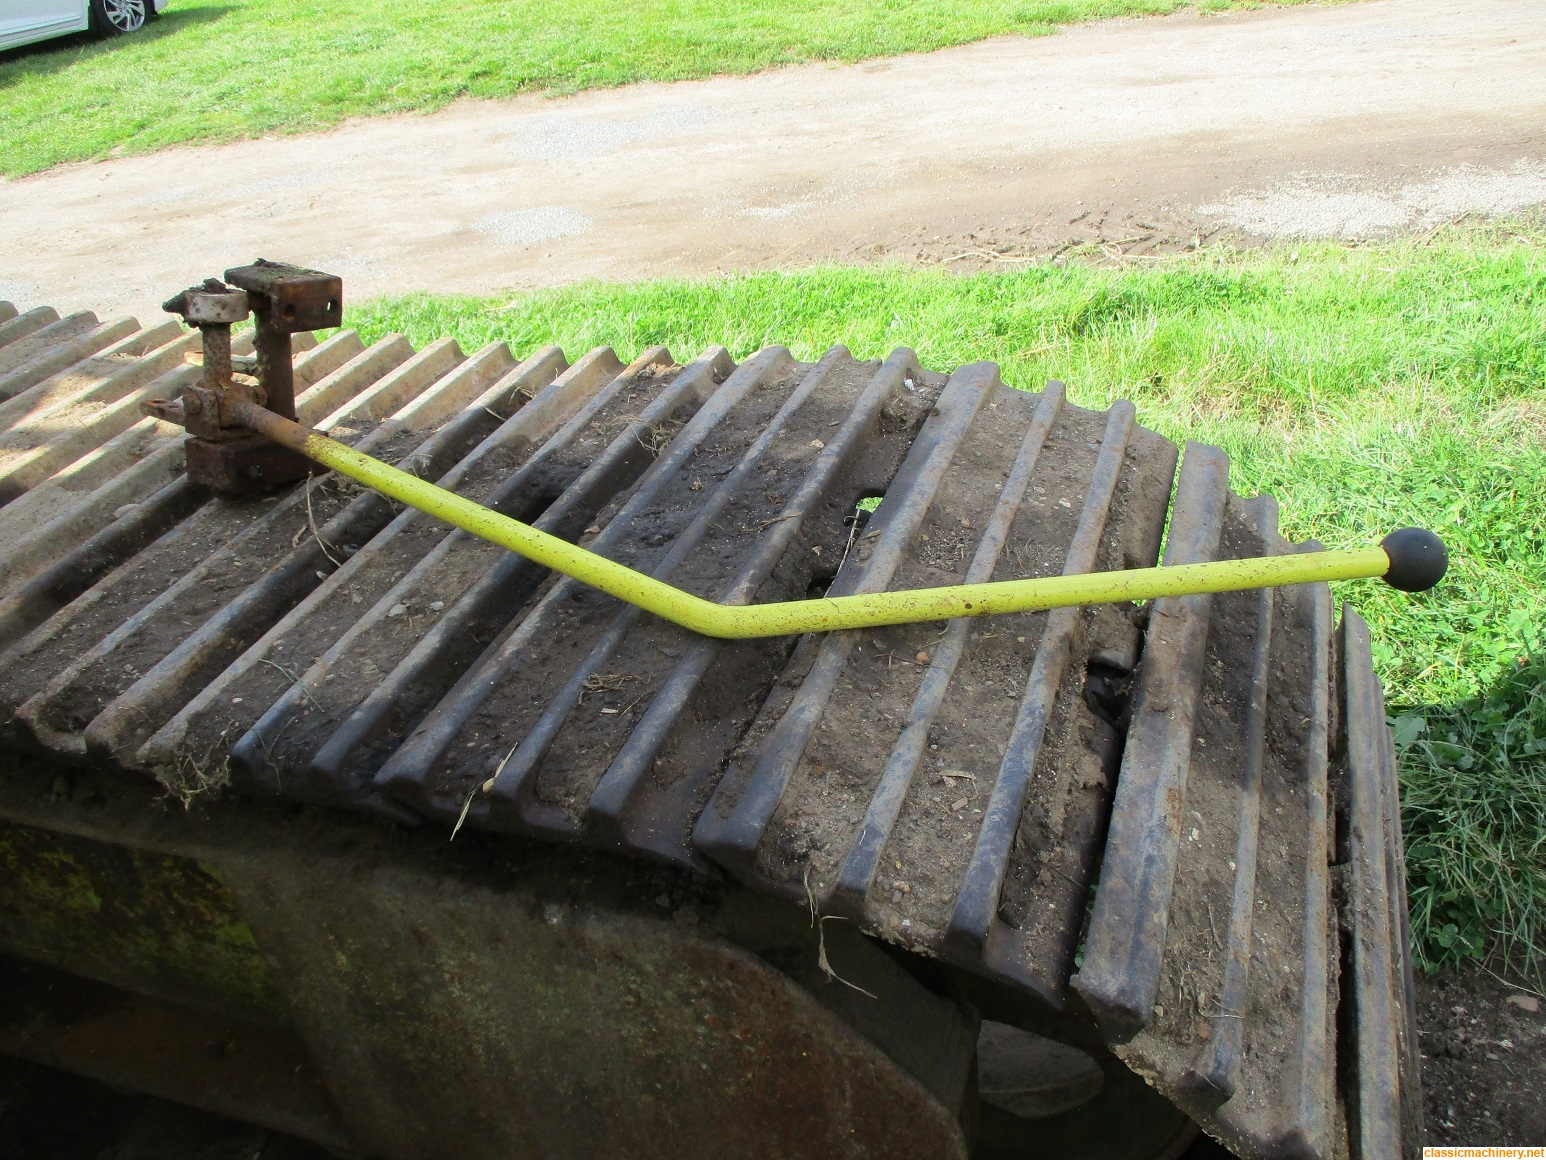
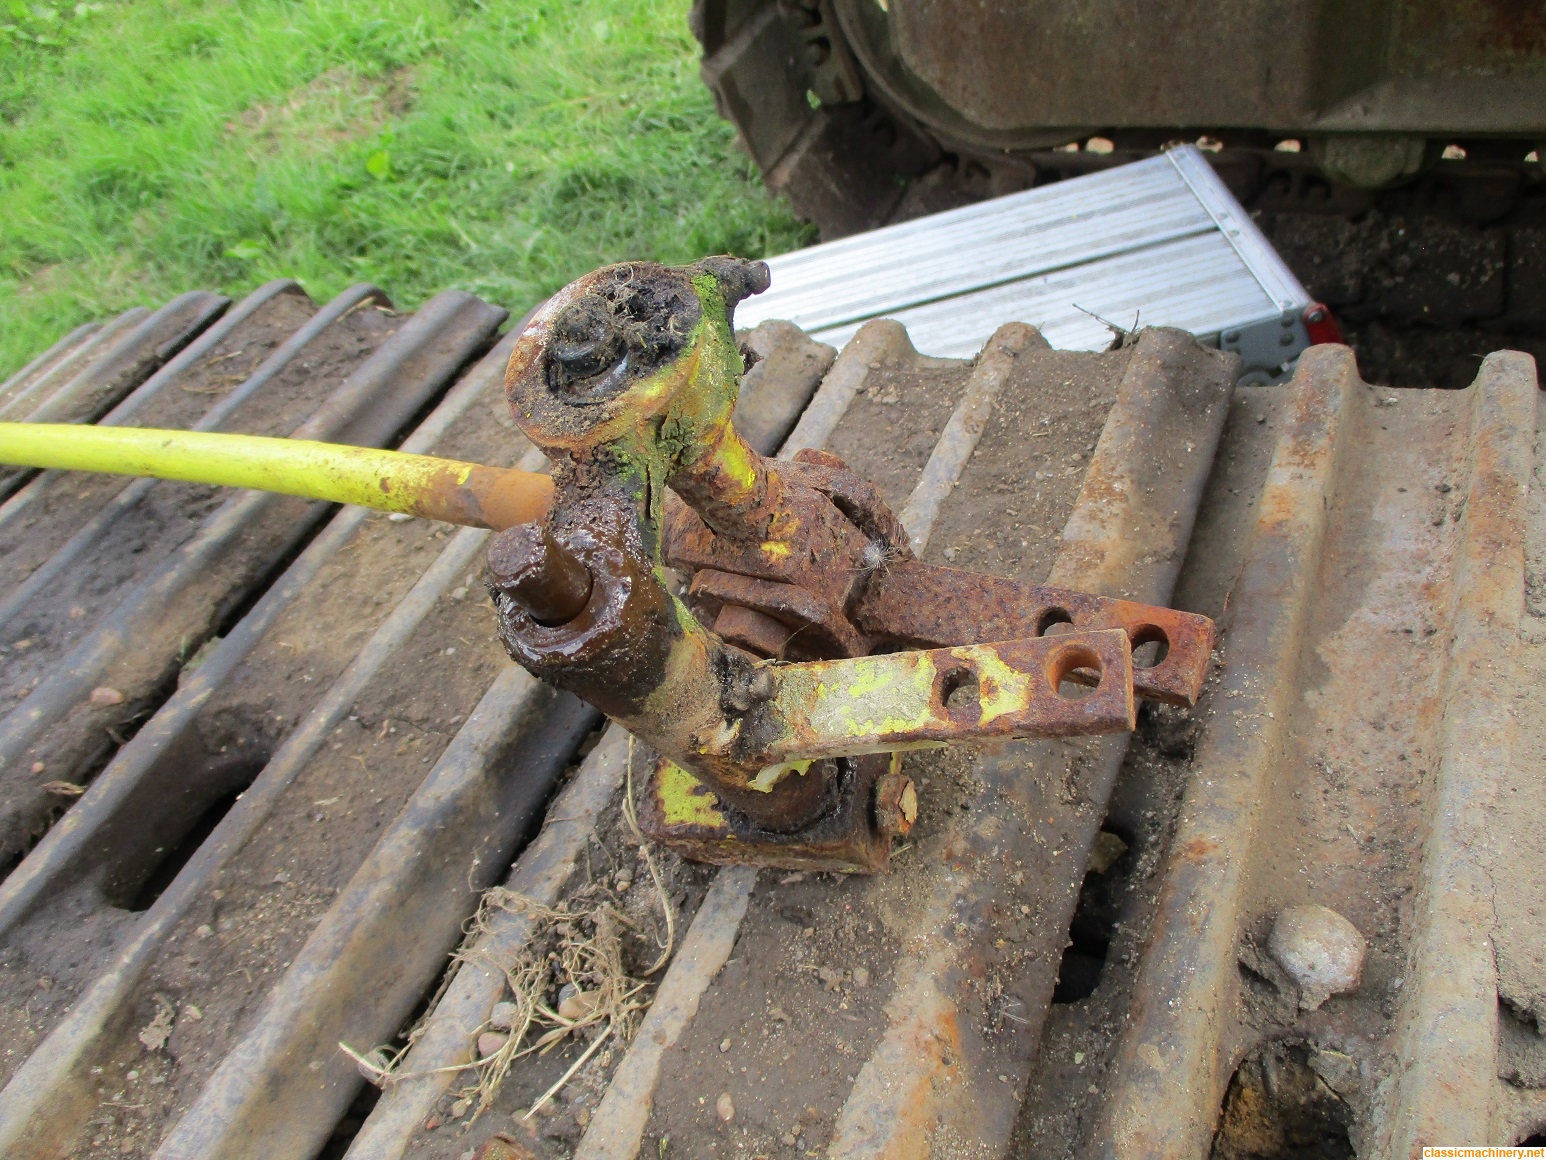
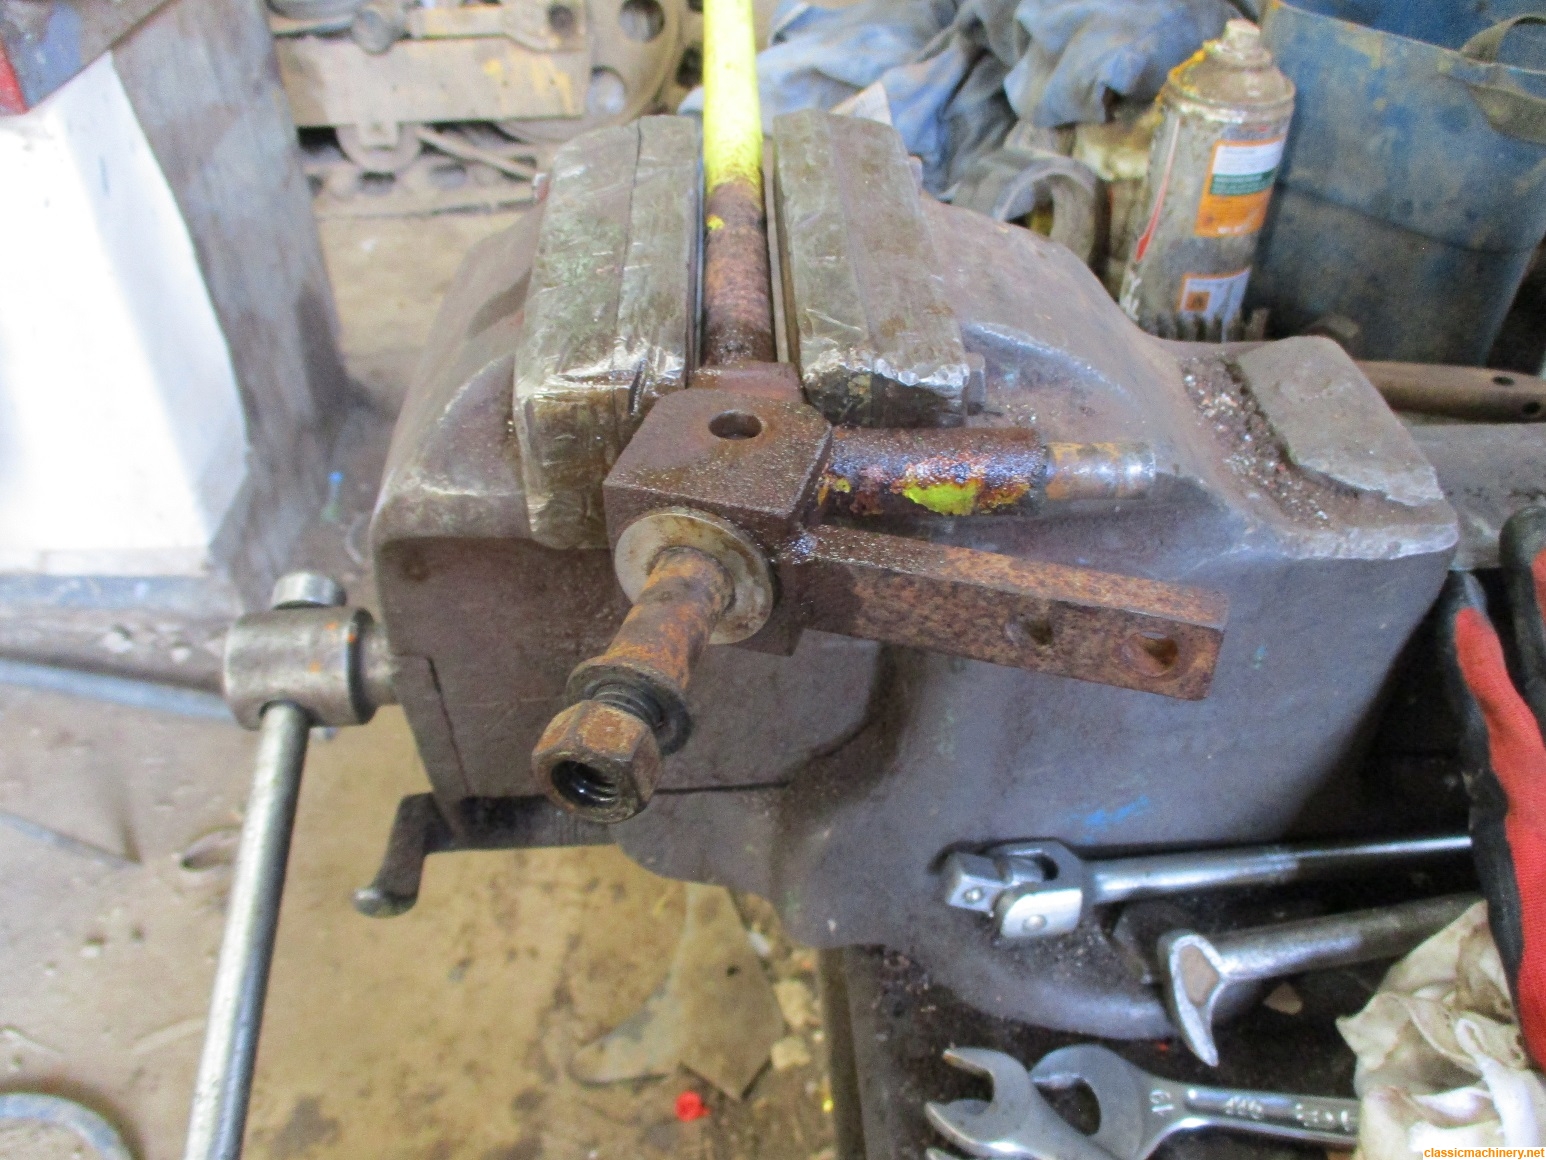
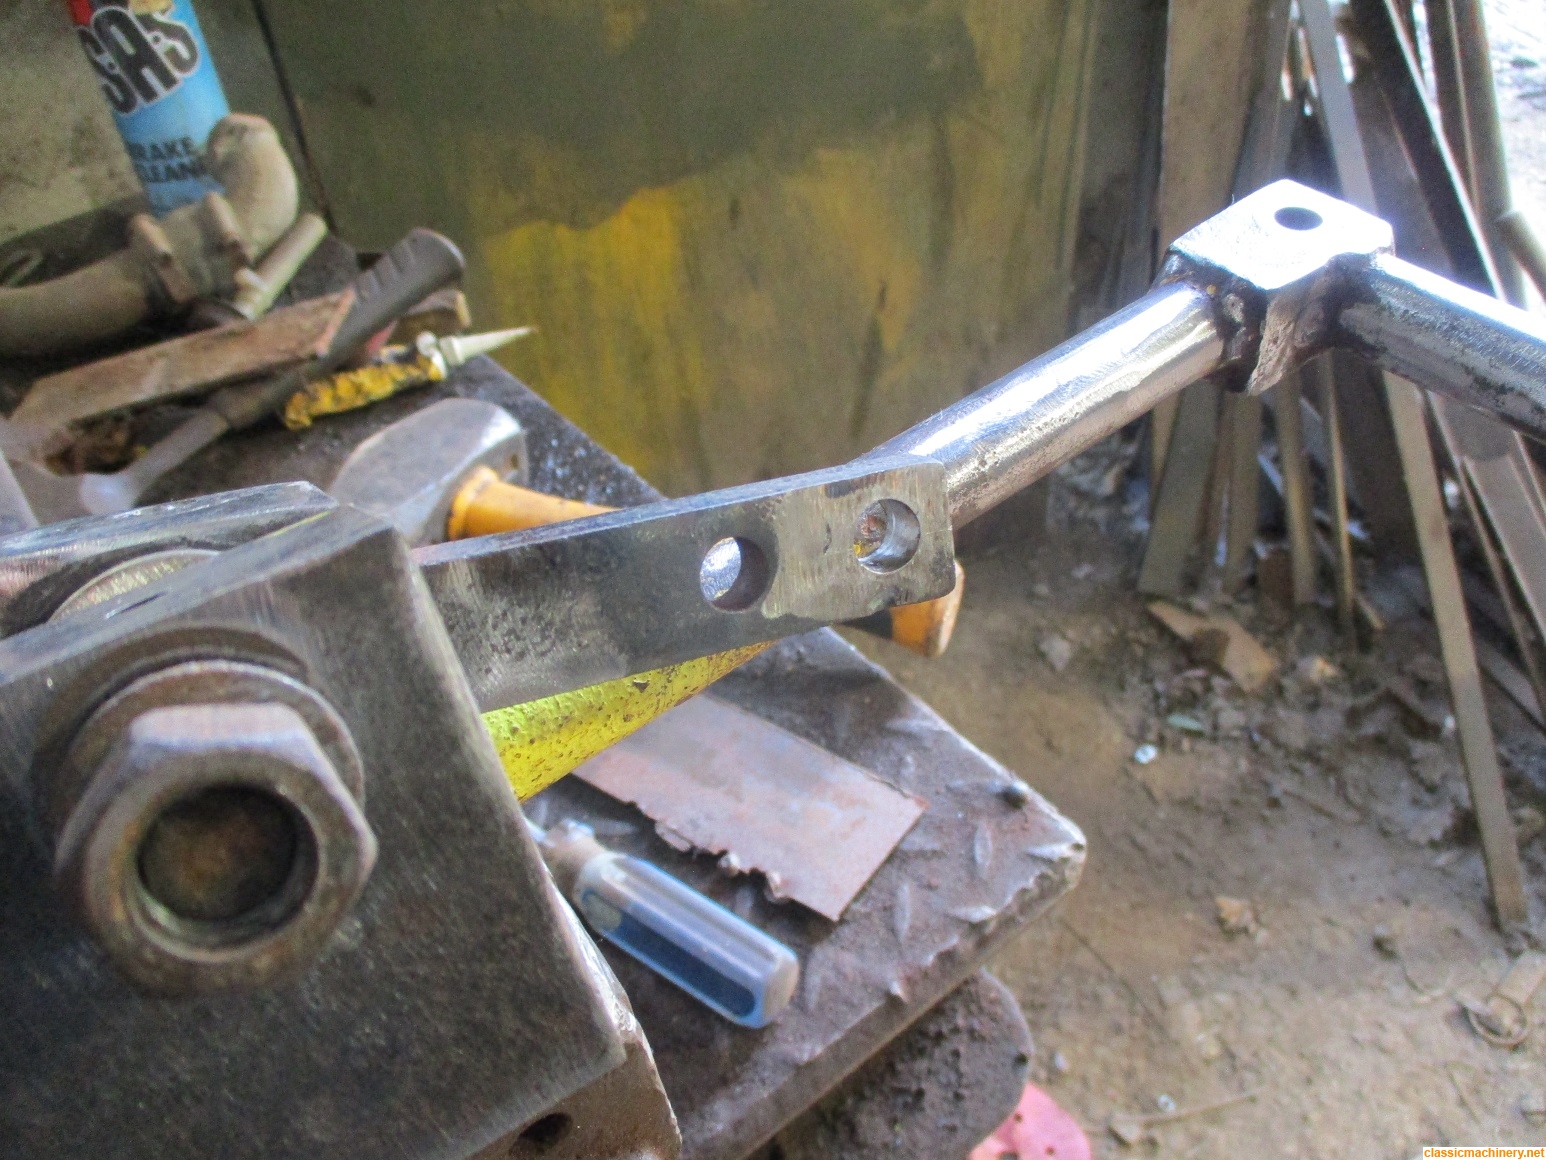
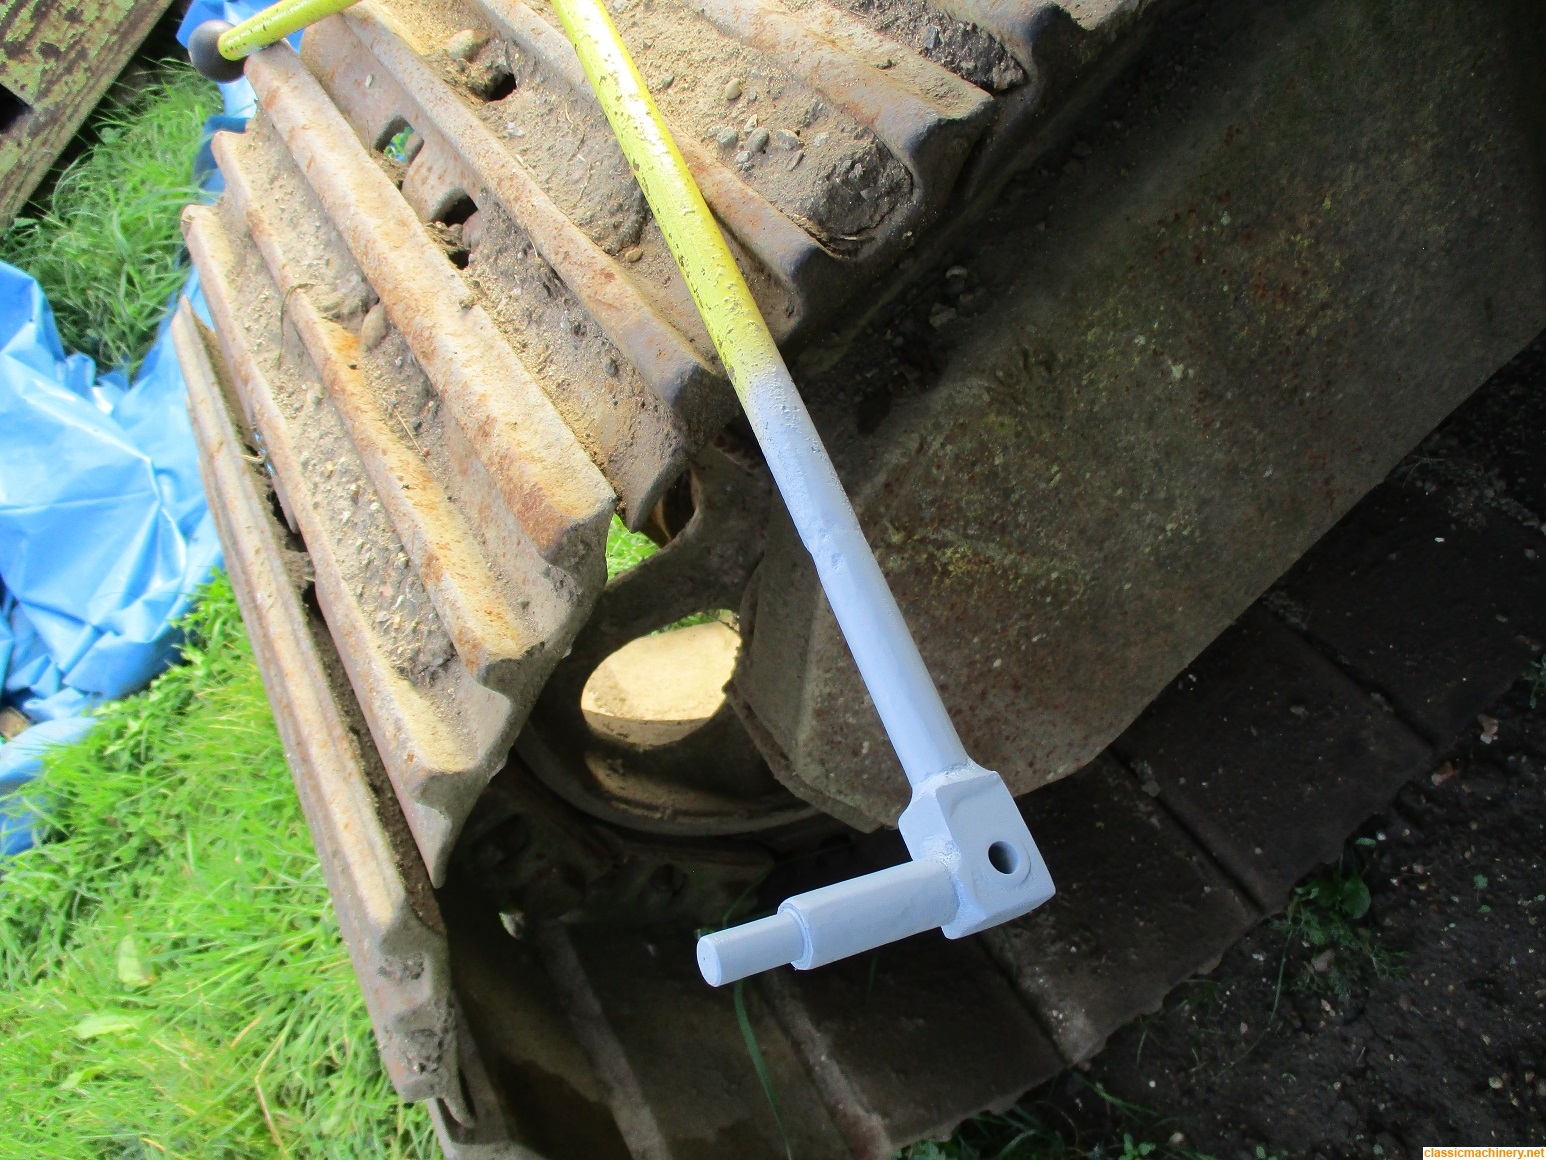
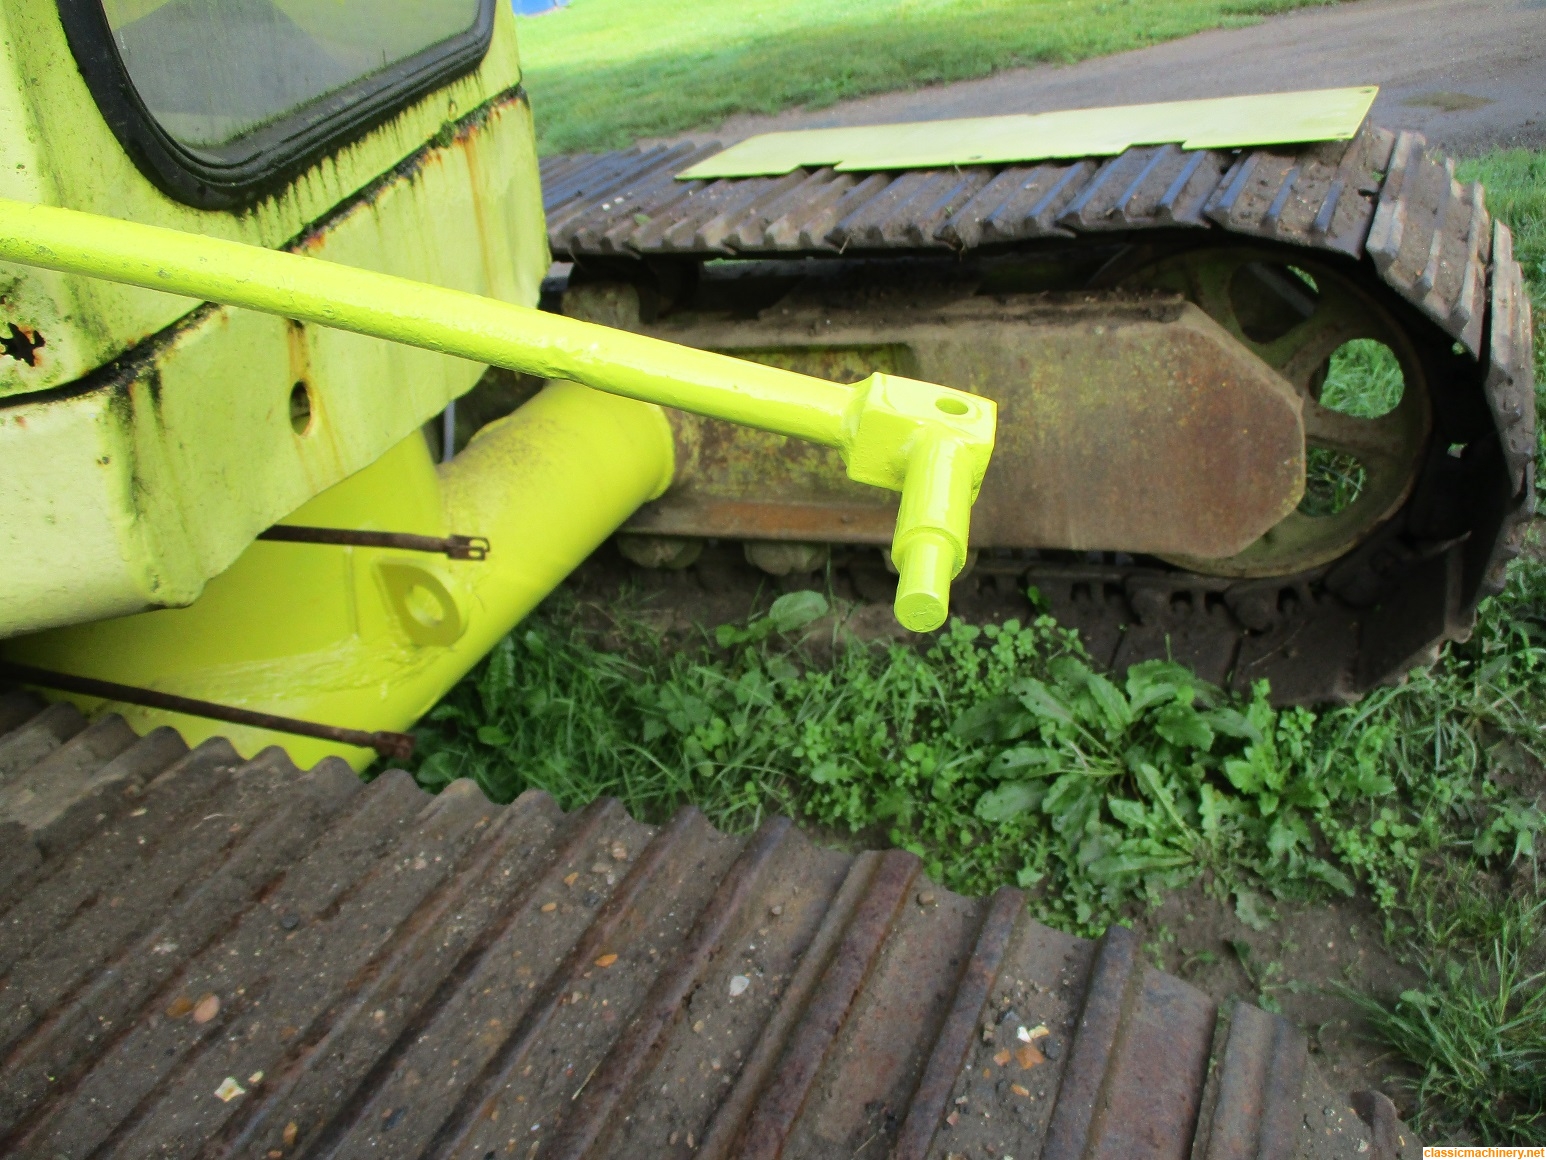
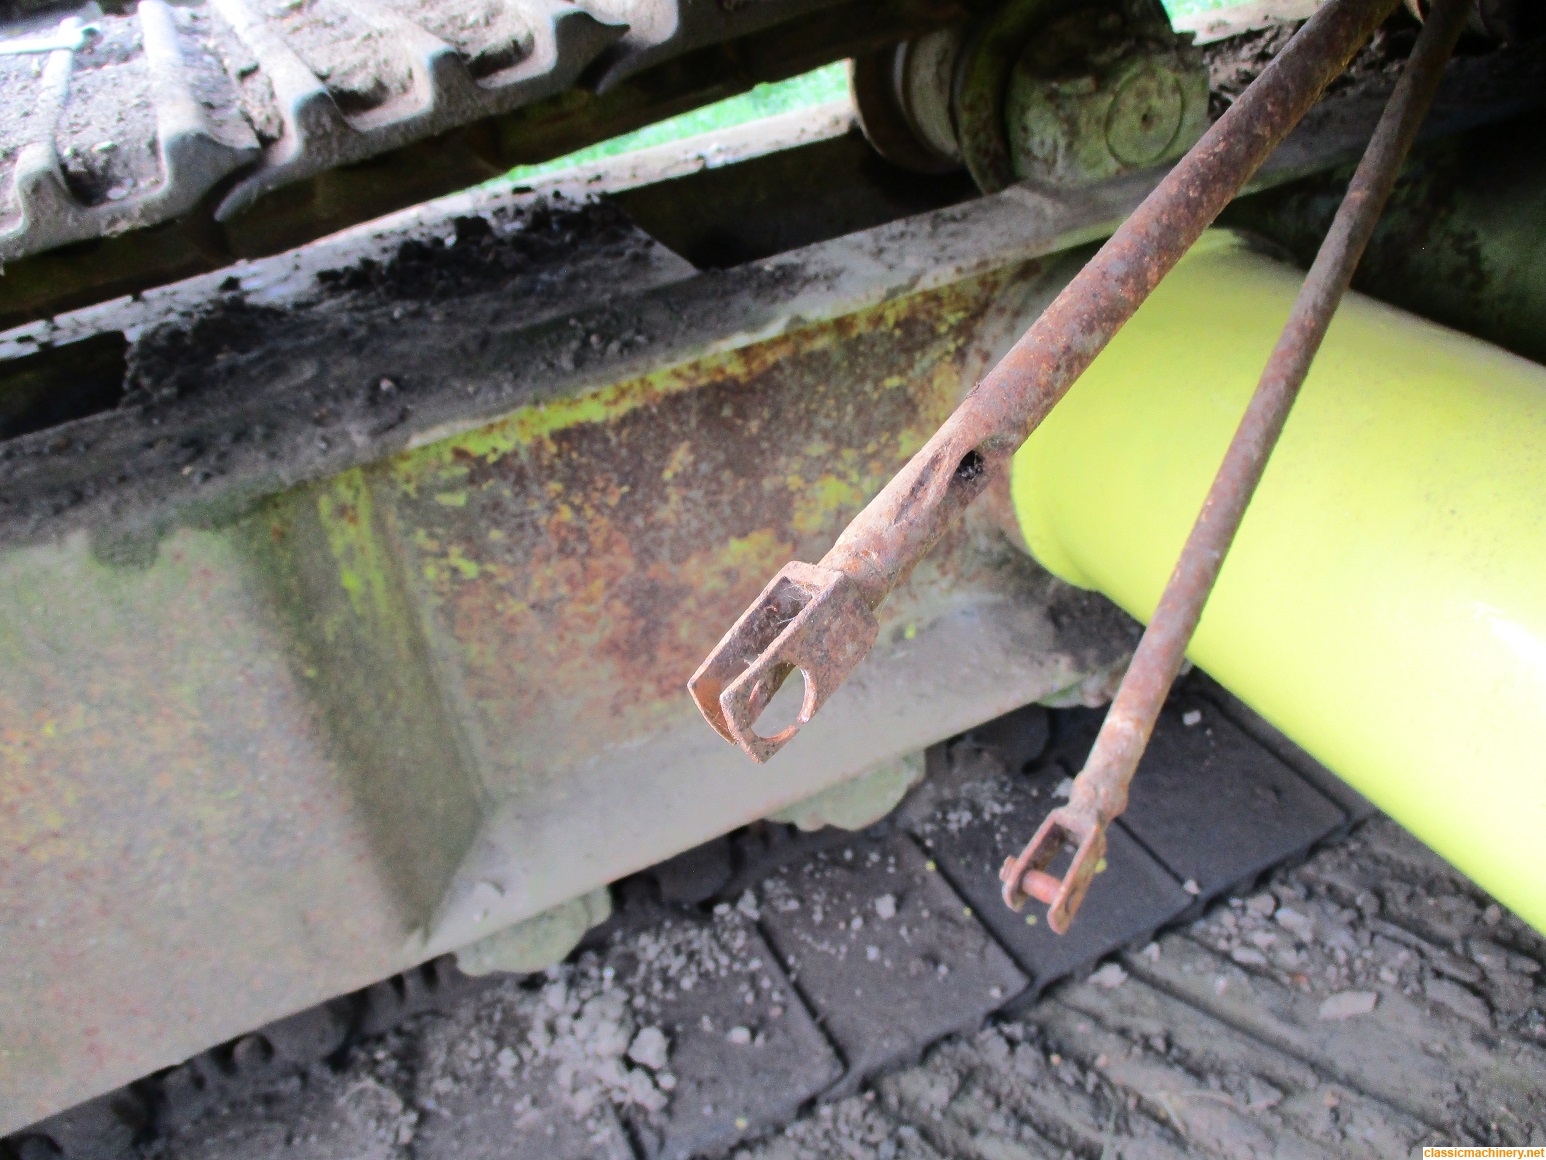
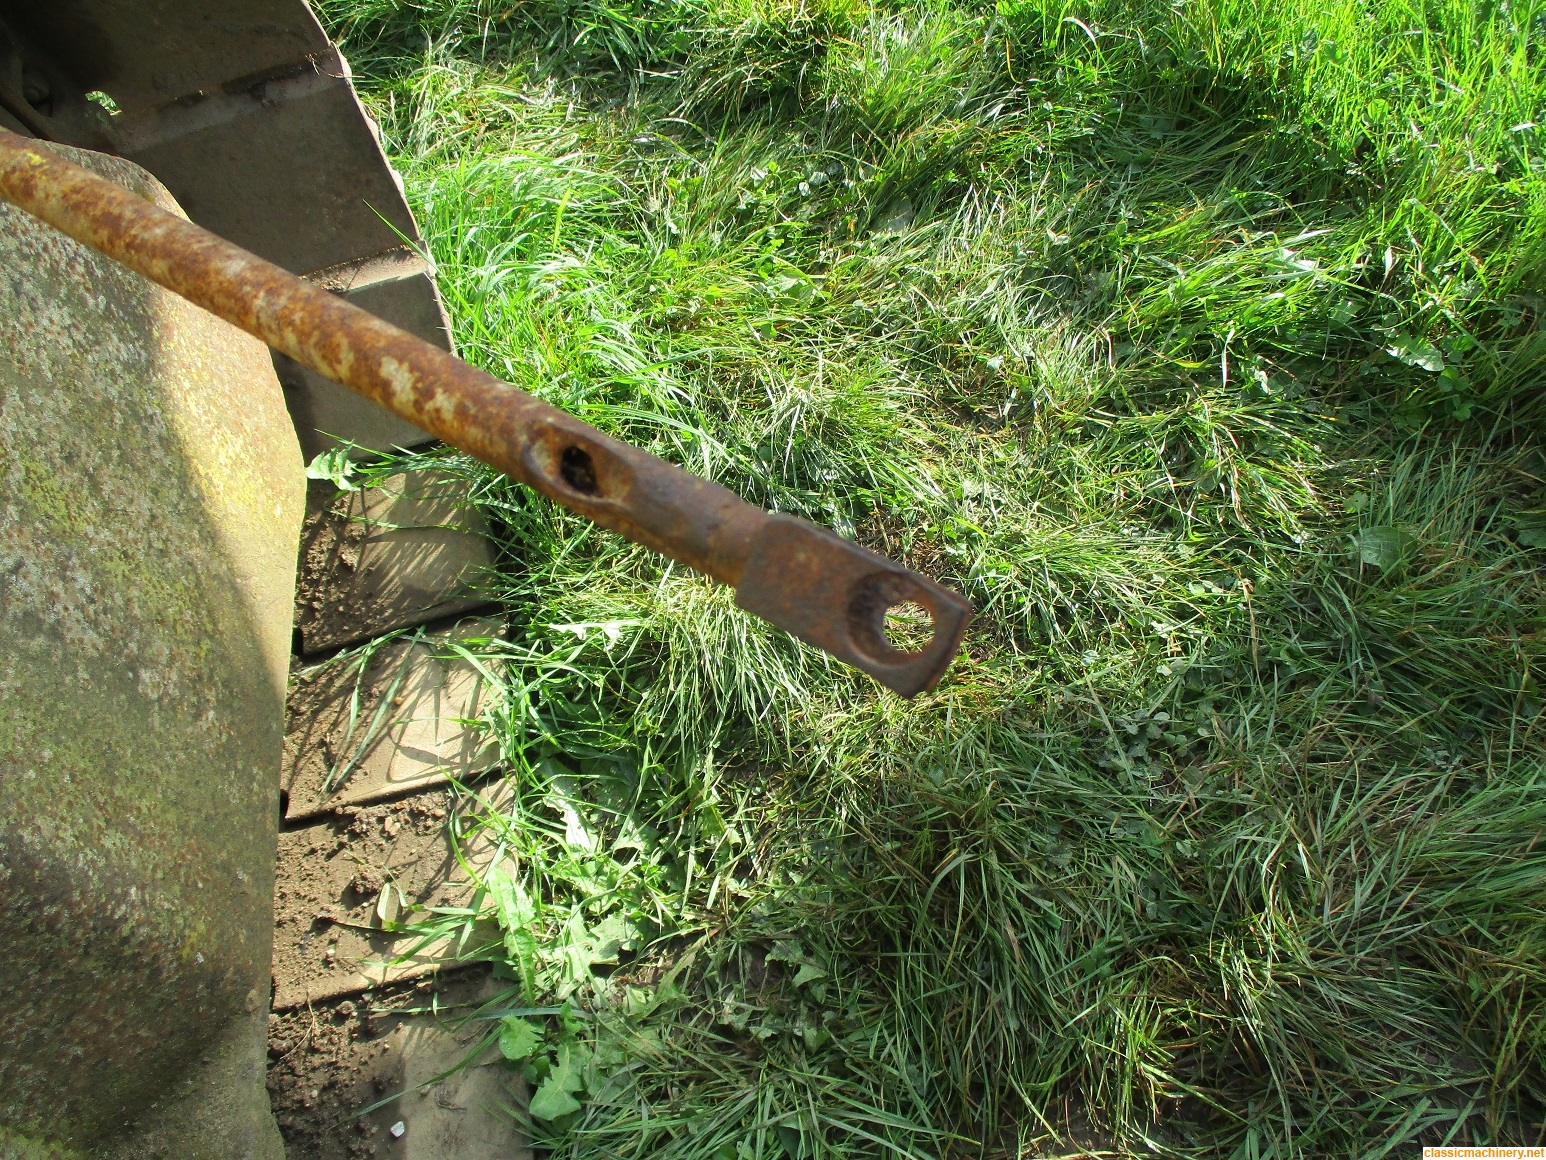
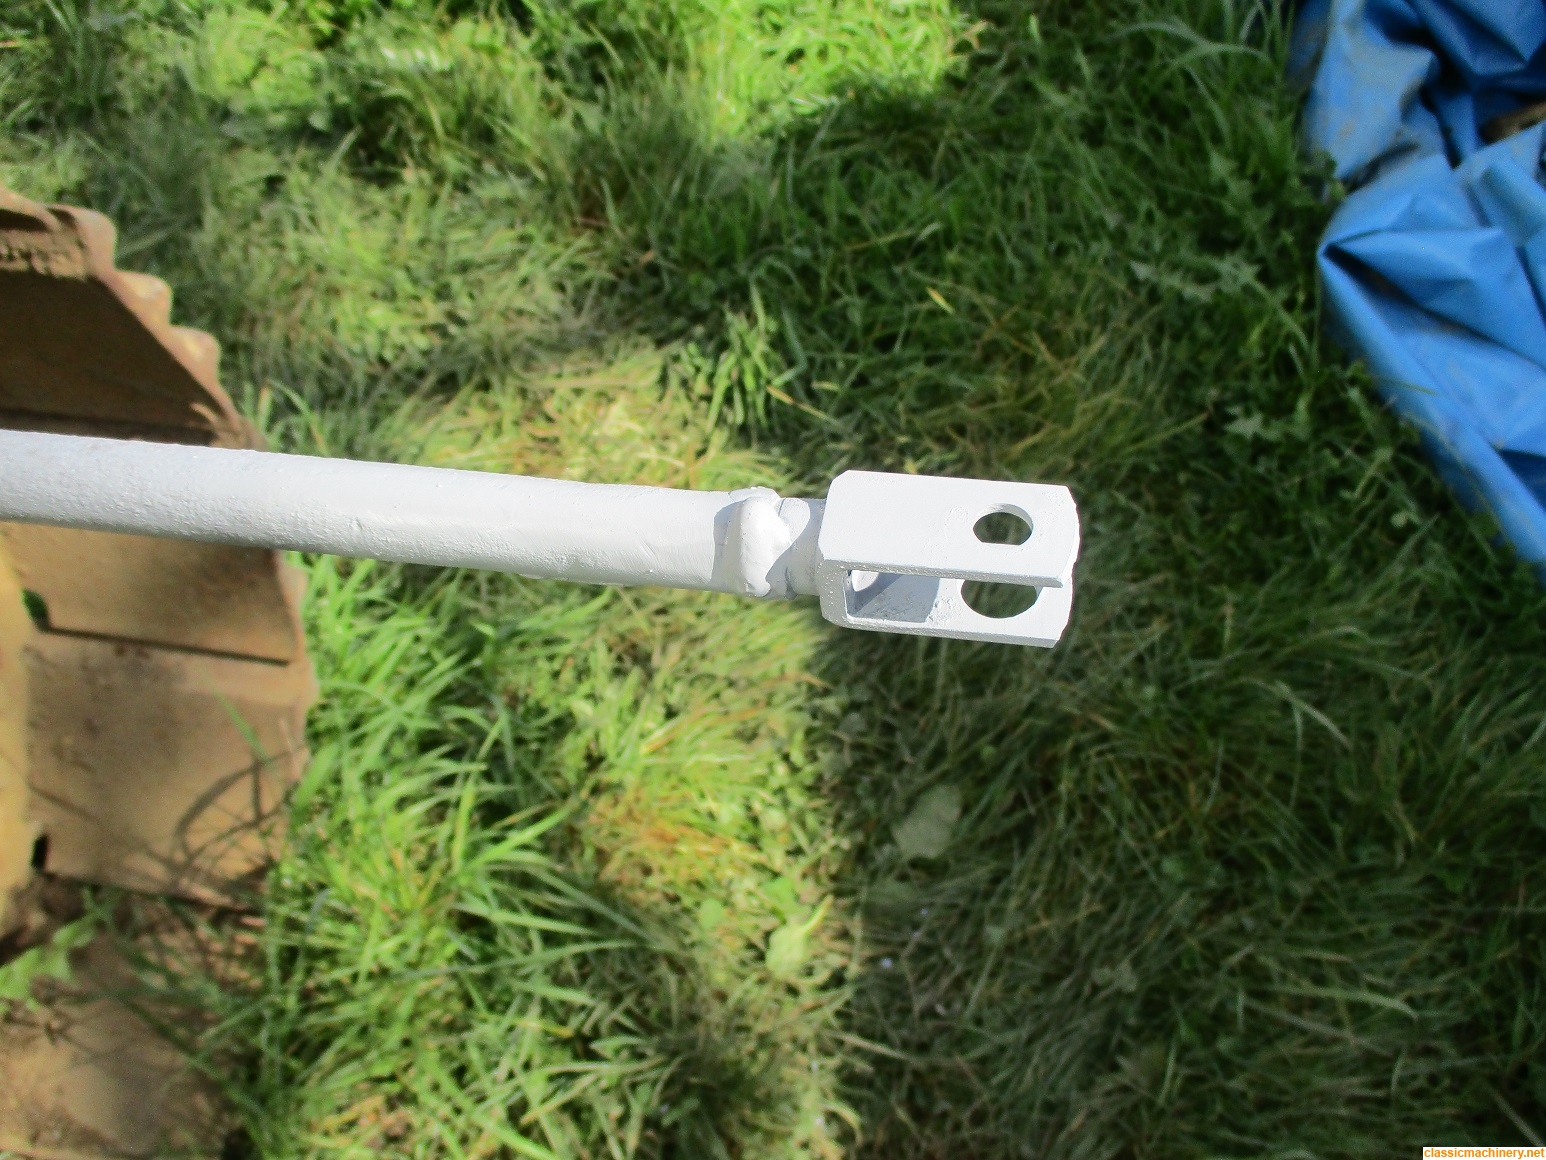
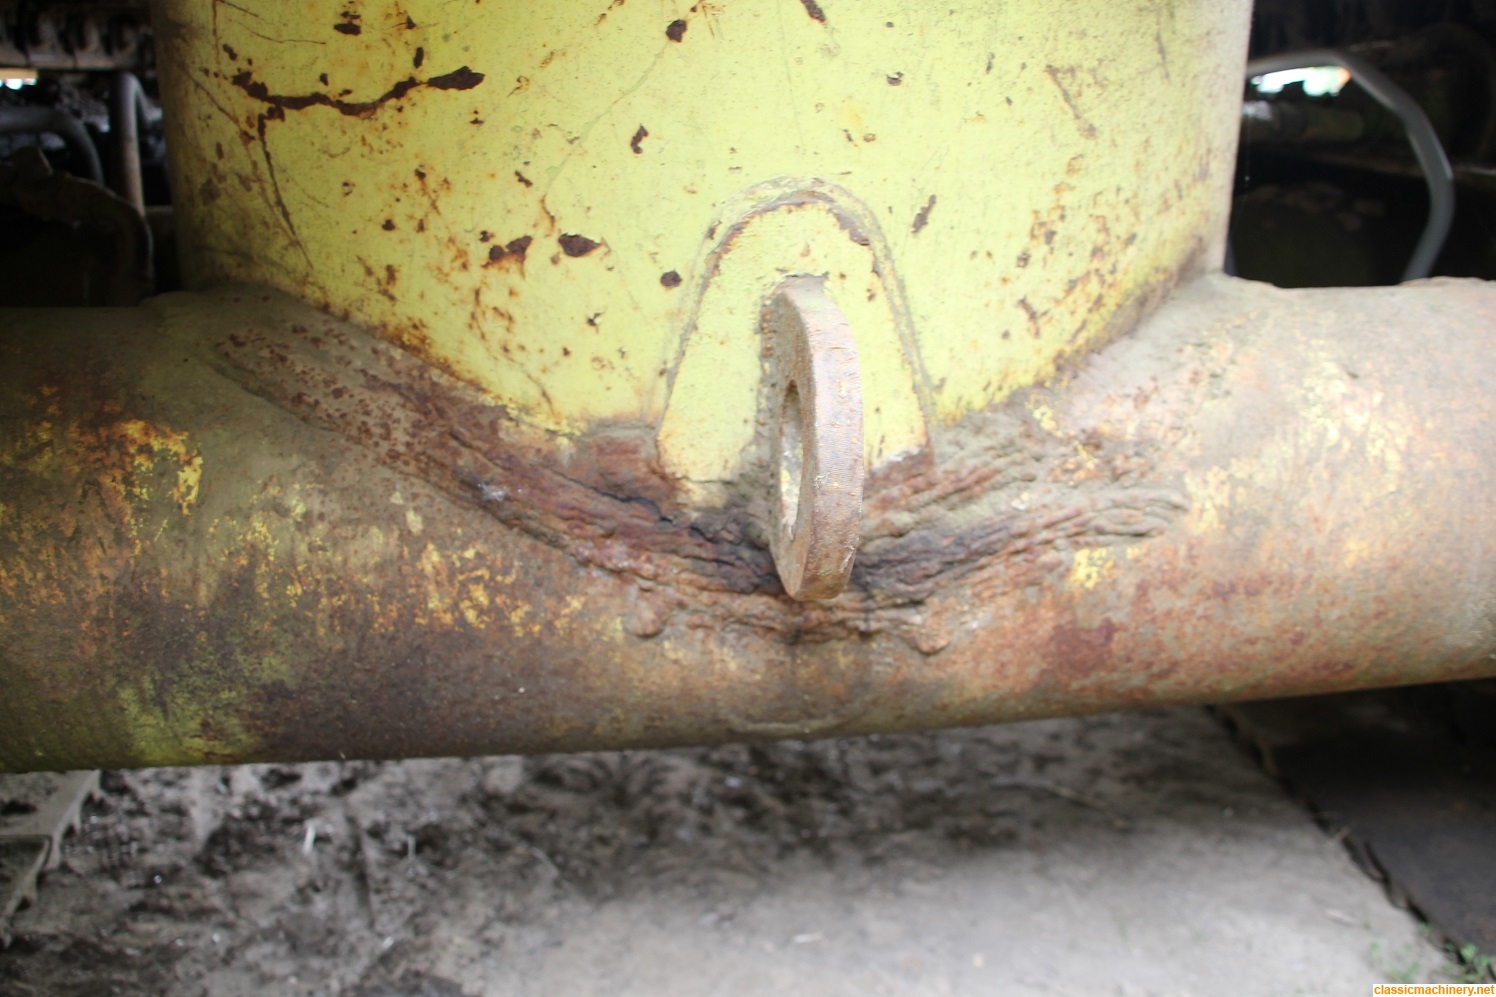
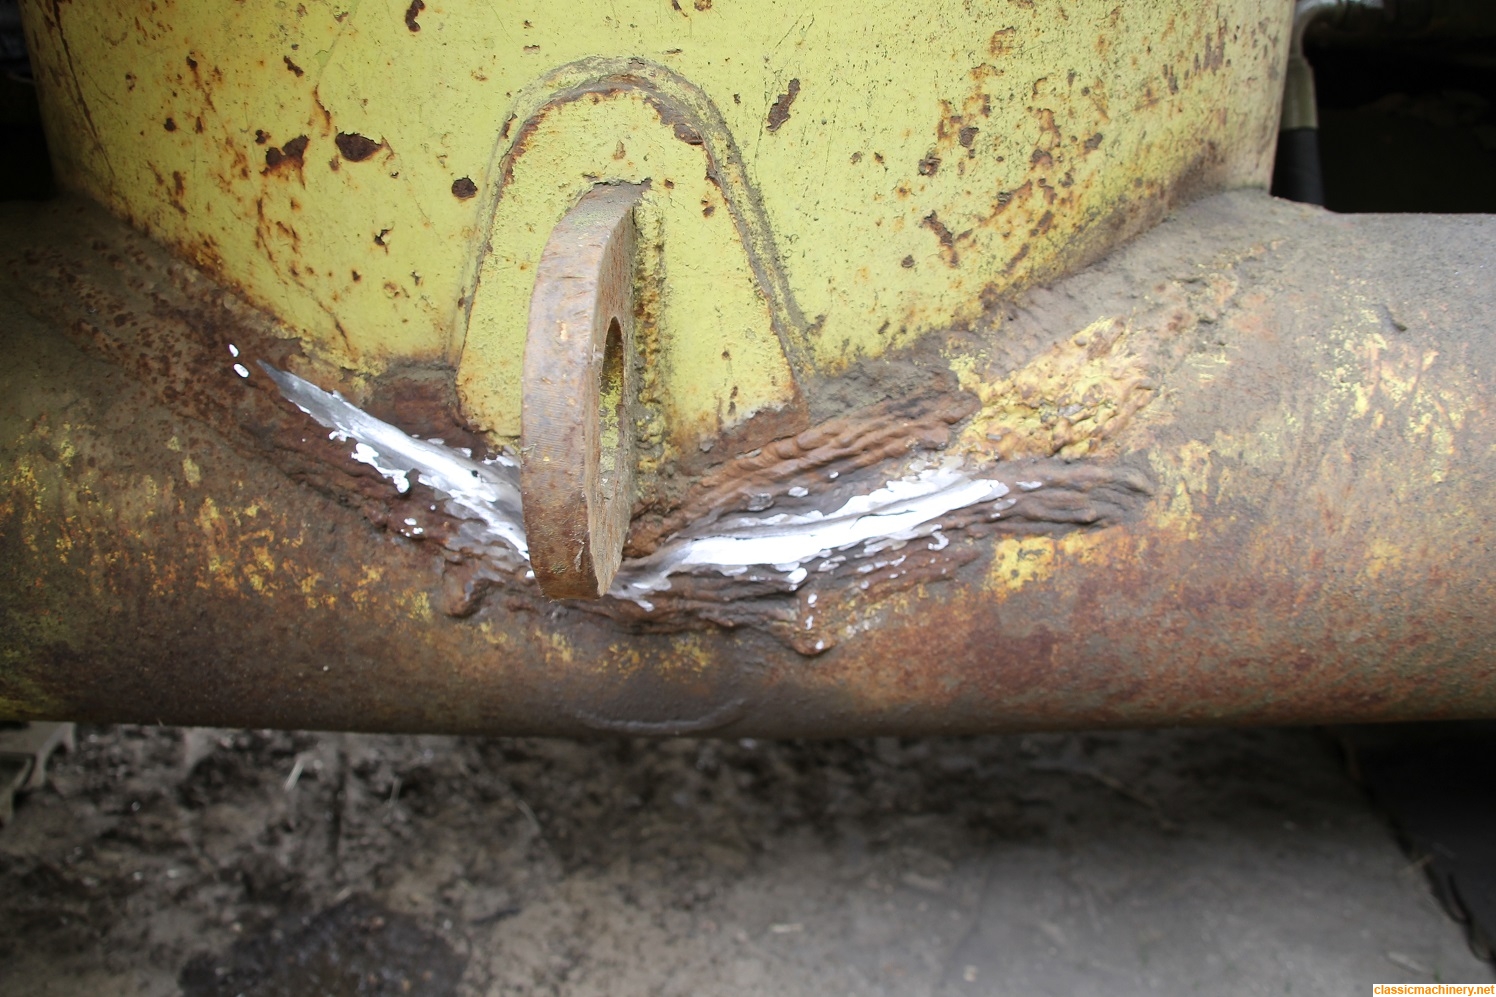
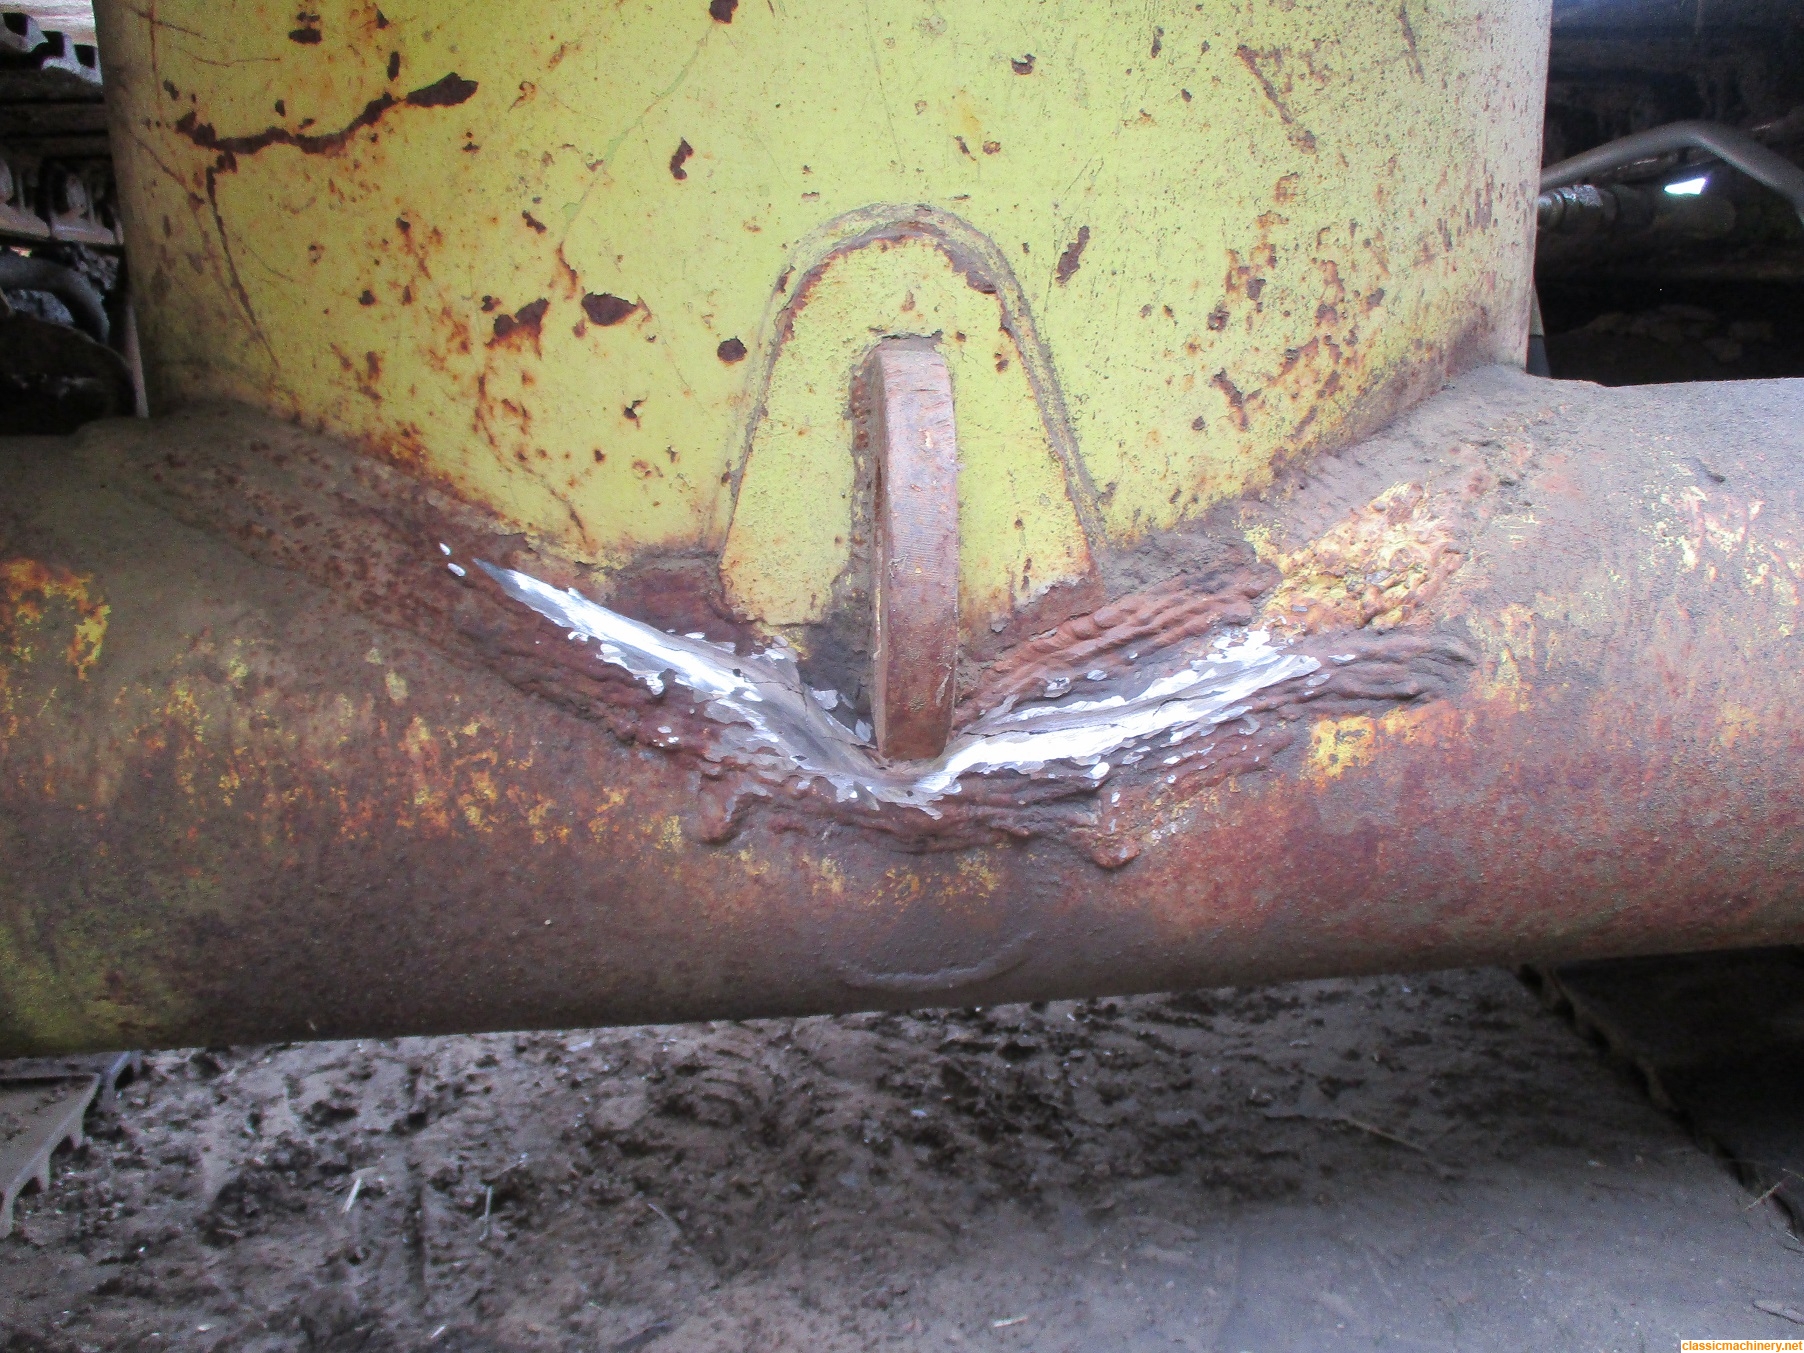
One irritating job that has needed doing on the 580BT was that there is a crack in the undercarriage tub, these are quite common and a previous owner has splattered weld on the tub like its going out of fashion, the tub had cracked along this weld, additionally they have welded on a towing eye which I could not face grinding off.

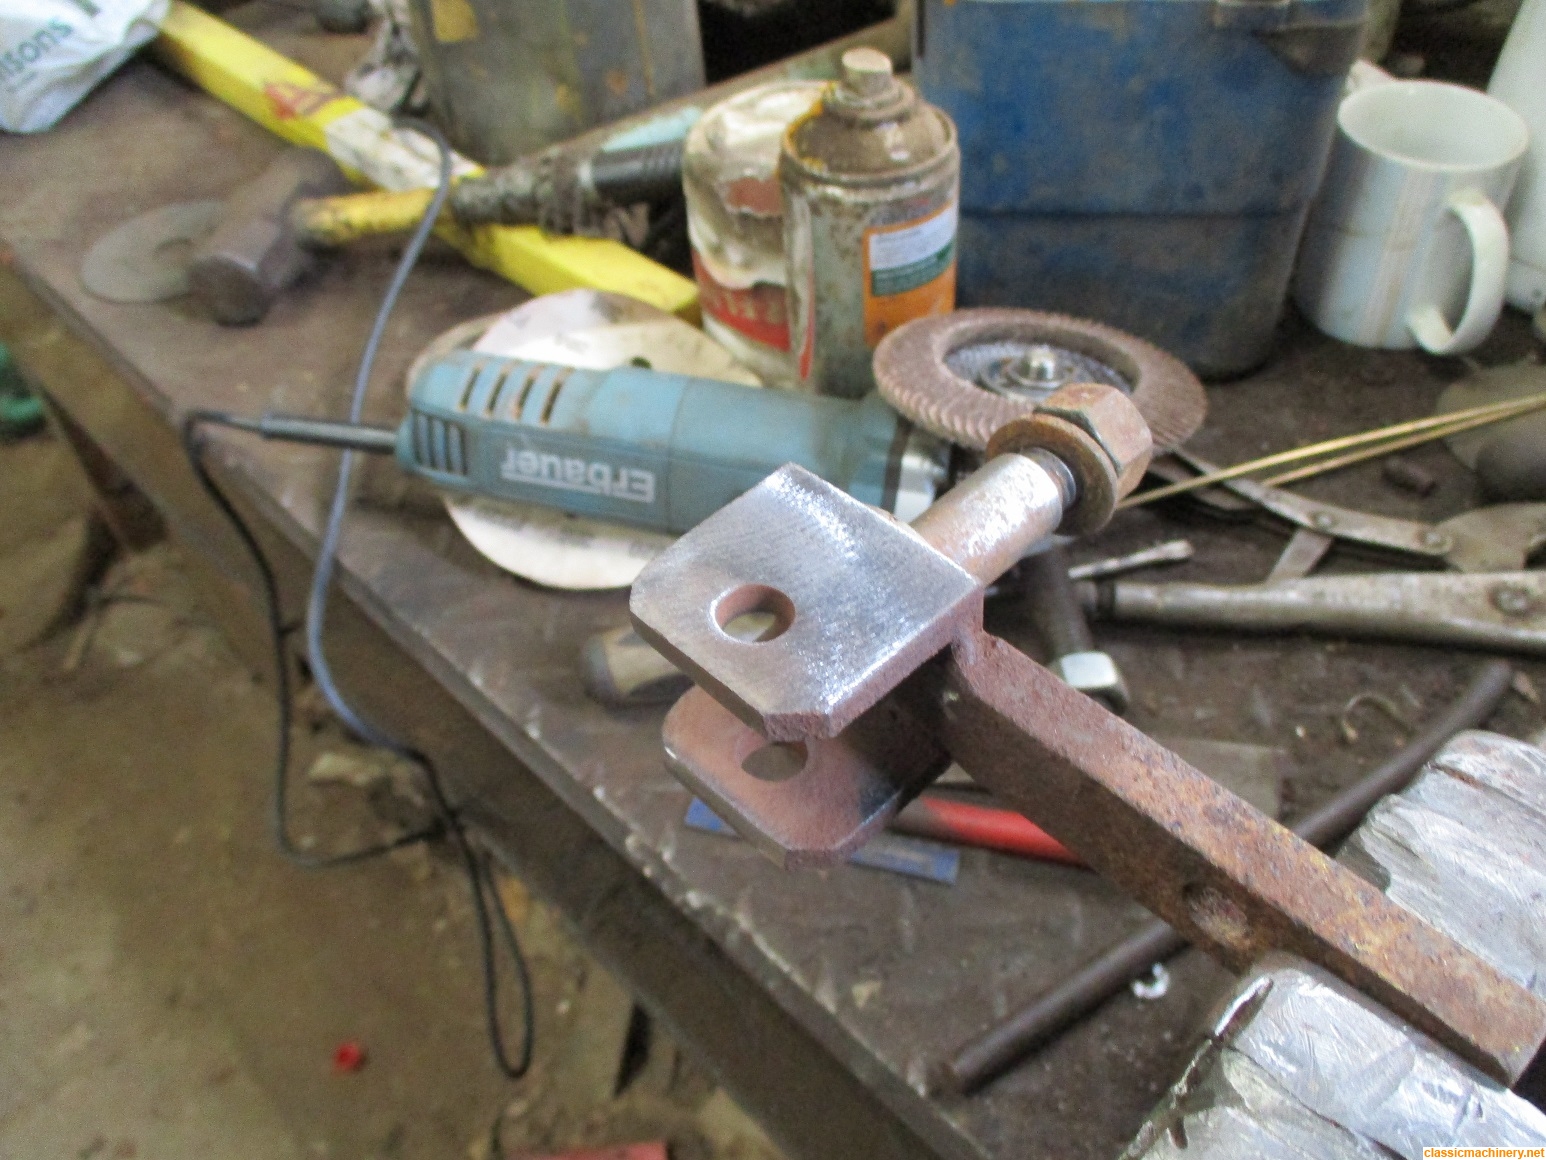
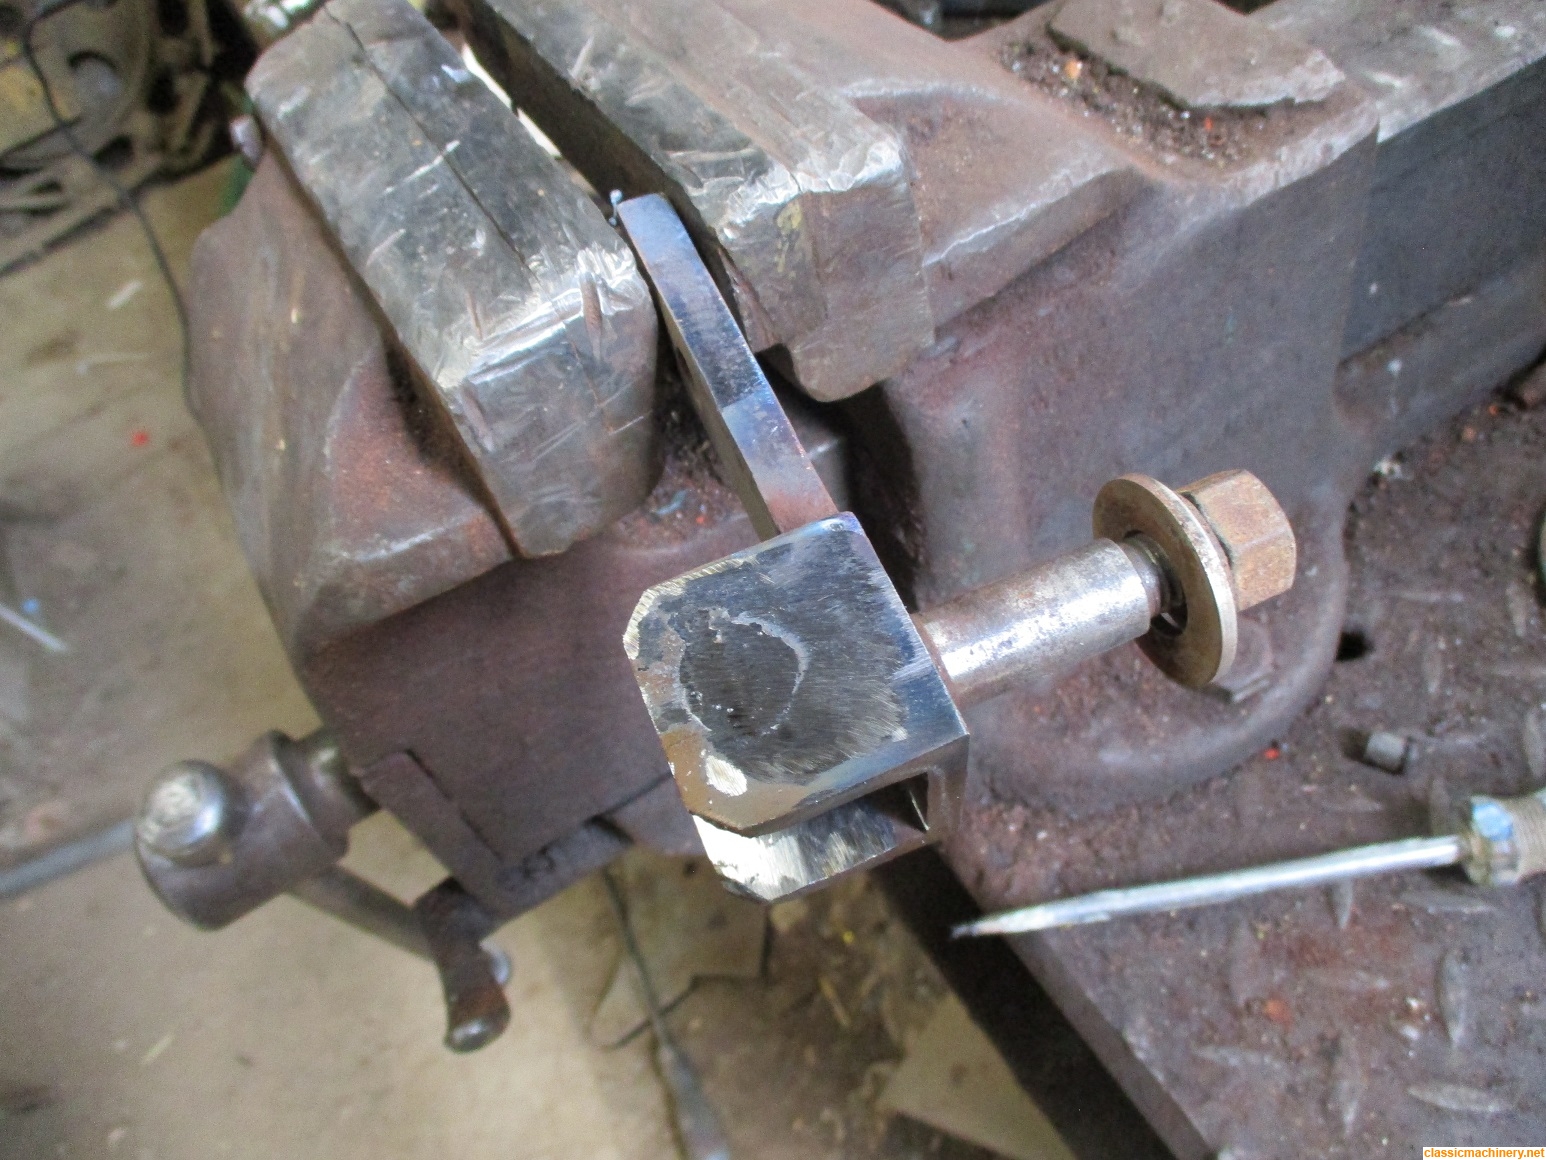
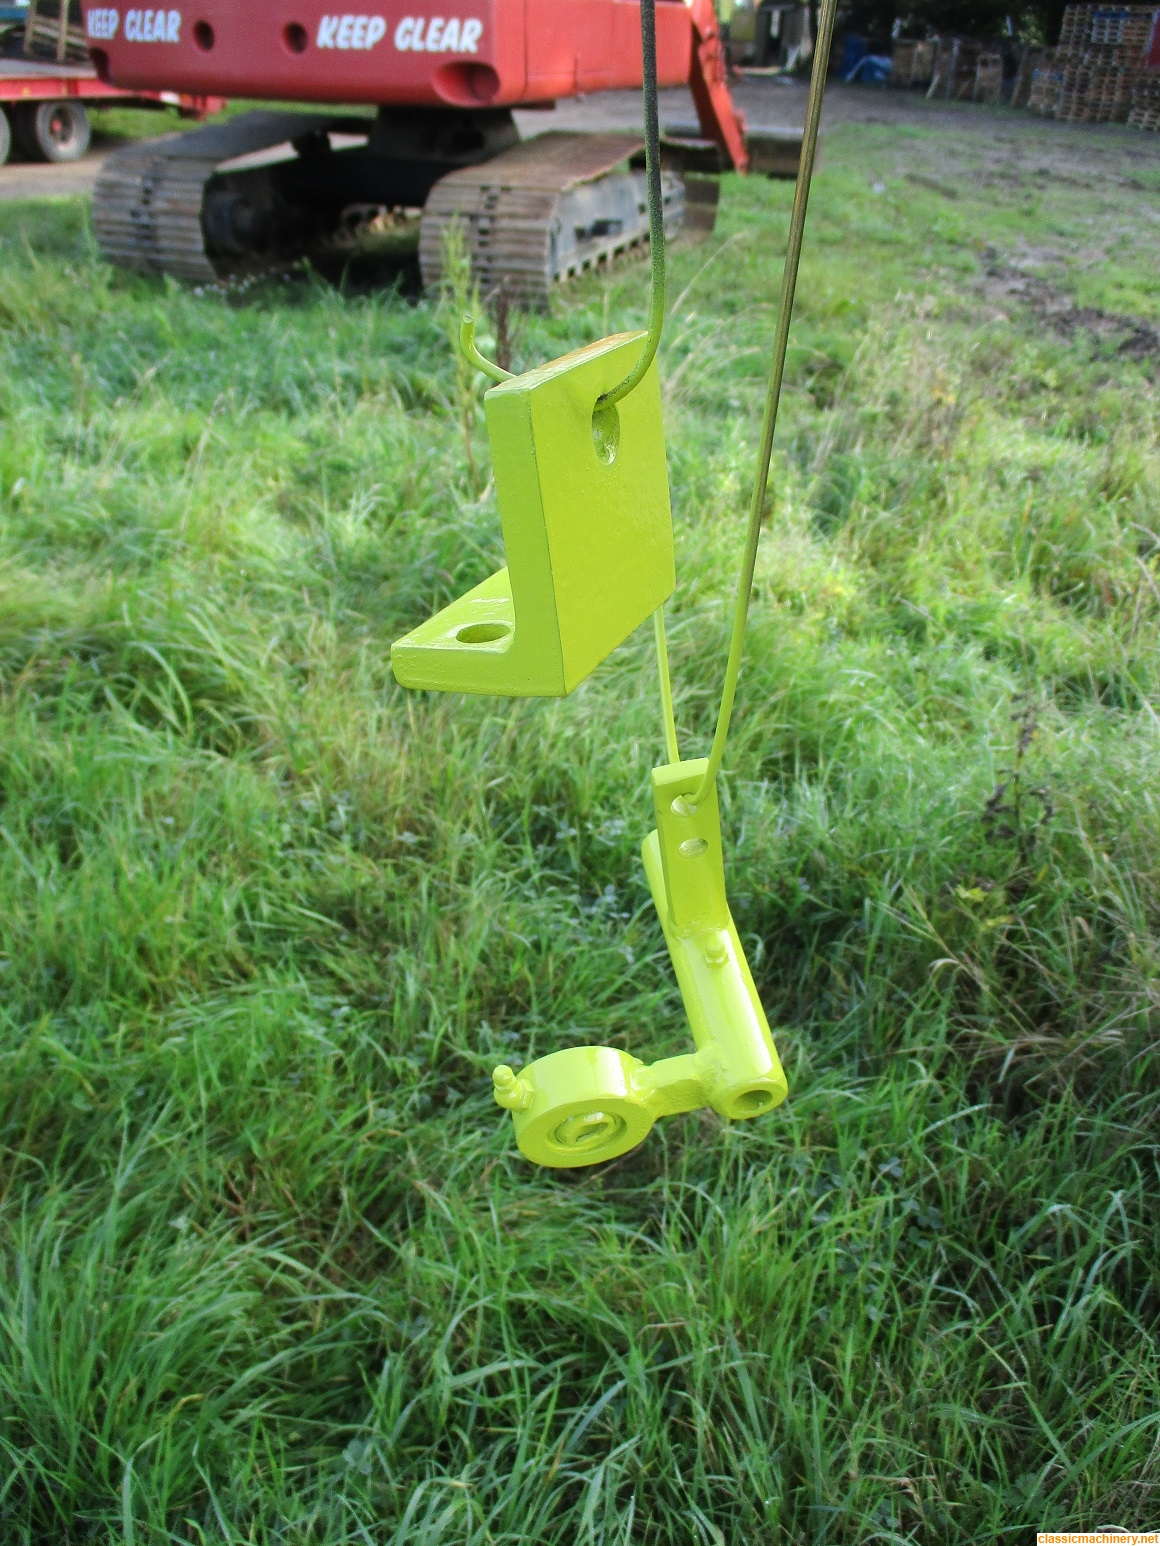
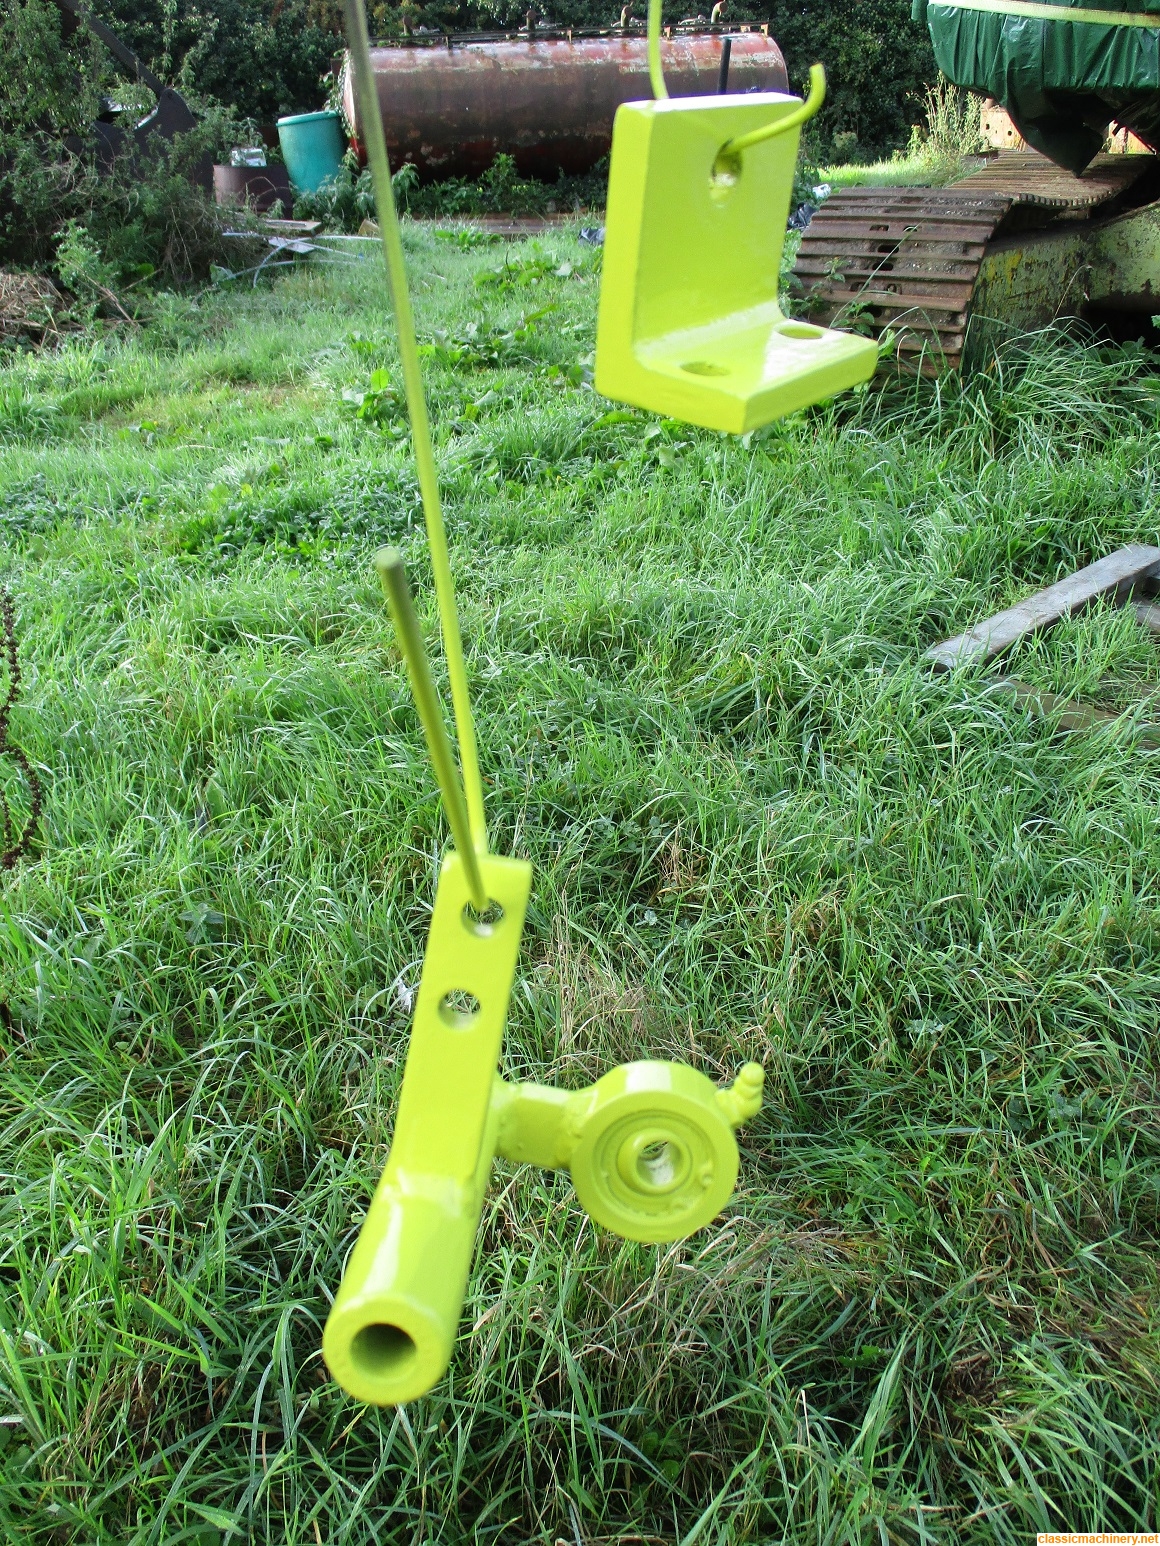
I dug the crack out with my angle grinder and would have had a bash at welding it myself but Andrew kindly MIG welded this for me after which I ground it down a bit , then cleaned it off and primed it, then top coated it, job done, so at least today I got one useful job done, result. :thumbup:
I'm not too sure if you will see the crack on the photos or not?

Jeremy


Image
Image
Image
Image
Image
Image

Re: Hymac 580BT 1969

Posted: Fri Aug 11, 2023 12:02 am
by essexpete
And painted as well!

Re: Hymac 580BT 1969

Posted: Fri Aug 11, 2023 11:43 am
by Jeremy Rowland
essexpete wrote:And painted as well!


Yes Pete, it looks a mess down there but the last thing I wanted was the new weld to rust over so I took the proverbial bull by the horns and used the last of the paint I have up there to at least get that part of the undercarriage painted. :thumbup:

Jeremy

Re: Hymac 580BT 1969

Posted: Sun Sep 03, 2023 8:54 pm
by Jeremy Rowland
During the last Bank Holiday I managed to get up there and run the Hymac and the Poclain; I wanted to start some more restoration but without doing too big a job, so I decided that I'd look at the worn control lever linkages on the 580BT.

The photos say it all really, at least I now have a target plan to work to, if I can't get any good second-hand parts then I will endeavor to repair what I have, this is a common problem on these old worn machines.

Jeremy


Image
Image
Image
Image
Image
Image

Re: Hymac 580BT 1969

Posted: Mon Sep 04, 2023 12:42 am
by mechman
Jeremy.
I've done quite a few of those worn forks and clevis pins. Fill the fork holes with weld and re drill them, and renew clevis pins. (If the facilties are handy)
Norm.

Re: Hymac 580BT 1969

Posted: Mon Sep 04, 2023 7:55 pm
by Jeremy Rowland
mechman wrote:Jeremy.
I've done quite a few of those worn forks and clevis pins. Fill the fork holes with weld and re drill them, and renew clevis pins. (If the facilties are handy)
Norm.


Yes Norm those were my thoughts too, I do have a good spare fork or two which I can weld onto the end of the control rod, just need to buy me a carbide drill to go through the weld. :thumbup:

Jeremy

Re: Hymac 580BT 1969

Posted: Mon Sep 04, 2023 8:58 pm
by hair bear
The smaller clevis looks very similar to a ford 3/4/5000 brake or clutch rod clevis. Those were forged or cast so hard wearing and screw on to the threaded brake rod. Easily adjusted and would take years to show wear.

Re: Hymac 580BT 1969

Posted: Wed Sep 06, 2023 8:41 pm
by Jeremy Rowland
hair bear wrote:The smaller clevis looks very similar to a ford 3/4/5000 brake or clutch rod clevis. Those were forged or cast so hard wearing and screw on to the threaded brake rod. Easily adjusted and would take years to show wear.


Not too sure what size this is but I have a few good secondhand larger clevis which I can weld onto the end of the rod, that's my current train of thought at the moment, the pins size for the larger clevis is 3/8" just measured one. :thumbup:

Jeremy

Re: Hymac 580BT 1969

Posted: Fri Sep 15, 2023 8:46 pm
by Jeremy Rowland
Well I got up there yesterday and had a positive day; decided to weld up all the worn holes on the various connectors, they are 3/8" then drill them through with a carbide drill. I managed to obtain a 9.5mm solid carbide drill which is a few thou down from 3/8" Tony Wilson kindly MIG welded the parts and I drilled them through.
Heated the bolt I cut off and extracted its remains then ran a 3/8" UNF tap down each of the holes so good repair there too :thumbup: Finally I cleaned all the parts up and painted then with primer so I came away happy. :thumbup:

Jeremy


Image
Image
Image
Image
Image
Image
Image
Image

Re: Hymac 580BT 1969

Posted: Thu Sep 21, 2023 9:44 pm
by Jeremy Rowland
Another days work on the left hand control lever; the next job after painting the refurbished parts was the removal of the control rods which is a bit of a pig to say the least, access is very limited so it took a bit of faffing to finally coax the piece of wire that somebody had previously put in the clevis pin instead of a split pin.
That was the first control rod off, I immediately cut the bad clevis off using my angle grinder and slitting disc, once done I selected one of the better second hand spares which I had acquired and after using a piece of old threaded bar I got it secured in place so that it could be MIG welded to fully secure it.
The second control rod was treated in a similar manner, just waiting for the paint to harden, hopefully I will refit and rebuild it all next week and see if it is any better. :thumbup: Only a few photos as the camera battery decided to give up.

Jeremy


Image
Image
Image
Image
Image
Image
Image